
部署Istio,应用接入Istio(Sidecar注入)
查看配置文件的名称,生产环境建议使用default,基本上核心功能都有,minimal是以最小版本去部署的,demo功能多一点,比default多一点。我们这里使用default进行部署安装。下面是查看有哪些配置文件的名称。在install不指定profile那么默认就是使用default。安装的时候后面可以添加--set-profile=default -y部署完查看结果,部署了两个pod,一个
部署istio
tar zxvf istio-1.8.2-linux.tar.gz
cd istio-1.8.2
mv bin/istioctl /usr/bin查看配置文件的名称,生产环境建议使用default,基本上核心功能都有,minimal是以最小版本去部署的,demo功能多一点,比default多一点。我们这里使用default进行部署安装。
下面是查看有哪些配置文件的名称。(istio为我们提供了很多的配置列表,不同的profile安装了不同的组件)
[root@master bin]# ./istioctl profile list
Istio configuration profiles:
    default
    demo
    empty
    minimal
    openshift
    preview
    remote

[root@master profiles]# ls
default.yaml  demo.yaml  empty.yaml  minimal.yaml  openshift.yaml  preview.yaml  PROFILES.md  remote.yaml

istioctl profile list
istioctl profile dump demo
istioctl install --set profile=demo
istioctl x uninstall --purge
在install不指定profile那么默认就是使用default。安装的时候后面可以添加--set-profile=default -y
部署完查看结果,部署了两个pod,一个istiod,也就是它的控制平面,ingressgateway是用来接受网格流量的,就类似于nginx-ingress。(都是一些核心组件)
service的istiod暴露端口,让数据平面的proxy和它去通信,这个是不需要去对外访问的。
ingressgateway就需要对外访问了,它采用的是loadbalance,它是是用于公有云服务类型,它能够在公有云的负载均衡器上面创建负载均衡出来,由公有云的负载均衡器暴露出来。
我们这里没有公有云的环境,所以这里处于pending的状态,我们只能使用nodeport的方式去访问。
[root@master ~]# kubectl get pods -n istio-system
NAME                                   READY   STATUS    RESTARTS   AGE
istio-ingressgateway-5759b6968-nztgj   1/1     Running   0          166m
istiod-597dd8db8-b79zn                 1/1     Running   0          167m

[root@master ~]# kubectl get svc -n istio-system
NAME                   TYPE           CLUSTER-IP      EXTERNAL-IP   PORT(S)                                                                      AGE
istio-ingressgateway   LoadBalancer   10.233.58.97    <pending>     15021:31184/TCP,80:30698/TCP,443:31759/TCP,15012:31608/TCP,15443:31314/TCP   166m
istiod ClusterIP 10.233.37.152 <none> 15010/TCP,15012/TCP,443/TCP,15014/TCP 167mistioctl manifest generate | kubectl delete -f -安装istio其实会帮我我们创建很多CRD自定义的资源
[root@node1 ~]# kubectl get crd
NAME                                                  CREATED AT
authorizationpolicies.security.istio.io               2022-07-20T13:15:01Z
bgpconfigurations.crd.projectcalico.org               2022-07-19T08:44:10Z
bgppeers.crd.projectcalico.org                        2022-07-19T08:44:11Z
blockaffinities.crd.projectcalico.org                 2022-07-19T08:44:11Z
clusterinformations.crd.projectcalico.org             2022-07-19T08:44:11Z
destinationrules.networking.istio.io                  2022-07-20T13:15:01Z
..........................................................................
Sidercar 手动注入 自动注入
sample目录下是官方给你的案例
[root@master istio-1.8.2]# ls samples/
addons    certs             external      helloworld  https            multicluster  rawvm      security  tcp-echo
bookinfo  custom-bootstrap  health-check  httpbin     kubernetes-blog  operator      README.md  sleep     websockets
sidecar对istio来说是比较重要的,因为它是数据平面的唯一组件,要想让一个应用被istio接管到,就必须将proxy和应用绑定在一块。
sidecar注入方式有两种,一种是手动注入,一种是自动注入。
kubectl label ns ns1 istio-injection=enabled
istioctl kube-inject -f pod1.yaml | kubectl apply -f -[root@master httpbin]# istioctl kube-inject -f httpbin-nodeport.yaml 之前只有这个容器
      containers:
      - image: docker.io/kennethreitz/httpbin
        imagePullPolicy: IfNotPresent
        name: httpbin
        ports:
        - containerPort: 80
现在多了这个容器,在原有的yaml基础上又了istio的proxy,为这个业务pod做流量的代理。
   - name: DNS_AGENT
        image: docker.io/istio/proxyv2:1.8.2
        imagePullPolicy: Always
        name: istio-proxy
        ports:
        - containerPort: 15090


[root@node1 ~]# kubectl describe pod httpbin-84cddc85d4-njtzm
Containers:
  httpbin:
    Container ID:   docker://605755ece1fbc55ccaa69fdbe140fbc3499aed2f52b79d749e7dd38858e26449
    Image:          docker.io/kennethreitz/httpbin
................................

  istio-proxy:
    Container ID:  docker://f32ba043e64869c95339f6b60231f17d7ad8e0d2d37290af689c0a94eafc30d7
    Image:         docker.io/istio/proxyv2:1.8.2
[root@master httpbin]# kubectl apply -f <(istioctl kube-inject -f httpbin-nodeport.yaml)
service/httpbin created
deployment.apps/httpbin created
[root@master httpbin]# kubectl get pod
NAME READY STATUS RESTARTS AGE
httpbin-84ff597c89-g6h56 2/2 Running 0 104sistio-proxy@httpbin-84ff597c89-g6h56:/$ ps -ef
UID PID PPID C STIME TTY TIME CMD
istio-p+ 1 0 0 17:08 ? 00:00:01 /usr/local/bin/pilot-agent proxy sidecar --domain default.svc.cluster
istio-p+ 12 1 0 17:08 ? 00:00:02 /usr/local/bin/envoy -c etc/istio/proxy/envoy-rev0.json --restart-epo
istio-p+ 27 0 1 17:13 pts/0 00:00:00 bash
istio-p+ 37 27 0 17:13 pts/0 00:00:00 ps -ef这里面跑了agent,这个pilot-agent主要负责envoy的热更新配置,因为envoy是代理的一个程序。
自动注入(给命名空间打指定标签,启用自动注入)
kubectl label namespace default istio-injection=enabled上面就实现了自动注入并且将应用部署起来了,然后让其在istio里面去访问。你要创建规则,这个规则和nginx规则是一样的。
[root@master httpbin]# cat httpbin-gateway.yaml
apiVersion: networking.istio.io/v1alpha3
kind: Gateway
metadata:
  name: httpbin-gateway
spec:
  selector:
    istio: ingressgateway
  servers:
  - port:
      number: 80
      name: http
      protocol: HTTP
    hosts:
    - "*"
---
apiVersion: networking.istio.io/v1alpha3
kind: VirtualService
metadata:
  name: httpbin
spec:
  hosts:
  - "*"
  gateways:
  - httpbin-gateway
  http:
  - route:
    - destination:
        host: httpbin   #指定service名称
        port:
          number: 8000  #指定service端口


[root@node1 httpbin]# cat httpbin-nodeport.yaml
apiVersion: v1
kind: Service
metadata:
  name: httpbin
  labels:
    app: httpbin
    service: httpbin
spec:
  type: NodePort
  ports:
  - name: http
    port: 8000
    targetPort: 80
  selector:
    app: httpbin
---
apiVersion: apps/v1
kind: Deployment
metadata:
  name: httpbin
spec:
  replicas: 1
  selector:
    matchLabels:
      app: httpbin
      version: v1
  template:
    metadata:
      labels:
        app: httpbin
        version: v1
    spec:
      containers:
      - image: docker.io/kennethreitz/httpbin
        imagePullPolicy: IfNotPresent
        name: httpbin
        ports:
        - containerPort: 80


[root@master httpbin]# kubectl get svc
NAME         TYPE        CLUSTER-IP     EXTERNAL-IP   PORT(S)          AGE
httpbin      NodePort    10.233.38.15   <none>        8000:31339/TCP   37m
[root@master httpbin]# kubectl apply -f httpbin-gateway.yaml
gateway.networking.istio.io/httpbin-gateway created
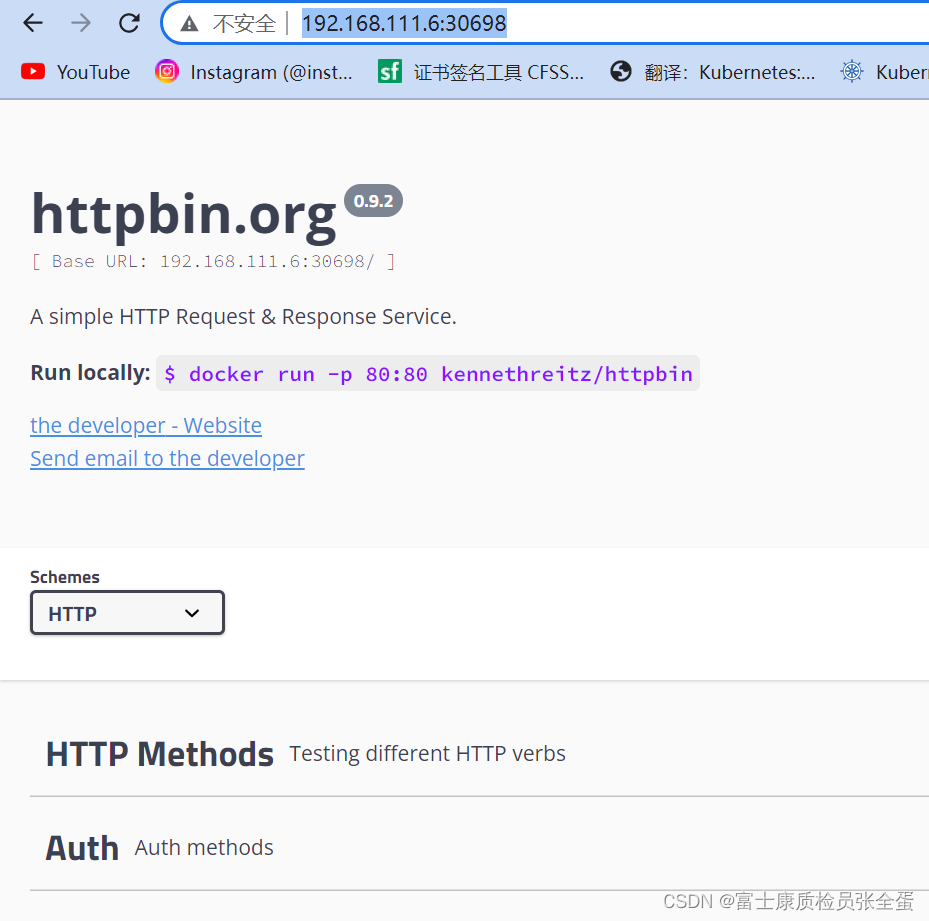
virtualservice.networking.istio.io/httpbin created最后访问IngressGateway NodePort访问地址:http://192.168.111.6:30698/

现在这个应用已经被istio接管了,并且通过istio提供的ingress gateway可以访问到它。流程如下。

Istio与K8s集成流程

通过kubectl创建的istio的相关的资源,很多资源不是k8s自身的资源,这些资源以operator的方式部署。

nginx控制器其实使用的是宿主机的网络空间,在ns1命名空间里面创建svc1和pod关联上,之后所需要做的就是在该命名空间下面创建ingress规则,凡是访问域名为www1.rhce.cc都映射到ns1下面的sv1里面,这条ingress规则是会被写入到控制器里面的。
这样控制器就知道了,但凡有客户端访问www1.rhce.cc的时候,我们要去做DNS解析,解析地址为ingress-nginx所在节点的IP,所以访问www1.rhce.cc的时候转发到ingress-nginx所在的机器,其实也就能够转发到控制器上面去了,这个控制器通过读取转发规则来转发到哪组svc所对应的pod。
istio system至少运行三个pod
istio-egressgateway-65b46d7874-888xz    1/1     Running   1          5d23h
istio-ingressgateway-559d4ffc58-97xbs   1/1     Running   1          5d23h
istiod-8689fcd796-5dtbm 1/1 Running 1 6d- istio:第一个也就是istio的控制面板,控制平面,这些组件都是放在istio pod当中运行的
- istio-ingress-gw:处理进来的流量
- istio-egress-gw
整个环境分为了两部分,一部分是网格,一部分是非网格。要享受istio带来的福利:
- 非网格里的设备的流量要进入到网格里去必须要经过istio-ingress-gw
- 网格里的数据要进入到非网格里要经过istio-egress-gw


你要想访问到svc1的话必须得经过其ingress这个流量。这里你可以配置ingress nodeport lb类型都可以访问到这个pod,但是这并没有走网格服务,那么就和网格没有任何的关系。(所以你要去做流量控制,那么必须得经过网格,集群外部访问集群内部必须走istio-ingress-gateway,这个是进入网格的一个入口)
接下来从ingress进来的流量要对接到相应的命名空间下面。所以需要去建立一个东西叫gateway,gateway里面定义了哪个客户端地址,其实也就是主机名称,以及访问方式为http还是https。
总结:gateway就定义了(1)允许哪个域名访问 (2)访问方式为http还是https
访问a.rhce.cc的时候让其能够访问到ingress-gateway,访问域名要解析到ingress-gateway的IP。
gateway里面规定了和哪个域名关联,并且访问的方式为HTTP还是HTTPS,你在gateway里面创建的规则就会写入到istio这里面来,这个就类似于之前的ingress,ingress规则就会写入ingress-nginx控制器里面去。(也就是将去往某个域名的流量转发到这个gateway里面)
[root@master httpbin]# cat httpbin-gateway.yaml
apiVersion: networking.istio.io/v1alpha3
kind: Gateway
metadata:
  name: httpbin-gateway
spec:
  selector:
    istio: ingressgateway
  servers:
  - port:
      number: 80
      name: http
      protocol: HTTP
    hosts:
    - "*"
VS:
至于流量往哪边走,我们需要定义VirtualService,其实就是定义了一个路由。到底走哪个service并且流量的比例,由virtualservice定义。(vs只是决定了往哪个svc去转发)
apiVersion: networking.istio.io/v1alpha3
kind: VirtualService
metadata:
  name: httpbin
spec:
  hosts:
  - "*"
  gateways:
  - httpbin-gateway
  http:
  - route:
    - destination:
        host: httpbin   #指定service名称
        port:
          number: 8000  #指定service端口
DR:
至于到底往某个service下面的pod转发那些pod多些,哪些pod少一些,这就需要destionrule,叫做目的规则。(其实也就是流量到了svc之后,到底往哪个pod转发)
destion rule定义了svc往后端pod转发的时候,流量怎么走,可以定义随机转发,或者持久性连接。只要同一个客户端访问的,那么就转发到同一个pod,这些都可以在DR这里面定义。
其他命名空间没有设置自动注入,在其他命名空间下设置手动注入的pod,在手动注入之后,那么就属于网格内部的一部分,那么就可以直接通过vs来访问到svc,这样就受到vs的流量管理。如果没有注入的pod去访问vs就不会受到istio流量的控制,如果要受到流量的控制只能走isto-gw了。
所以内部访问走vs就行了,外部访问走gw就行了。
如果并不涉及到集群之外的主机访问,那么gateway是不需要的,但是如果有外面的主机访问,那么就需要有gateway。

更多推荐
 1
1 0
0- 0


 已为社区贡献1条内容

所有评论(0)