Supabase 存储 CDN 及 Serverless 功能改造(非官方)
本教程只是一个临时替代方案,而 Supabase 团队正在努力提供越来越多的功能,其中存储 CDN 和转换正在他们的管道中。
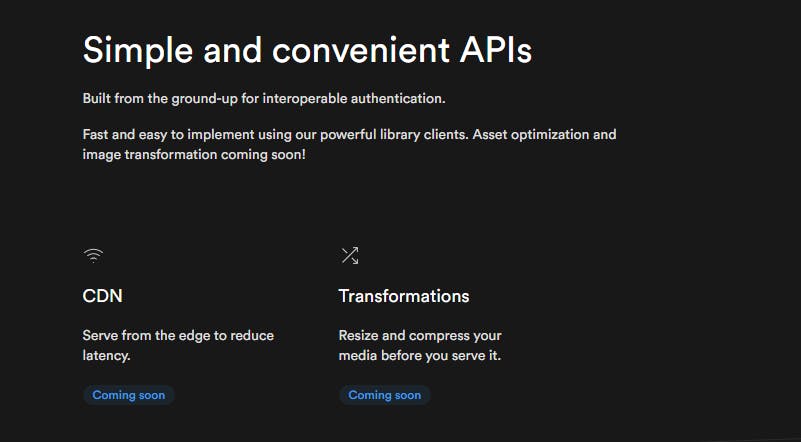
来源:https://supabase.io/storage
⭐🎉🎊
关于这一点,祝贺 Supabase 团队筹集了 3000 万美元作为开源后端即服务初创公司!
开始吧!
注意⚠:
-
我们将使用 Vercel Serverless 函数来实现这一点,代码可能不同但逻辑相同。
-
我们将只提供和改造
Public存储桶。如果您想了解如何使用 Supbase Auth for RLS 实现这些魔法,请记得关注我获取更多教程。
话虽如此,我们将通过几个简单的步骤在我们的 Supabase Storage 的图像上实现这个魔法。
1.获取图像存储桶和名称
我们将使用bucket_name和file_name变量来调用无服务器函数,而不是完整的公共 url。如果不是这样,您的图片链接将超级冗长,而且是不必要的。
以下是您可以准备bucket_name和/或file_name的一些方法。
1.如果您允许您的用户将静态内容上传到Public存储桶,请注意键入的bucket_name和file_name用户。
const bucket_name = 'static'    // your bucket name
const file_name = 'avatar.png'    // name for the file

const avatarFile = event.target.files[0]
const { data, error } = await supabase
  .storage
  .from('avatars')
  .upload(`${ bucket_name }/${ file_name }`, avatarFile, {
    cacheControl: '3600',
    upsert: false
  })
2.您可以使用from.list()在bucket中检索您想要的图像。
在这种情况下,我将简单地列出我的bucket_name存储桶中的所有内容。
const { data, error } = await supabase.storage.from(bucket_name).list()
const file_names = data.map(item => item.names)
3.如果你已经在另一个查询中一起获取公共URL,例如https://asdasaeipbvsvnr.supabase.co/storage/v1/object/public/static/avatar.png这样的链接,那么你可以快速获取bucket_name和file_name使用
let link = 'https://asdasaeipbvsvnr.supabase.co/storage/v1/object/public/static/avatar.png'
let [ bucket_name, file_name ] = link.split('public/')[1].split('/')
好的,现在我们有了合适的变量,我们可以开始构建我们的新链接以插入<img>标签! 🙌
2.构建新链接
因为我们使用的是 Vercel 无服务器功能,所以我们需要将我们的 img url 包裹在api路由周围。
如果您在当前项目中使用 Vercel,您可以简单地使用以下代码为您的<img>生成新链接
const params = new URLSearchParams({
    f: file_name,
    b: bucket_name,
    // params we haven't mentioned...
})
const new_link =  window.location.origin + "/api/resize?" + params.toString()
如果您不使用 Vercel 作为部署,您可以轻松地分叉这个我为本教程创建的 repo。您只需按照步骤在 Vercel 上设置您的.env。如果您想了解有关此功能如何工作的更多信息,请继续关注!
无服务器功能
这部分是神奇的地方,让我们在项目根目录中创建一个新文件,命名为api/resize.ts(默认情况下,Vercel 会将 api 文件夹中的所有文件转换为无服务器函数)。
然后,您必须安装一些软件包
我正在使用 yarn 和 typescript,如果你愿意,你可以使用 npm 和纯 Javascript
yarn add sharp axios
yarn add -D @vercel/node @types/sharp
接下来,创建一个基本函数,如下所示:
import { VercelRequest, VercelResponse } from "@vercel/node"
import sharp from "sharp"
import axios from "axios"

export default async (req: VercelRequest, res: VercelResponse) => {
  res.end("Hi")
}
要快速测试api,请运行vercel dev以启动 Vercel Development Server。然后访问http://localhost:3000/api/resize,它应该以'Hi'响应。
之后,将函数替换为:
export default async (req: VercelRequest, res: VercelResponse) => {
  const {
    query: { w, h, f, b, q },
  } = req

  // this tricks to deconstruct all the nested query into it's own variable.
  // parameters
  //   w: width   (pixel)
  //   h: height   (pixel)
  //   f: file_name
  //   b: bucket_name
  //   q: quality  (0 to 100)

  res.end("Hi")
}
还记得我们刚刚为图像创建了一个新链接吗?现在我们必须将其构造回原始 url,然后将其转换为 Buffer。值得庆幸的是,axios 让这项工作变得如此简单。
export default async (req: VercelRequest, res: VercelResponse) => {
   ...

  // check if `bucket_name` and `file_name` are available, else return error
  if (f && b) {
    const url = `${ process.env.SUPABASE_URL }/storage/v1/object/public/${ b }/${ f }`
    const buffer = (await axios({ url, responseType: "arraybuffer" })).data as Buffer

     res.statusCode = 200
     res.setHeader("Content-Type", "image/png")
     res.end(buffer)
  } else {
    res.statusCode = 500
    res.setHeader("Content-Type", "text/html")
    res.end("<h1>Internal Error</h1><p>Sorry, there was a problem</p>")
  }
}
您现在可以像http://localhost:3000/api/resize?f=avatar.png&b=static一样测试这个 api 端点(当然您的存储桶中需要有图像)以查看您的图像是否生成。如果可行,让我们继续本教程中最长的脚本,我们使用sharp 将图像转换为所需的宽度、高度或质量。
export default async (req: VercelRequest, res: VercelResponse) => {
   ...

  if (f && b) {
     ...

   // here we create a new_params object to convert string to number, and also set default value
    const new_params  = {
      w: +w || 800,  // set default 800px
      h: +h || null,    // set to null if not provided, so that Sharp automatically keep the aspect ratio
      q: +q || 80      // set default 80% quality
    }

    // here's where the Transformation happens
    sharp(buffer)
      .resize(new_params.w, new_params.h)
      .jpeg({quality: new_params.q})     // change to .webp() if you want to serve as webp
      .toBuffer()
      .then((data) => {
        // here's where set the cache
        // I set to cache the media for 1 week, 60seconds * 60minutes * 24hours * 7days
        // remove setHeader('Cache-Control') if you wish not to cache it
        res.statusCode = 200
        res.setHeader("Cache-Control", `public, immutable, no-transform, s-maxage=604800, max-age=604800`)
        res.setHeader("Content-Type", "image/jpeg")
        res.end(data)
      })

  } else {
    res.statusCode = 500
    res.setHeader("Content-Type", "text/html")
    res.end("<h1>Internal Error</h1><p>Sorry, there was a problem</p>")
  }
}
而已!只需几行代码,您就可以拥有自己的 CDN 和 Supabase 存储转换!!!!但!不要忘记我们在前端创建的new_link。
最后!
这是本教程的最后一步,我们之前生成了new_link,但现在可以添加更多参数了。
// Set a few width so that cache is more efficient, and need not to create so many cache when different browser visit your website.
let windowWidth = 0
if(window.innerWidth >= 1200) {
  windowWidth = 1000
} else if (window.innerWidth >= 800) {
  windowWidth = 800
} else {
  windowWidth = 600
}

const params = new URLSearchParams({
    f: file_name,
    b: bucket_name,
    w: windowWidth,
    h: null,    // set to null to keep image's aspect ratio
    q: 0.8
})

const new_link =  window.location.origin + "/api/resize?" + params.toString()

// set the src to new link
document.getElementById("myImg").src = new_link;
我们完成了!本教程的所有源代码都可以在这里找到!
展示柜
查看Made With Supabase并检查<img>,您会在那里看到类似的代码,只是稍作改动。
什么是用 Supabase 制成的?这是 ** 用 Supabase 制作的项目集合**!随意提交您的 Supabase 项目,与世界分享 Supabase 的精彩!
出发前
如果您觉得本教程对您有帮助,并希望进一步学习,请在此处关注我,并关注我的 Twitter!
https://twitter.com/zernonia/status/1428379387863306241

云原生社区为您提供最前沿的新闻资讯和知识内容
更多推荐
 0
0 0
0- 0


 已为社区贡献35528条内容

所有评论(0)