
大数据Nginx之——Nginx安装与使用(详细)
目录
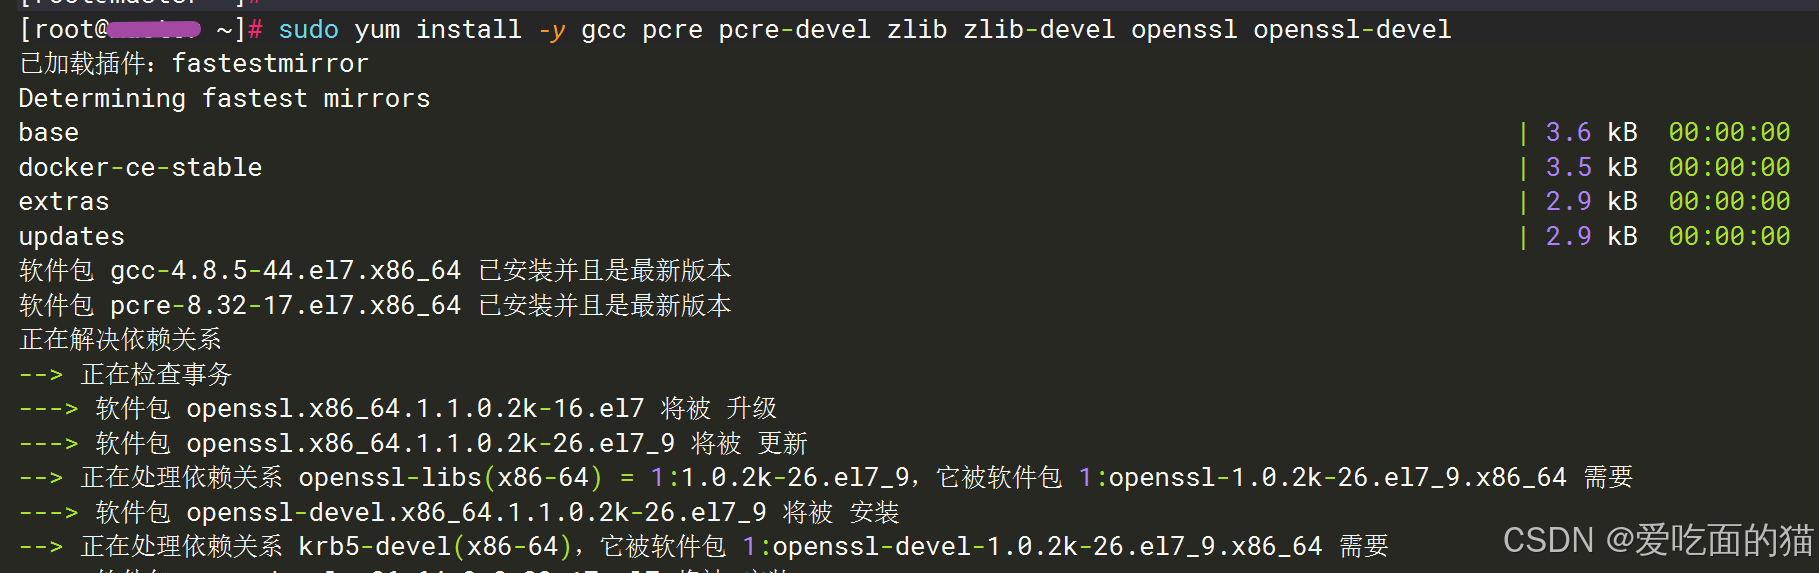
1、安装编译依赖
sudo yum install -y gcc pcre pcre-devel zlib zlib-devel openssl openssl-devel
2、下载和解压 Nginx 源码
cd /opt/module
sudo wget https://nginx.org/download/nginx-1.26.2.tar.gz
sudo tar -zxvf nginx-1.26.2.tar.gz
cd nginx-1.26.2
3、配置、编译与安装
mkdir -p /opt/module/nginx
# 配置编译选项
./configure --prefix=/opt/module/nginx \
--with-http_ssl_module \
--with-http_v2_module \
--with-http_realip_module \
--with-http_stub_status_module
make -j $(nproc)# 安装到系统
sudo make install
4、启动 Nginx 并验证
# 启动 Nginx
sudo /opt/module/nginx/sbin/nginx# 验证 Nginx 进程是否存在
ps aux | grep nginx# 验证端口是否正常监听
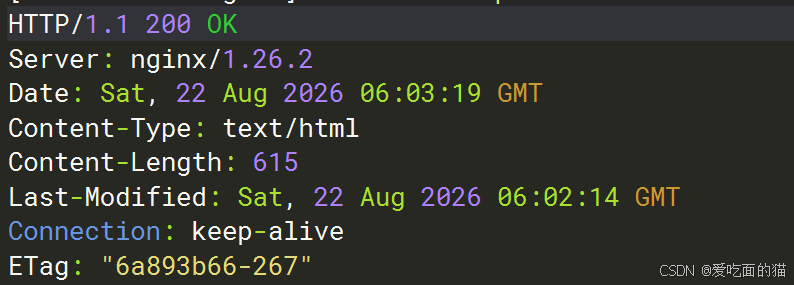
curl -I http://localhost
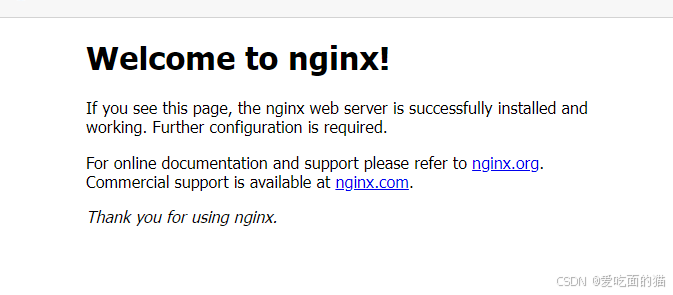
浏览器访问:http://IP
停止
sudo /opt/module/nginx/sbin/nginx -s quit
5、设置 systemd 服务(推荐)
sudo vim /etc/systemd/system/nginx.service
[Unit]
Description=The NGINX HTTP and reverse proxy server
After=network.target remote-fs.target nss-lookup.target[Service]
Type=forking
PIDFile=/usr/local/nginx/logs/nginx.pid
ExecStartPre=/usr/local/nginx/sbin/nginx -t
ExecStart=/usr/local/nginx/sbin/nginx
ExecReload=/usr/local/nginx/sbin/nginx -s reload
ExecStop=/usr/local/nginx/sbin/nginx -s quit
KillMode=mixed
TimeoutStopSec=5
PrivateTmp=true[Install]
WantedBy=multi-user.target
6、启停命令
sudo systemctl daemon-reload
sudo systemctl enable nginx.service
sudo systemctl start nginx.service
sudo systemctl status nginx.service
7、反向代理案例
Nginx 通过 server 块定义虚拟主机,通过 location 块匹配请求路径,再通过 proxy_pass 将请求转发到后端服务。
浏览器请求 → Nginx (80端口) → proxy_pass → 后端服务 (如 localhost:8080)
server {
listen 80;
server_name localhost;# 代理到 Java 后端 API
location /api/ {
proxy_pass http://localhost:8080/api/;
proxy_set_header Host $host;
proxy_set_header X-Real-IP $remote_addr;
}# 代理到前端开发服务器
location /app/ {
proxy_pass http://localhost:3000/app/;
proxy_set_header Host $host;
}# 默认静态文件
location / {
root /usr/local/nginx/html;
index index.html;
}
}
更多推荐
 6
6 0
0- 0


 已为社区贡献5条内容

所有评论(0)