
基于Python+OpenCV编写的汽车车型识别(GUI界面)
·
收藏关注不迷路!!
🌟文末获取源码+数据库🌟
感兴趣的可以先收藏起来,还有大家在毕设选题(免费咨询指导选题),项目以及论文编写等相关问题都可以给我留言咨询,希望帮助更多的人
一、项目介绍
基于Python+OpenCV编写的汽车车型识别系统是一种在智能交通和车辆管理领域具有广泛应用前景的技术解决方案。以下是对该系统的详细介绍:
一、系统背景与意义
在现代交通管理中,对汽车车型的快速准确识别具有重要意义。它不仅有助于智能交通系统的构建,还可以用于车辆追踪、违规检测、停车场管理等多个方面。通过自动识别汽车车型,交通管理部门可以更加高效地监控和管理交通流量,提高道路安全性;停车场则可以通过车型识别来优化车位分配和收费管理,提升用户体验。
技术基础
Python:以其简洁的语法、强大的库支持和易于上手的特性,成为本系统的主要编程语言。
OpenCV:一个开源的计算机视觉库,包含了大量的图像处理函数和计算机视觉算法。在本系统中,OpenCV主要用于图像的预处理、特征提取和分类器训练等任务。
二、核心代码
部分代码:
import torch
import numpy as np
from PIL import Image

import tkinter as tk
import tkinter.filedialog as filedialog
from AlexNet_model import *


# 待识别图片所在路径
picname = ""

# 模型路径
modelfilename = r'../module/alexnet6-08521.pt'
carclass = ['公交车', '货车', '客运车', '面包车', '皮卡车', '小轿车']

# 加载模型
print("加载模型...")
load_model = AlexNet()
load_model.load_state_dict(torch.load(modelfilename, map_location=torch.device('cpu')))
load_model.eval()
criterion = torch.nn.CrossEntropyLoss()
lst = [0 for i in range(6)]
six = [torch.tensor([i]) for i in range(6)]
print("加载完毕...")

def select_pic():
    global picname
    picname=filedialog.askopenfilename()
    print(picname)


def start():
    img = Image.open(picname)
    tmpimg = img.resize((227,227), Image.ANTIALIAS)
    tmpimg = np.transpose(tmpimg, (2,0,1))
    img = np.array(tmpimg, dtype=float)
    img = torch.from_numpy(np.array([img]))
    img = img.type(torch.FloatTensor)
    output = load_model(img)
    for j in range(6):
        lst[j]=criterion(output, six[j])
    gus = lst.index(min(lst))
    print('预测值: ', carclass[gus])

def end():
    exit()

if __name__ == "__main__":
    gui = tk.Tk()
    gui.title("car gui")
    gui.geometry("400x300+800+400")

    # 创建按钮
    button1 = tk.Button(gui, text="选择图片", command=select_pic, width=60, height=2)
    button1.pack()

    button2 = tk.Button(gui, text="开始识别", command=start, width=60, height=2)
    button2.pack()

    button3 = tk.Button(gui, text="退出", command=end, width=60, height=2)
    button3.pack()

    gui.mainloop()
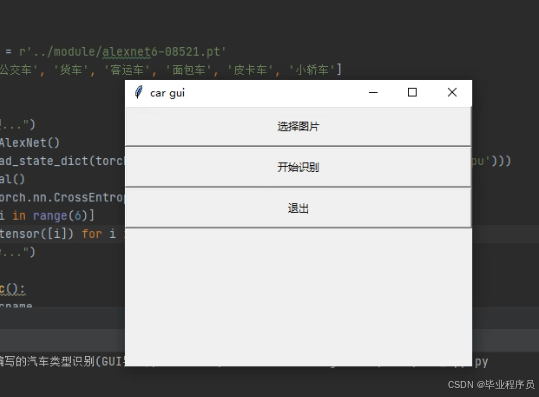
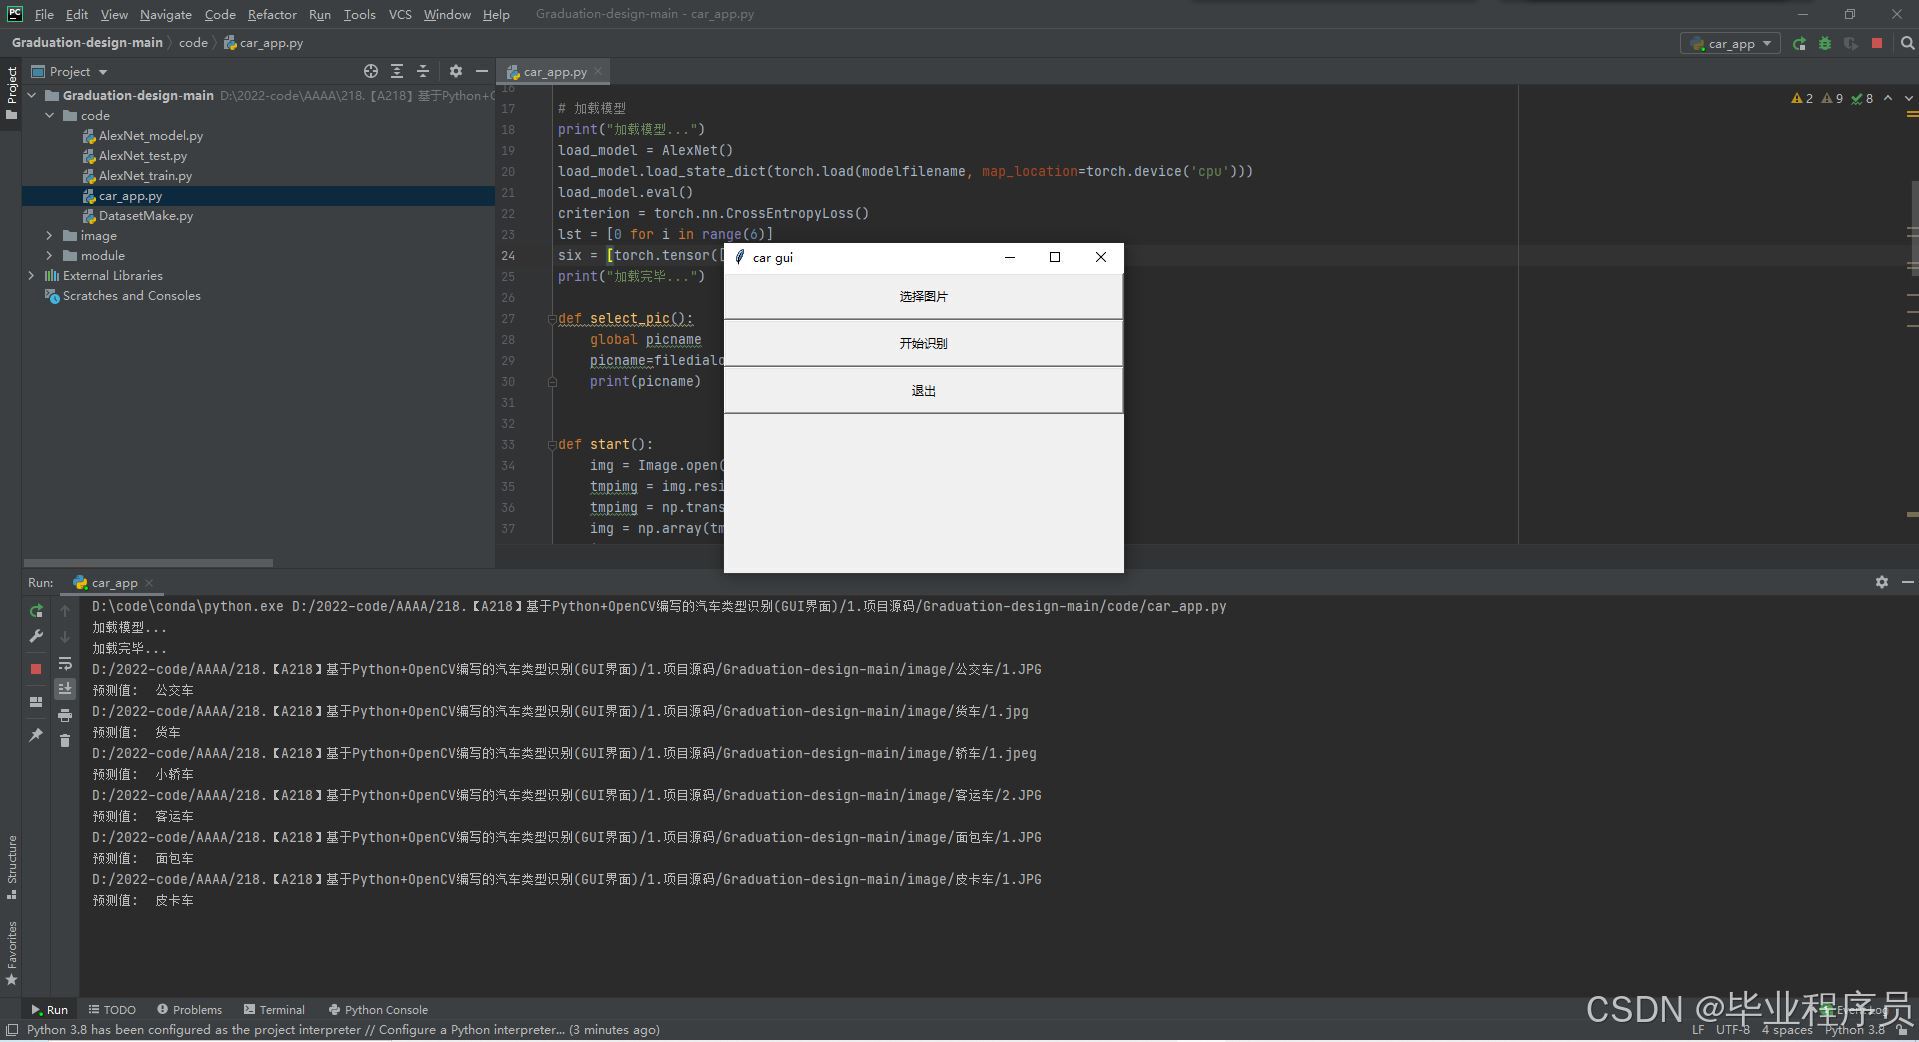
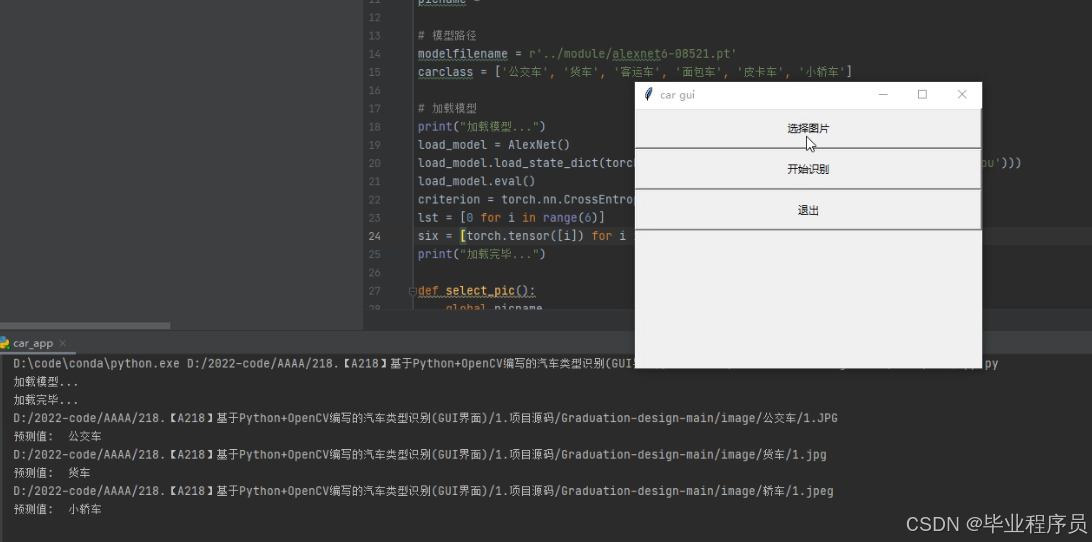
三、效果图
四、源码获取
下方名片联系我即可!!
大家点赞、收藏、关注、评论啦 、查看👇🏻获取联系方式👇🏻

音视频技术社区,一个全球开发者共同探讨、分享、学习音视频技术的平台,加入我们,与全球开发者一起创造更加优秀的音视频产品!
更多推荐
 4
4 0
0- 0


 已为社区贡献3条内容

所有评论(0)