

Learn how to make front-end web apps with ease using Vue.js, an increasingly popular JavaScript front-end framework

Vue.js (Vue) is a JavaScript framework for building applications and websites.
If you’re unsure what a JavaScript framework is? Well it helps you create modern day applications. Modern JavaScript applications are mostly used on the Web, but also power a lot of Desktop and Mobile applications.
Vue is a JavaScript framework for building user interfaces. It builds on top of standard HTML, CSS and JavaScript, and provides a declarative and component-based programming model that helps you efficiently develop user interfaces, be it simple or complex.
So how does it help you and why you should learn Vue?
Firstly, Vue provides tools to help you make your websites and apps faster and more dynamic.
As we know, apps are increasingly getting complicated front-ends that requires to handle large amount of user interactions and dynamic data. Since front-end frameworks are JavaScript libraries, hence it make it easy to write the code to create and display this enormous amount of data.
In short, Vue makes front-end web development easier and more exciting than it’s ever been.
The Progressive Framework
Vue is a framework and ecosystem that covers most of the common features needed in frontend development. But the web is extremely diverse — the things we build on the web may vary drastically in form and scale. With that in mind, Vue is designed to be flexible and incrementally adoptable.

Quick Start
Depending on your use case and preference, you can use Vue with or without a build step. For this tutorial, we will be using the build tool.
Pre-requisites
- Familiarity with the command line
- Install Node.js
To create a build-tool-enabled Vue project on your machine, run the following command in your command line:
npm init vue@latest
This command will install and execute create-vue, the official Vue project scaffolding tool. You will be presented with prompts for a number of optional features such as TypeScript and testing support.
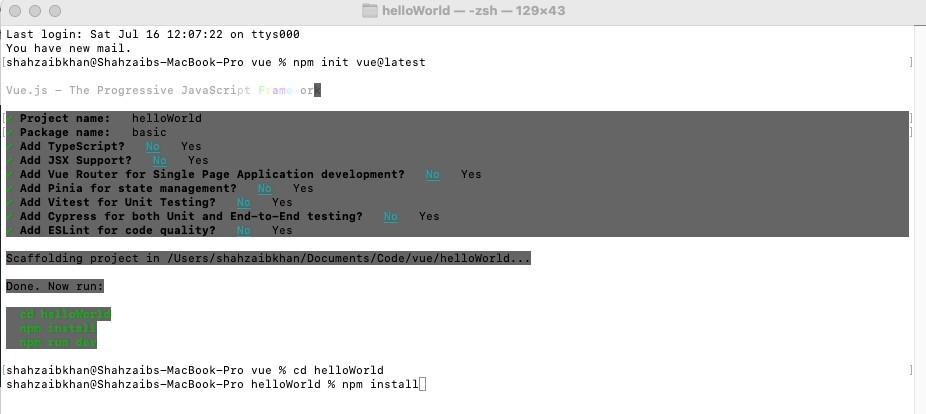
If you are unsure about an option, simply choose No by hitting enter for now. Once the project is created, follow the instructions to install dependencies and start the dev server:
cd <your-project-name>
npm install
If all goes well you should have your Vue framework setup.
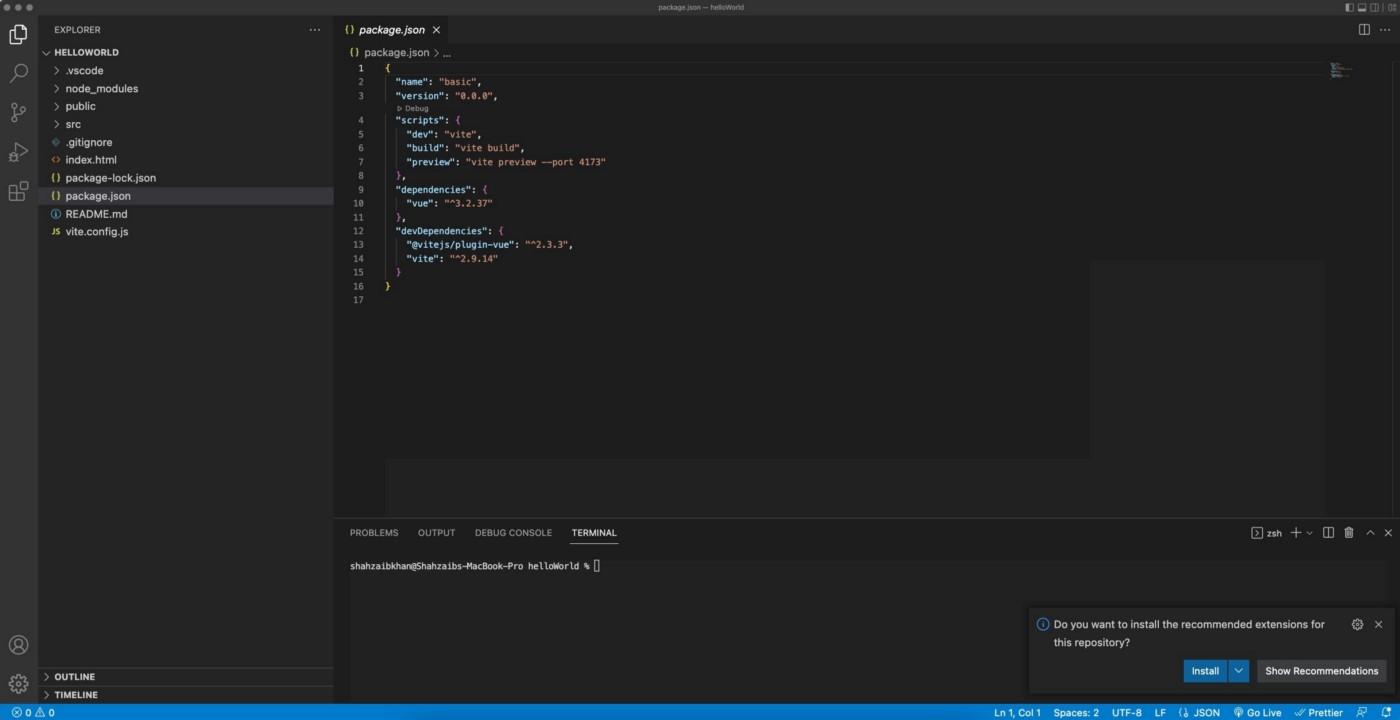
For this tutorial, we are using Visual Studio code.
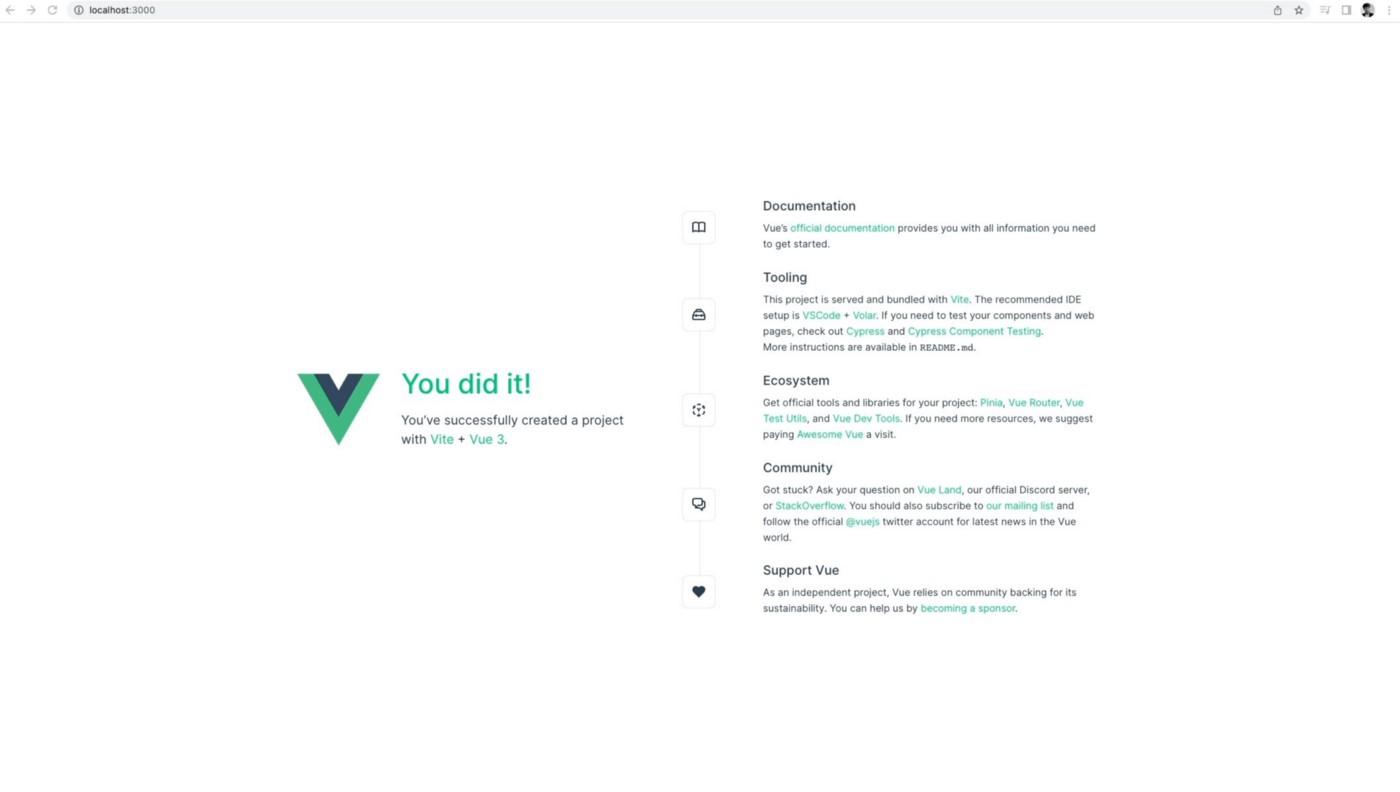
Lets just run our Vue framework.
npm run dev
Here are some additional tips:
- The recommended IDE setup is Visual Studio Code + Volar extension. If you use other editors, check out the IDE support section.
- More tooling details, including integration with backend frameworks, are discussed in the Tooling Guide.
- Chrome Extension for debugging: Vue.js devtools
- For syntax highlighting in Visal Studio Code: vetur
When you are ready to ship your app to production, run the following:
npm run build
This will create a production-ready build of your app in the project’s ./dist directory.

The files structure
Beside package.json, which contains the configuration, these are the files contained in the initial project structure:
index.htmlsrc/App.vuesrc/main.jssrc/assets/logo.pngsrc/components/HelloWorld.vueindex.html
index.html
The index.html file is the main app file.
<!DOCTYPE html>
<html lang="en">
  <head>
    <meta charset="UTF-8" />
    <link rel="icon" href="/favicon.ico" />
    <meta name="viewport" content="width=device-width, initial-scale=1.0" />
    <title>Vite App</title>
  </head>
  <body>
    <div id="app"></div>
    <script type="module" src="/src/main.js"></script>
  </body>
</html>
In the body it includes just one simple element: <div id="app"></div>. This is the element the Vue application we’ll use to attach to the DOM.
src/main.js
This is the main JavaScript file that drives our app.
import { createApp } from 'vue'
import App from './App.vue'import './assets/main.css'createApp(App).mount('#app')
We first import the Vue library and the App component from App.vue.
Next, we create the Vue instance, by assigning it to the DOM element identified by #app, which we defined in index.html, and we tell it to use the App component.
src/App.vue
App.vue is a Single File Component. It contains three chunks of code: HTML, CSS, and JavaScript.
<script setup>
import HelloWorld from './components/HelloWorld.vue'
import TheWelcome from './components/TheWelcome.vue'
</script><template>
  <header>
    <img alt="Vue logo" class="logo" src="./assets/logo.svg" width="125" height="125" /><div class="wrapper">
      <HelloWorld msg="You did it!" />
    </div>
  </header><main>
    <TheWelcome />
  </main>
</template><style scoped>
header {
  line-height: 1.5;
}.logo {
  display: block;
  margin: 0 auto 2rem;
}@media (min-width: 1024px) {
  header {
    display: flex;
    place-items: center;
    padding-right: calc(var(--section-gap) / 2);
  }.logo {
    margin: 0 2rem 0 0;
  }header .wrapper {
    display: flex;
    place-items: flex-start;
    flex-wrap: wrap;
  }
}
</style>
Reviewing the above code:
We first import components from the component file, which we use later in the html under template.
Script:
<script setup>
import HelloWorld from './components/HelloWorld.vue'
import TheWelcome from './components/TheWelcome.vue'
</script>
Template:
<template>
  <header>
    <img alt="Vue logo" class="logo" src="./assets/logo.svg" width="125" height="125" /><div class="wrapper">
      <HelloWorld msg="You did it!" />
    </div>
  </header><main>
    <TheWelcome />
  </main>
</template>
Later we style:
<style scoped>
header {
  line-height: 1.5;
}.logo {
  display: block;
  margin: 0 auto 2rem;
}@media (min-width: 1024px) {
  header {
    display: flex;
    place-items: center;
    padding-right: calc(var(--section-gap) / 2);
  }.logo {
    margin: 0 2rem 0 0;
  }header .wrapper {
    display: flex;
    place-items: flex-start;
    flex-wrap: wrap;
  }
}
</style>
Anatomy of a Vue file
Anything else we make will be a .vue file, which always consists of three things:
<template><script><style>
And looks like this:
<template></template><script>
  export default {
    name: 'component-name',
  }
</script><style scoped></style>
This may seem strange to you, as it did to me at first. I originally learned front end coding with a focus on separation of concerns for HTML, CSS, and JavaScript, and here we have all three together. Yet JavaScript and the way we design apps has evolved, and keeping our styles and view and component coupled together is generally considered an advantage and improves maintainability.
The data and logic for the component goes in the <script> tag, but only name is required. The <style> tag is just CSS. We have the advantage of being able to scope the CSS so it only applies to this component and not globally with the scoped attribute.
Now let’s start learning more by building an app.
Cleaning up
Let’s first remove all the unnecessary code that was auto generated.
- From the source folder goto assets and remove base.css file, remove logo.svg
- In the main.css file, remove all the styling code.
- Remove all the components within the component folder
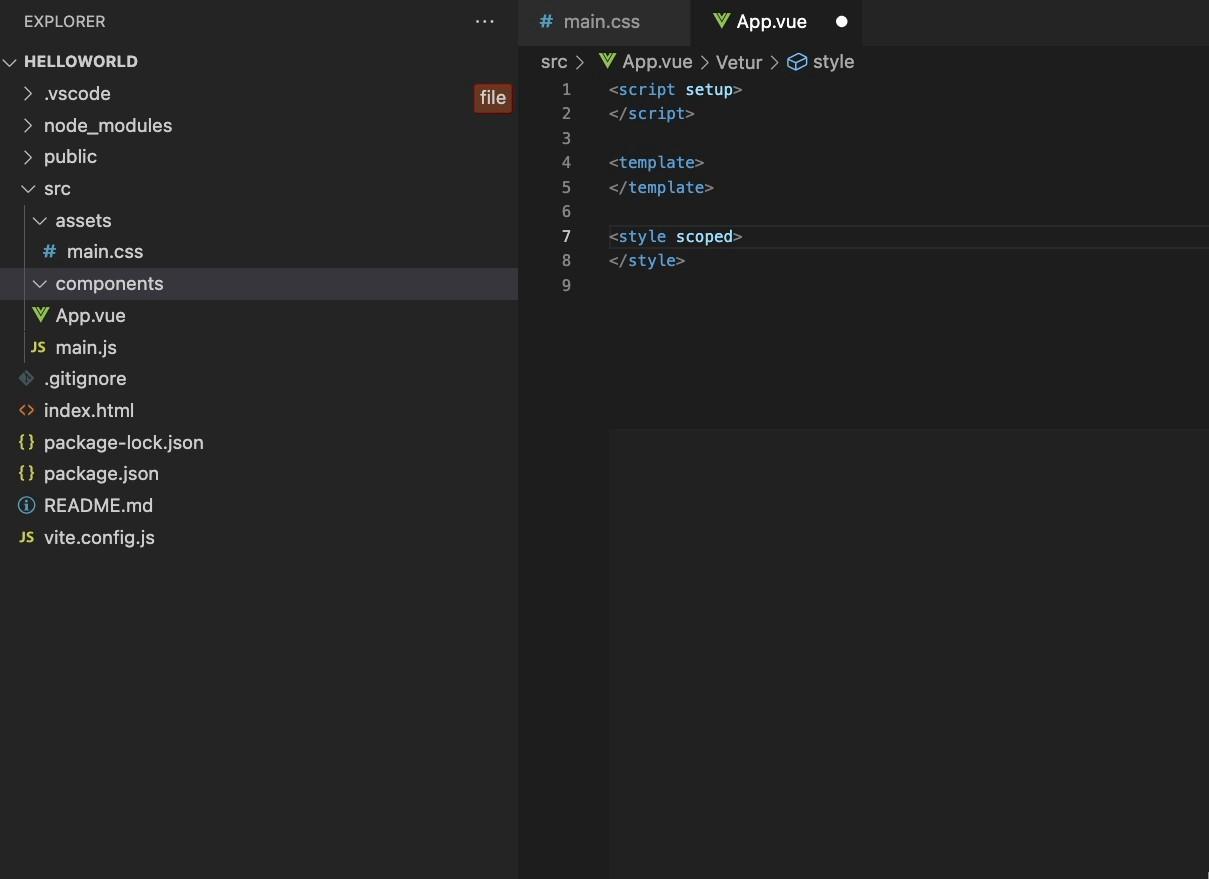
- Your app.vue should look like the code below:
<script setup></script>
<template></template>
<style scoped></style>
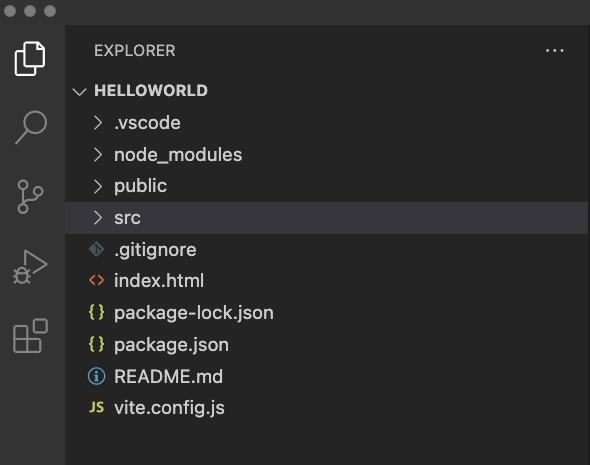
So after cleaning your folder structure should look like this:
Conclusion
To summarize, you have learned
- What is Vue.js?
- How to install Vue.js?
- The files structure
- Anatomy of a Vue file
- How to clean up the folder to work towards developing your first component.

If this post was helpful…it would mean a lot to me if you could click on the “claps” icon…up to 50 claps allowed — Thank You!


 已为社区贡献21233条内容

所有评论(0)