
python--图像颜色反转
import numpy as npimg = cv2.imread('E:/liuying/Pictures/black.png', 1)imgInfo = img.shapeheight = imgInfo[0]width = imgInfo[1]gray = cv2.cvtColor(img,cv2.COLOR_BGR2GRAY)dst = np.zeros((height,w...
·
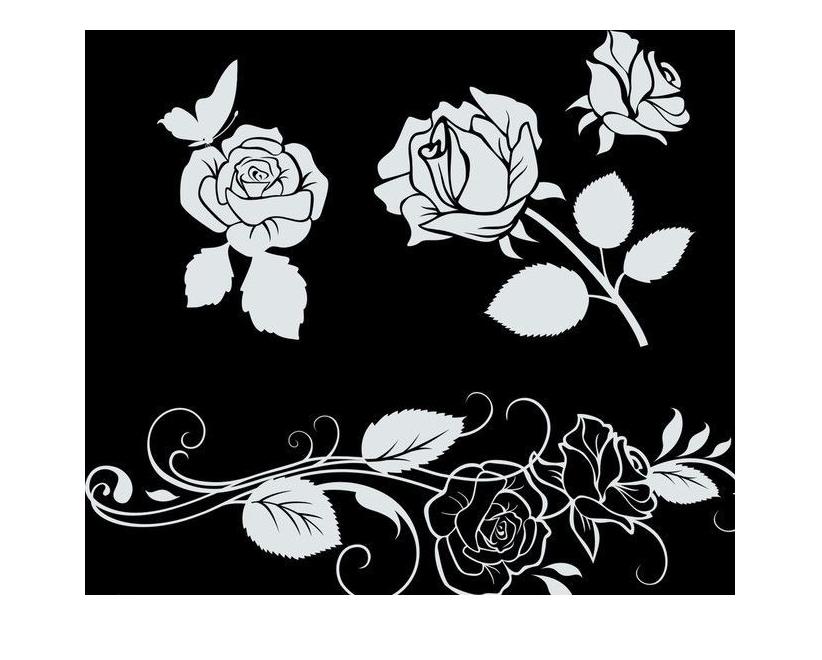
python读取图像并将图像颜色反转,最常见的为了视觉效果将黑白图片颜色对调。
import cv2
# opencv读取图像
img = cv2.imread('E:/liuying/Pictures/timg.jpg', 1)
cv2.imshow('img', img)
img_shape = img.shape  # 图像大小(565, 650, 3)
print(img_shape)
h = img_shape[0]
w = img_shape[1]
# 彩色图像转换为灰度图像(3通道变为1通道)
gray = cv2.cvtColor(img, cv2.COLOR_BGR2GRAY)
print(gray.shape)
# 最大图像灰度值减去原图像,即可得到反转的图像
dst = 255 - gray
cv2.imshow('dst', dst)
cv2.waitKey(0)

也可以用一张色彩比较丰富的彩色图像,灰度化以后进行颜色反转。
import cv2
# opencv读取图像
img = cv2.imread('E:/liuying/Pictures/lighthouse.png', 1)
print(img.shape)
cv2.imshow('img', img)
img_shape = img.shape  # 图像大小(565, 650, 3)
print(img_shape)
h = img_shape[0]
w = img_shape[1]
# 彩色图像转换为灰度图像(3通道变为1通道)
gray = cv2.cvtColor(img, cv2.COLOR_BGR2GRAY)
cv2.imshow('gray', gray)
print(gray.shape)
# 最大图像灰度值减去原图像,即可得到反转的图像
dst = 255 - gray
cv2.imshow('dst', dst)
cv2.waitKey(0)
结果可以看到灰度图像通道数变成1,颜色范围是0-255,反转以后明显看到亮的地方变暗,暗的地方变亮。


同样的也可以将彩色图像直接进行颜色反转。由于opencv是将图像读取到一个图像数组中,因此可以直接用数组计算。
import cv2
# opencv读取图像
img = cv2.imread('E:/liuying/Pictures/lighthouse.png', 1)
print(img.shape)
cv2.imshow('img', img)
img_shape = img.shape  # 图像大小(565, 650, 3)
print(img_shape)
h = img_shape[0]
w = img_shape[1]
# 最大图像灰度值减去原图像,即可得到反转的图像
dst = 255 - img
cv2.imshow('dst', dst)
cv2.waitKey(0)


瓜分20万奖金 获得内推名额 丰厚实物奖励 易参与易上手
更多推荐


 29
29 1
1- 0


 已为社区贡献1条内容

所有评论(0)