
VS2017 C#编程连接MySQL数据库
首先我们去MySQL官网下载MySQL Connector/Net,根据需要下载32位或64位。下载地址:https://dev.mysql.com/downloads/connector/net/点击打开链接下载完成后直接安装即可,需要注意的是,不同的MySQL Connector/Net版本支持的.net framework版本也是不同的,比如MySQL Connector/Net 6
首先我们去MySQL官网下载MySQL Connector/Net,根据需要下载32位或64位。
下载地址:https://dev.mysql.com/downloads/connector/net/点击打开链接
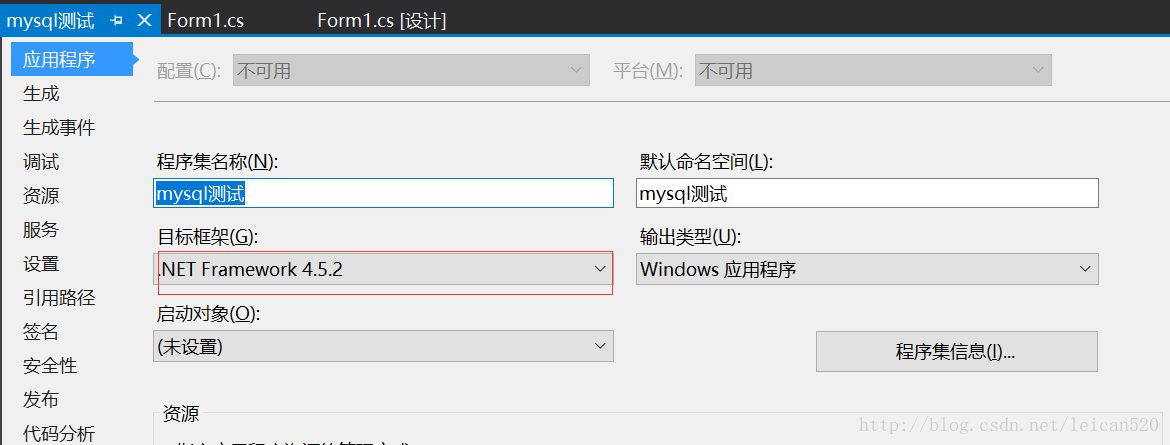
下载完成后直接安装即可,需要注意的是,不同的MySQL Connector/Net版本支持的.net framework版本也是不同的,比如MySQL Connector/Net 6.9.9及之前的版本支持.net framework 4.0,而MySQL Connector/Ne 6.10.1及以后的版本需要.net framework 4.5.2或更高版本才能支持。
小编测试的环境是VS2017下.net framework 4.5.2搭配最新的MySQL Connector/Net 6.10.6。
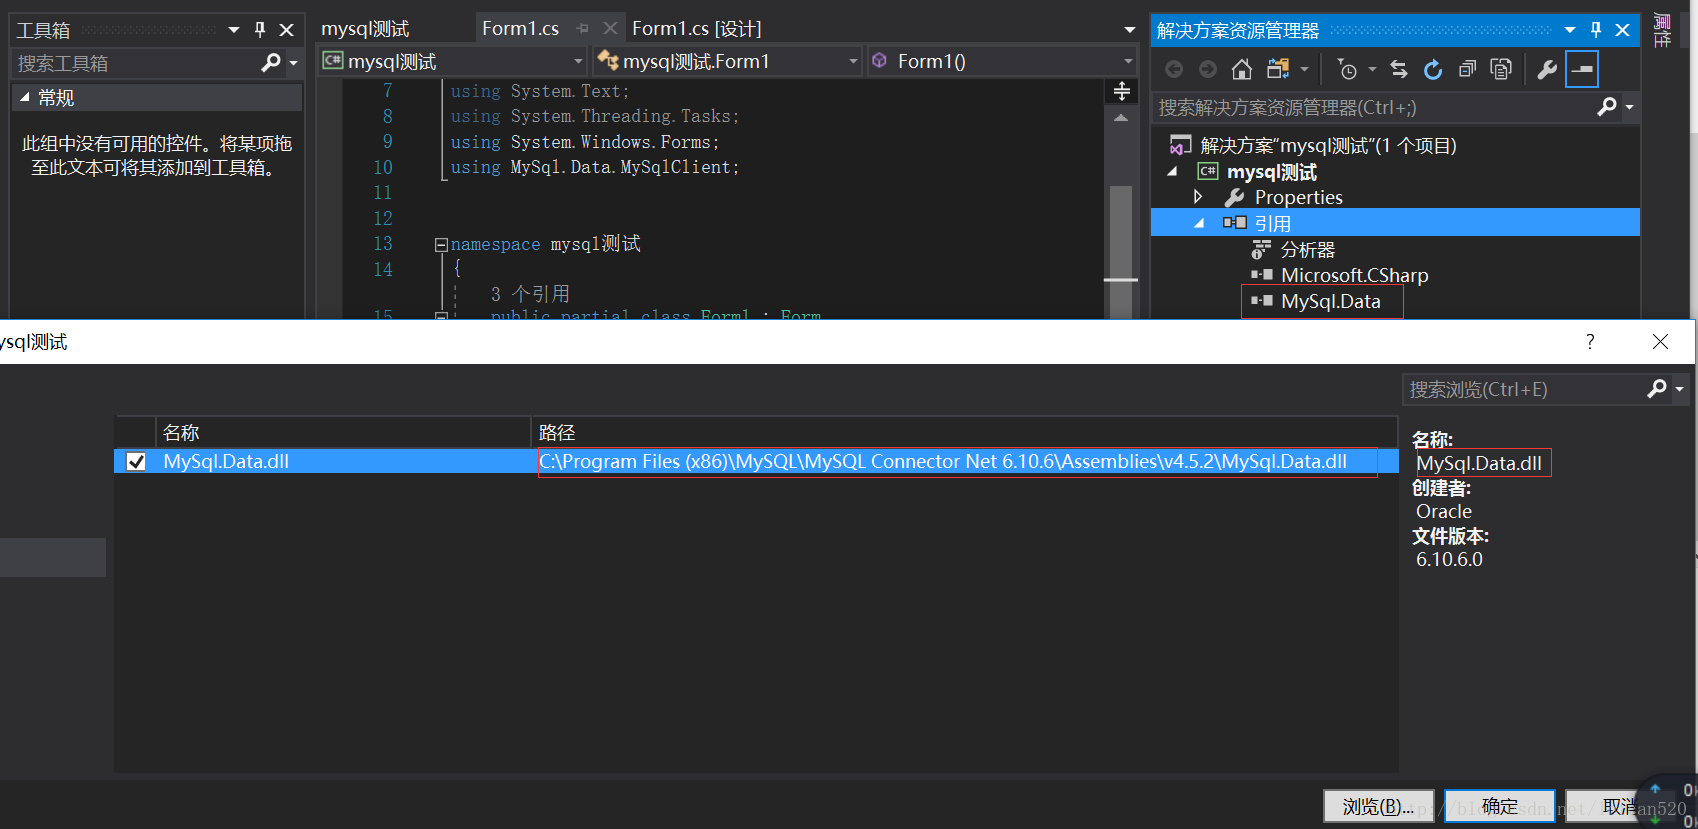
安装完MySQL Connector/Net 6.10.6之后,可以在C:\Program Files (x86)\MySQL\MySQL Connector Net 6.9.9\Assemblies\v4.0下找到MySql.Data.dll类库,我们需要的就是这个类库。
如果你安装的MySQL Connector/Net为64位的,则在C:\Program Files\MySQL\MySQL Connector Net\MySQL Connector Net 6.9.9\Assemblies\v4.0目录下。
然后在VS2017中打开我们的项目,添加对 MySql.Data.dll的引用,如下图所示
添加成功后,在项目中引入命名空间:
using MySql.Data.MySqlClient;private void button1_Click(object sender, EventArgs e)
{
string connString = "server=localhost;database=test;uid=root;pwd=123456";
MySqlConnection conn = new MySqlConnection(connString);
try
{
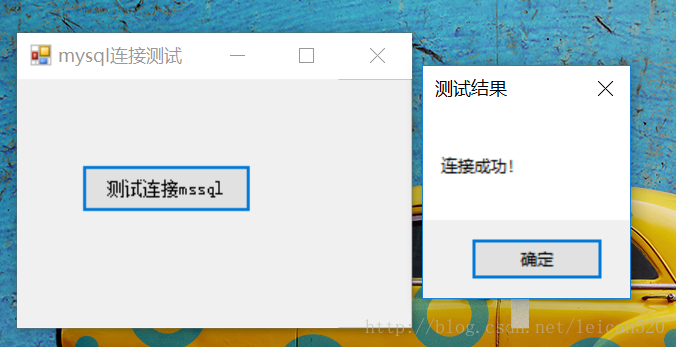
conn.Open();
MessageBox.Show("连接成功!","测试结果");
}
catch (MySqlException ex)
{
MessageBox.Show(ex.Message);
}
finally
{
conn.Close();
}
}
最后祝大家愉快开启与Mysql的数据访问。
无需安装部署,在线快速体验 Byzer
更多推荐
 13
13 0
0- 0


 已为社区贡献1条内容

所有评论(0)