vue 组件之间使用eventbus传值
eventbusvuevue-cli组件传值
·
对于前端
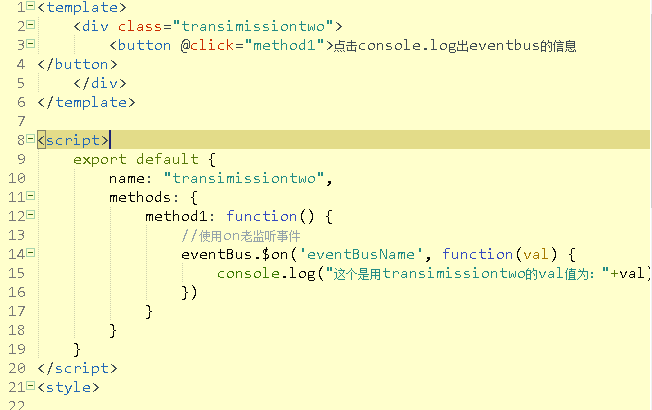
其次是transimissiontwo(监听者)
接着是我们的中枢。app。vue中使用
的我们而言,并非是只有写界面才是最大的问题,很多的情况下,我们需要关注的是数据,比如js页面的数据传递等等,学习vue我们也是需要知道怎么去使用数据
当然,使用存储也是可以得,但是并非一定要缓存,当然在vue中有推荐了我们去使用vuex去数据交互,Vuex会让你的Vue代码足够灵活可控,把数据统一存入state, 只允许通过Actions触发Mutations修改。然而,有时候我们的项目并没有复杂到需要用上Vuex。,(我们也不讨论已经废除的vm.$dispatch)很多情况下我们都是需要一个事件的捕获,这时候我们就可以用到vue的eventbus了
受用eventbus的方法很是简单,我们需要做三步事情,第一步,我们需要创造一个容器去充当我们的eventbus
第二步,我们需要去抛出,或者说提交我们的事件
第三步,我们去监听我们的那个事件(也许这才是第二部)
首先,我们需要在全局定义我们的eventbus
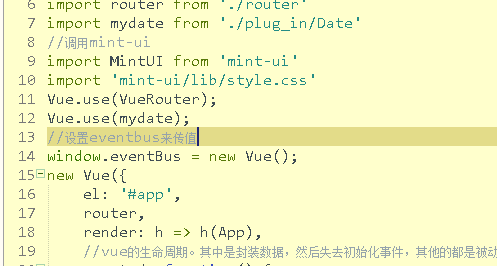
这里我们定义到了eventbus。这就简单的完成了我们的第一步,当然,全局变量,我想你应该知道定义在哪儿的
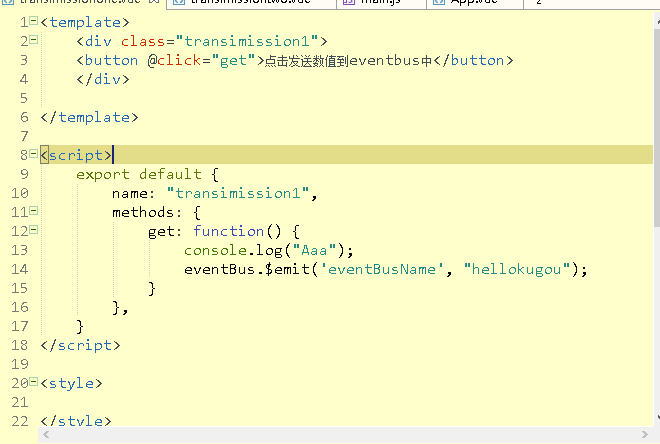
接着我们先去抛出这个事件,使用¥。emit去“提交”
怎样,这点都可以理解吧,其次我们经行第三步,去监听
当然。这里已经监听好的。点击事件俺只是个累赘,
接下来我们就要去界面中使用它们了
首先,倒入我们所需要的文件:
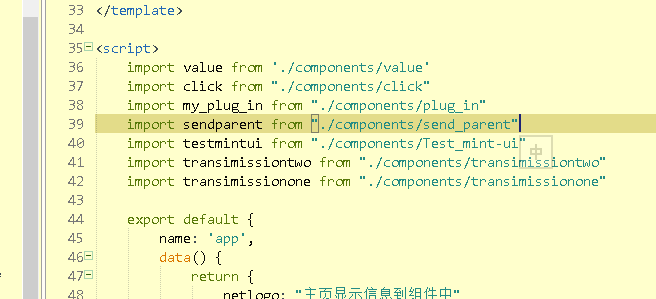
这里我使用的是谈transimissionone还有transimissiontwo两个文件‘
接着是定义
其次是使用

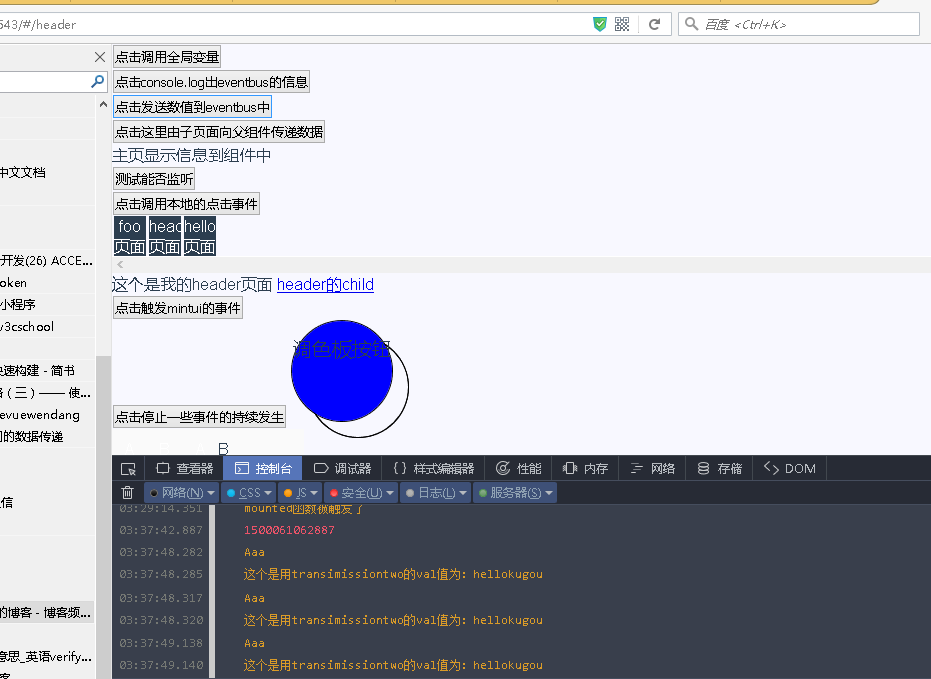
最后运行我们的项目,查看下效果
这边主要是交大家使用,所以代码就俘虏在下面,主要是四个文件
transimissionone。vue(发送事件的文件)
<template>
	<div class="transimission1">
	<button @click="get">点击发送数值到eventbus中</button>
	</div>

</template>

<script>
	export default {
		name: "transimission1",
		methods: {
			get: function() {
				console.log("Aaa");
				eventBus.$emit('eventBusName', "hellokugou");
			}
		},
	}
</script>

<style>

</style>
其次是transimissiontwo(监听者)
<template>
<div class="transimissiontwo">
<button @click="method1">点击console.log出eventbus的信息
</button>
</div>
</template>
<script>
export default {
name: "transimissiontwo",
methods: {
method1: function() {
//使用on老监听事件
eventBus.$on('eventBusName', function(val) {
console.log("这个是用transimissiontwo的val值为:"+val)
})
}
}
}
</script>
<style>
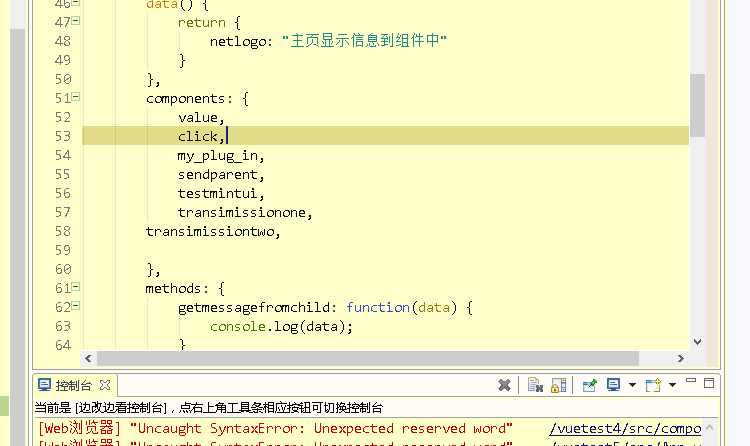
</style>接着是我们的中枢。app。vue中使用
<template>
	<div id="app">
		<click></click>
	<transimissiontwo></transimissiontwo>
		<transimissionone></transimissionone>
	<sendparent @listenertochildevent="getmessagefromchild"></sendparent>
		<value :locallogo="netlogo"></value>
		<!--无法监听,说明要在那个组件中-->
		<button @listenertochildevent="getmessagefromchild">测试能否监听</button>
		<my_plug_in></my_plug_in>
		<div class="choose_div">
			<ul>

				<li>
					<router-link to="/foo">foo页面</router-link>
				</li>
				<li>
					<router-link to="/header">header页面</router-link>
				</li>
				<li>
					<router-link to="/hello">hello页面</router-link>
				</li>
				<li style="clear: both;list-style: none;"></li>
			</ul>

		</div>

		<div class="main">
			<router-view class="my_router_iew"></router-view>
		</div>
		<testmintui></testmintui>
	</div>
</template>

<script>
	import value from './components/value'
	import click from "./components/click"
	import my_plug_in from "./components/plug_in"
	import sendparent from "./components/send_parent"
	import testmintui from "./components/Test_mint-ui"
	import transimissiontwo from "./components/transimissiontwo"
	import transimissionone from "./components/transimissionone"

	export default {
		name: 'app',
		data() {
			return {
				netlogo: "主页显示信息到组件中"
			}
		},
		components: {
			value,
			click,
			my_plug_in,
			sendparent,
			testmintui,
			transimissionone,
		transimissiontwo,

		},
		methods: {
			getmessagefromchild: function(data) {
				console.log(data);
			}
		}
	}
</script>

<style>
	body {
		background-color: #f8f8ff;
		font-family: 'Avenir', Helvetica, Arial, sans-serif;
		color: #2c3e50;
	}

	ul {
		width: 12rem;
	}

	ul li {
		list-style: none;
	}

	ul li:not(:last-child) {
		list-style: none;
		width: 2rem;
		margin-left: 0.1rem;
		margin-right: 0.1rem;
		float: left;
		text-align: center;
		background: #2C3E50;
		color: white;
	}

	ul li a {
		text-decoration: none;
		font-size: 16px;
		color: white;
		line-height: 1rem;
		text-align: center;
	}

	ul li:nth-child {
		list-style: none;
		clear: both;
	}

	.choose_div {
		width: 100%;
		overflow: scroll;
	}
</style>window.eventBus = new Vue();
前往低代码交流专区
更多推荐


 10
10 0
0- 0


 已为社区贡献26条内容

所有评论(0)