
Windows安装openclaw步骤
切换到淘宝镜像(解决网络/源问题): npm config set registry https://registry.npmmirror.com。输入openclaw官方安装命令 iwr -useb https://openclaw.ai/install.ps1|iex。上面的命令报错了,改用iwr -useb https://openclaw.ai/install.ps1 | iex命令。接下
首先打开Node.js — 在任何地方运行 JavaScript
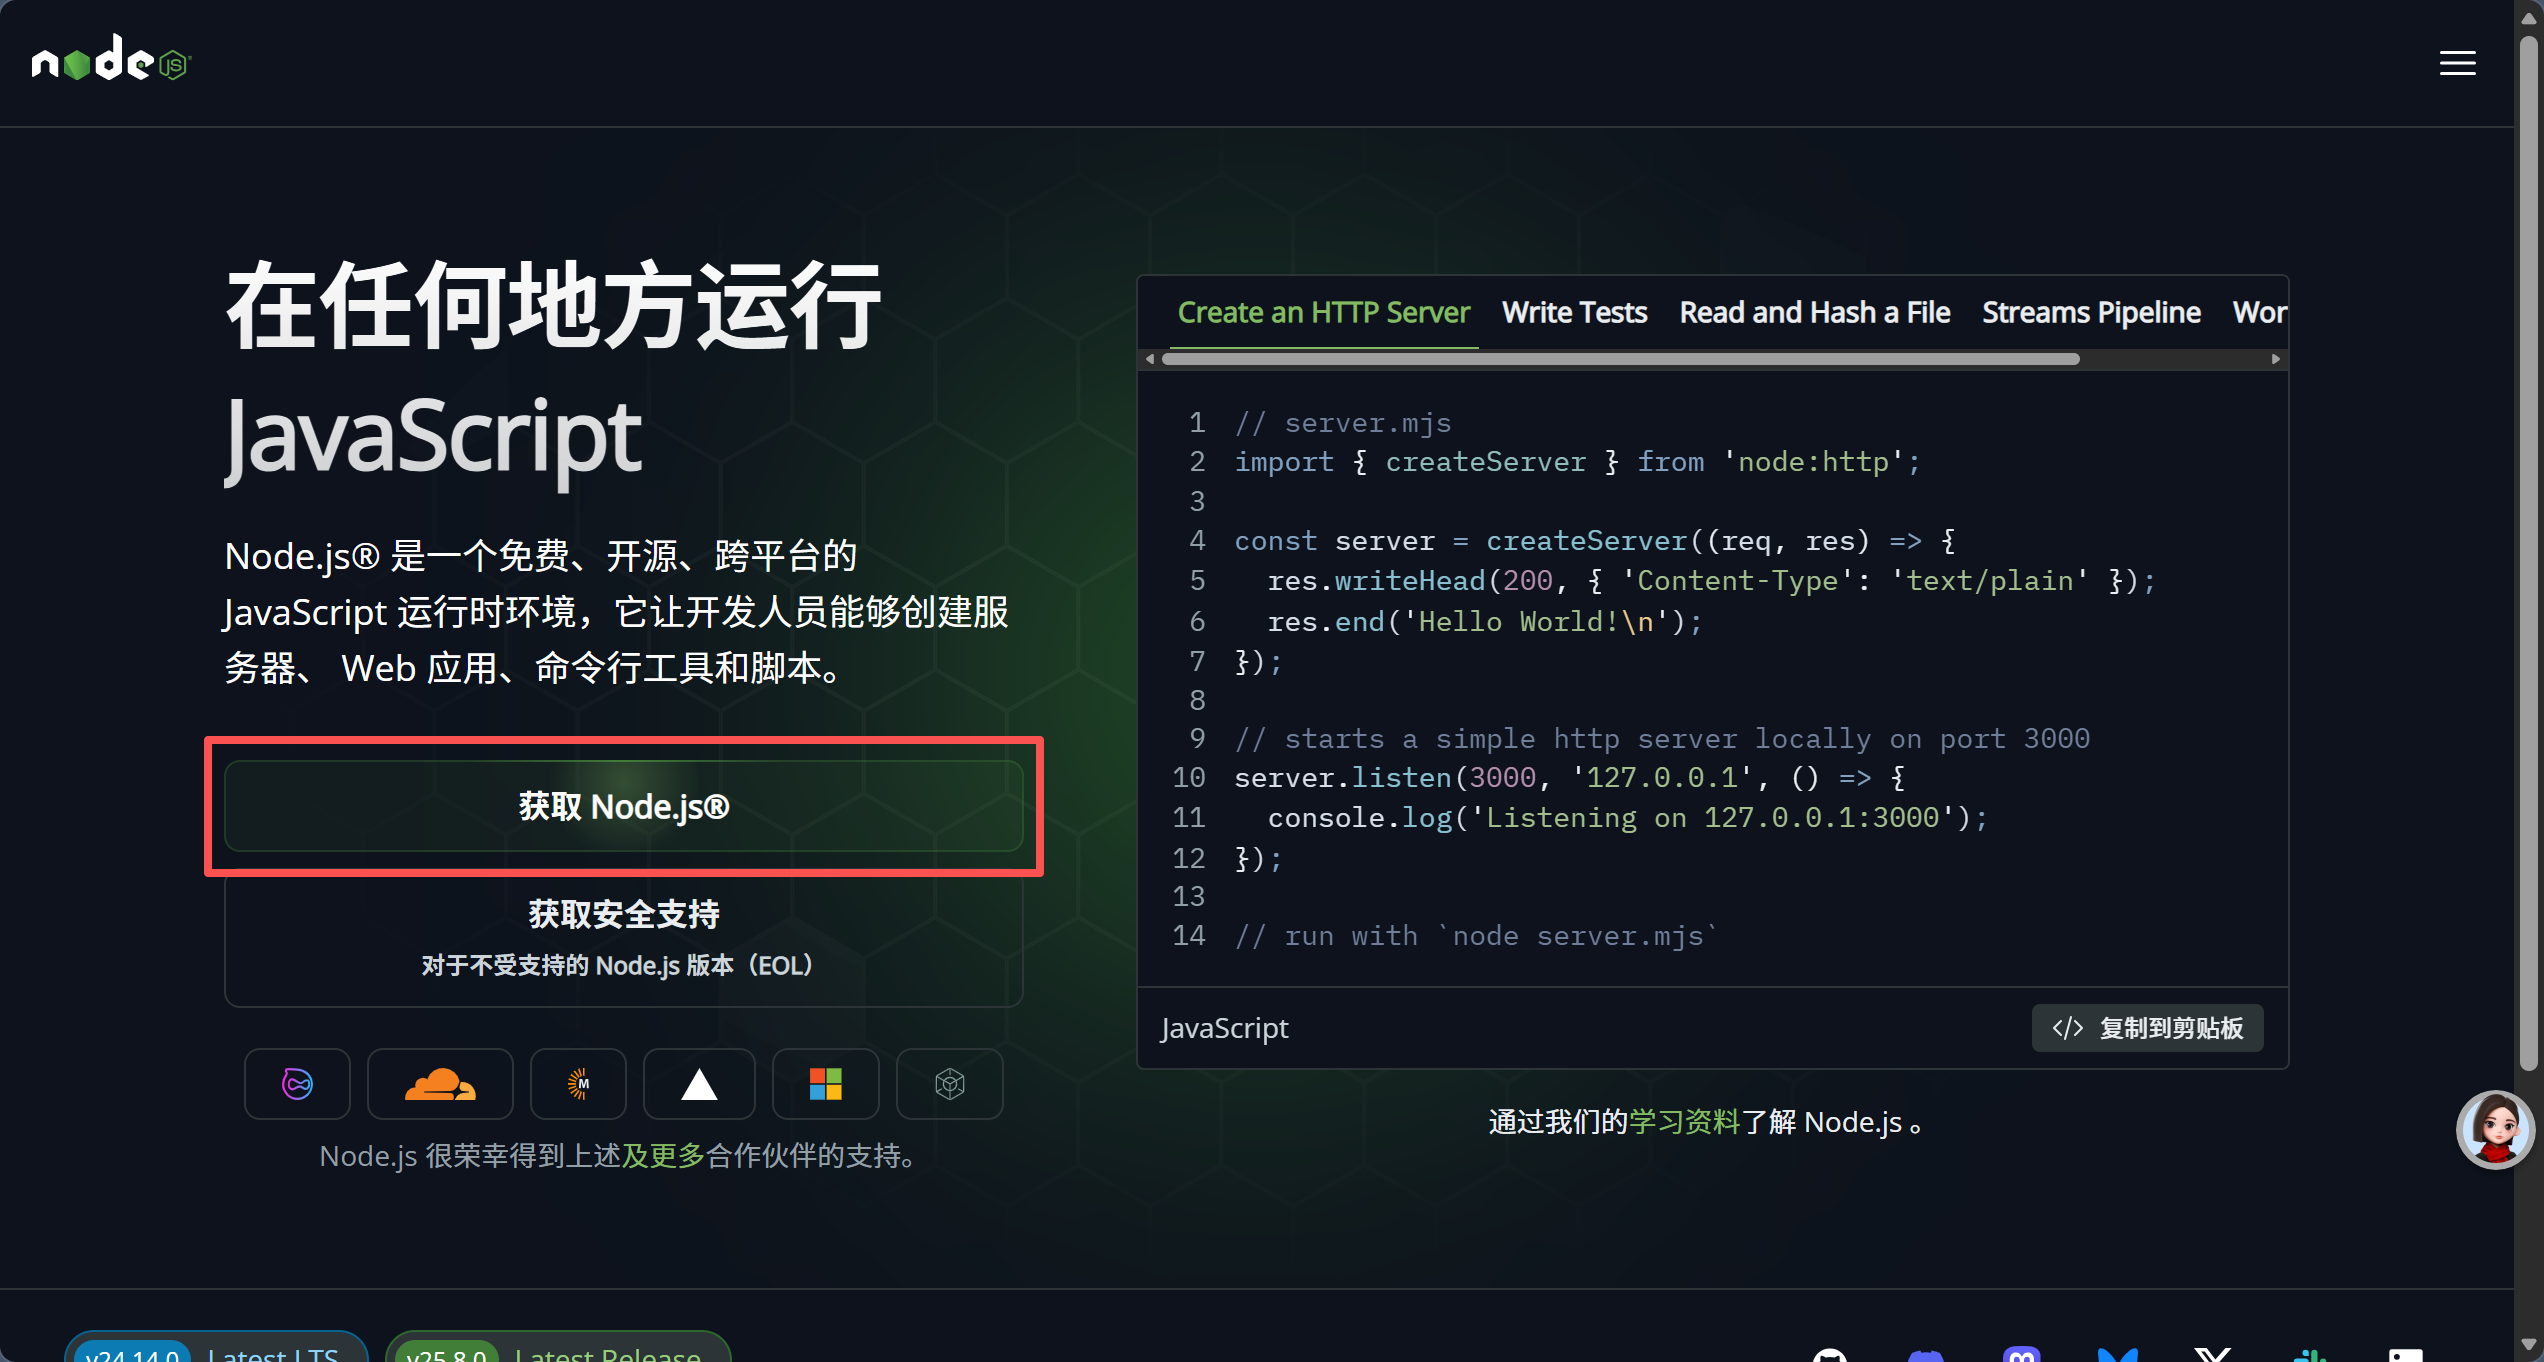
点击“获取Node.js@”。
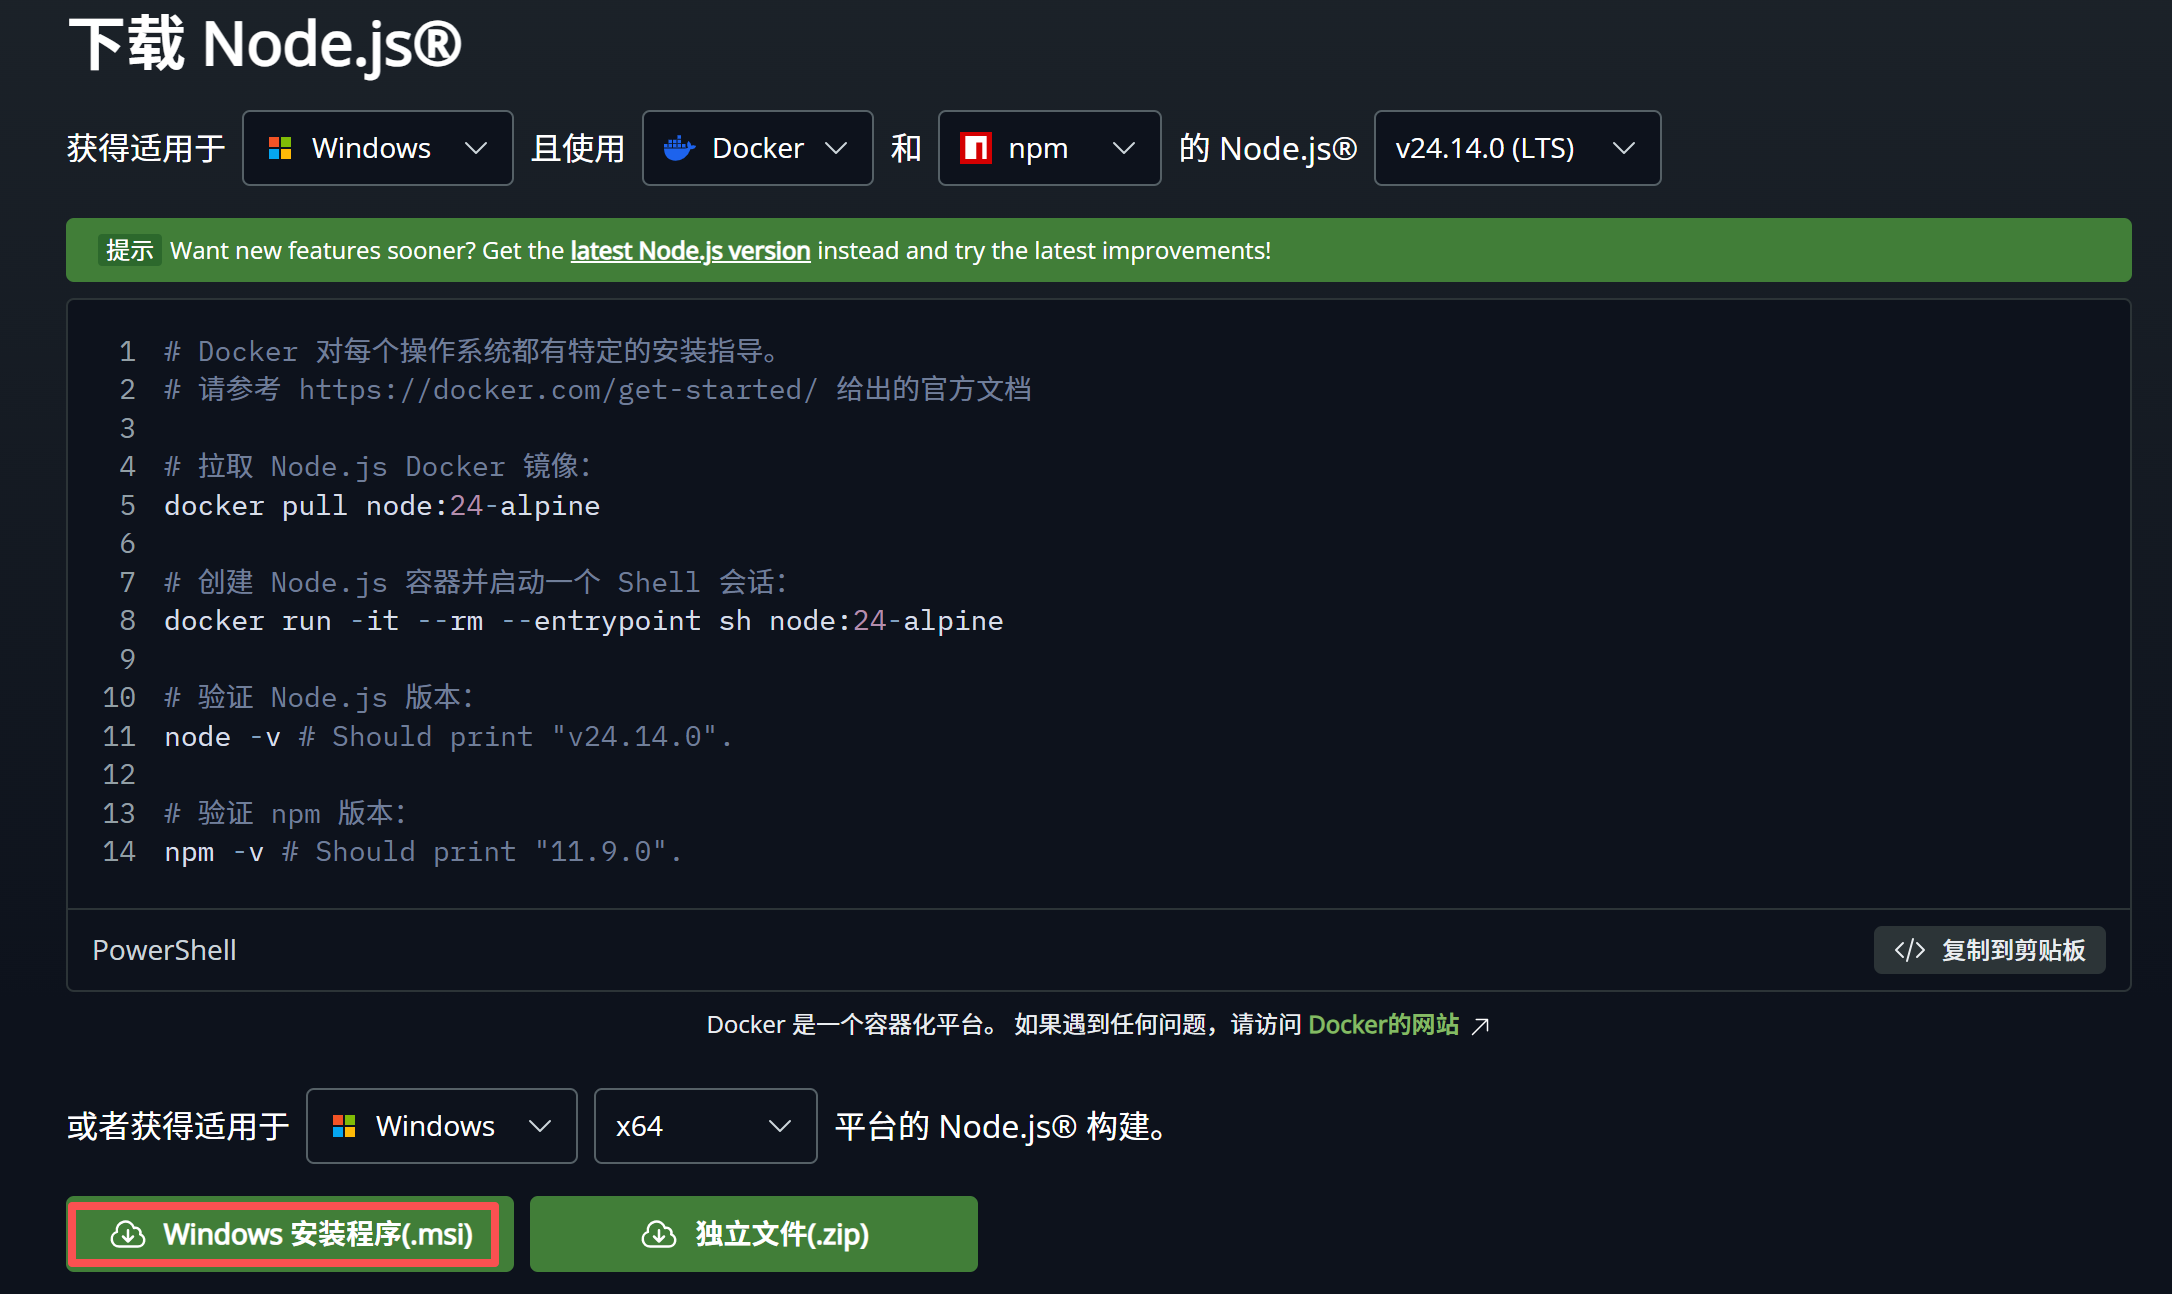
点击“Windows安装程序”
下载完成打开安装包
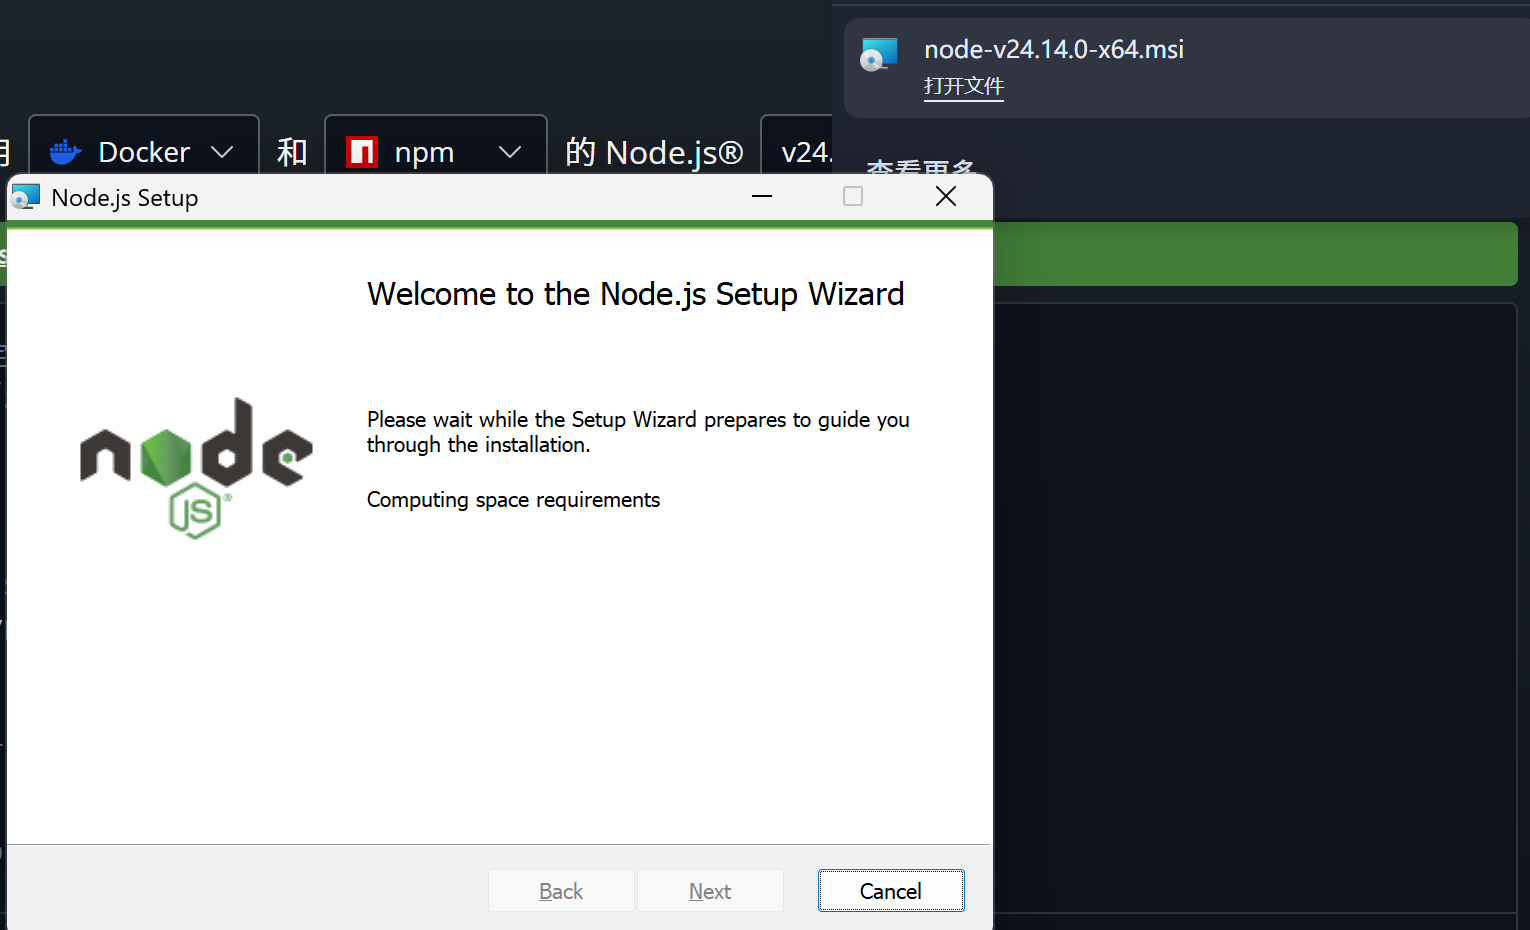
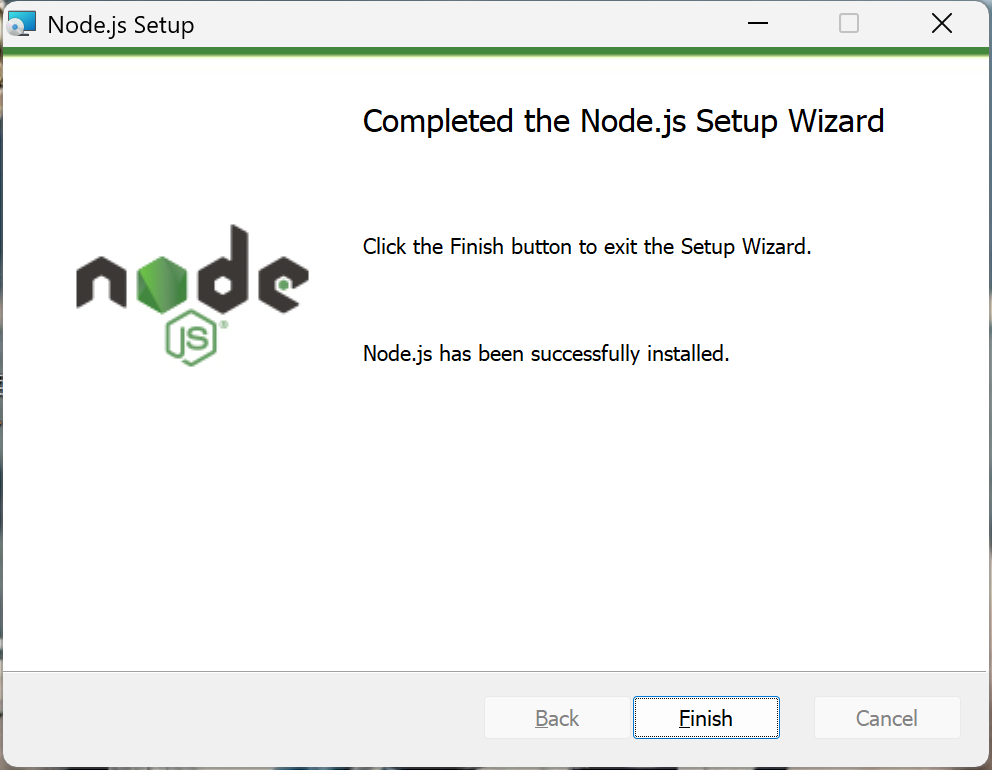
一直点击“是”就好了
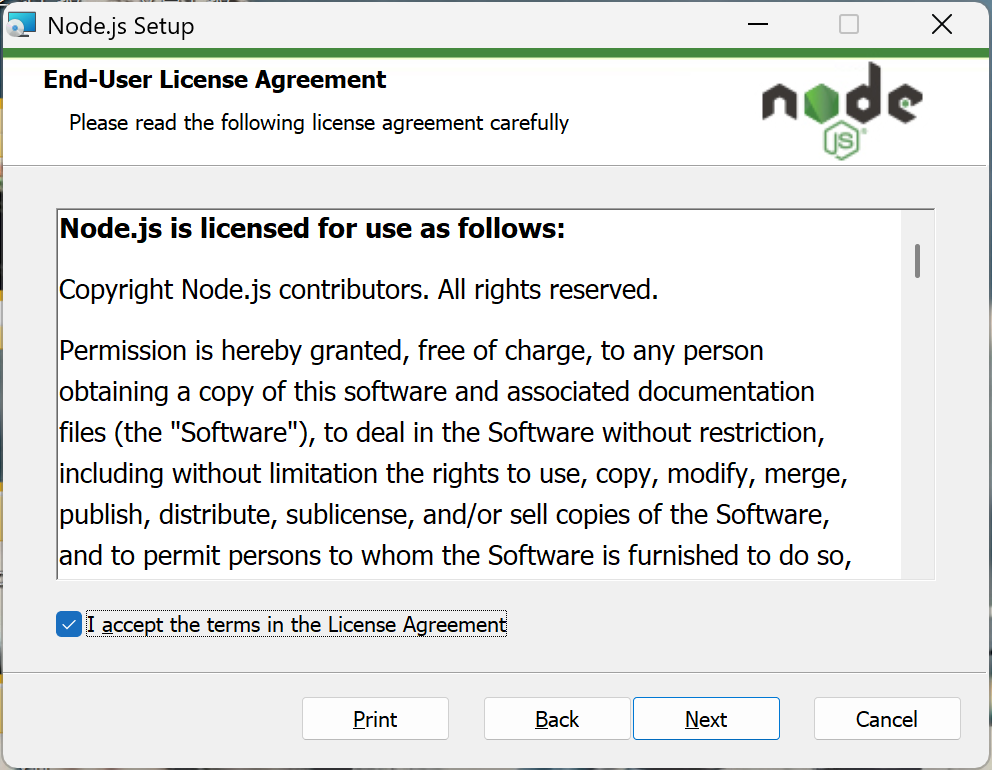
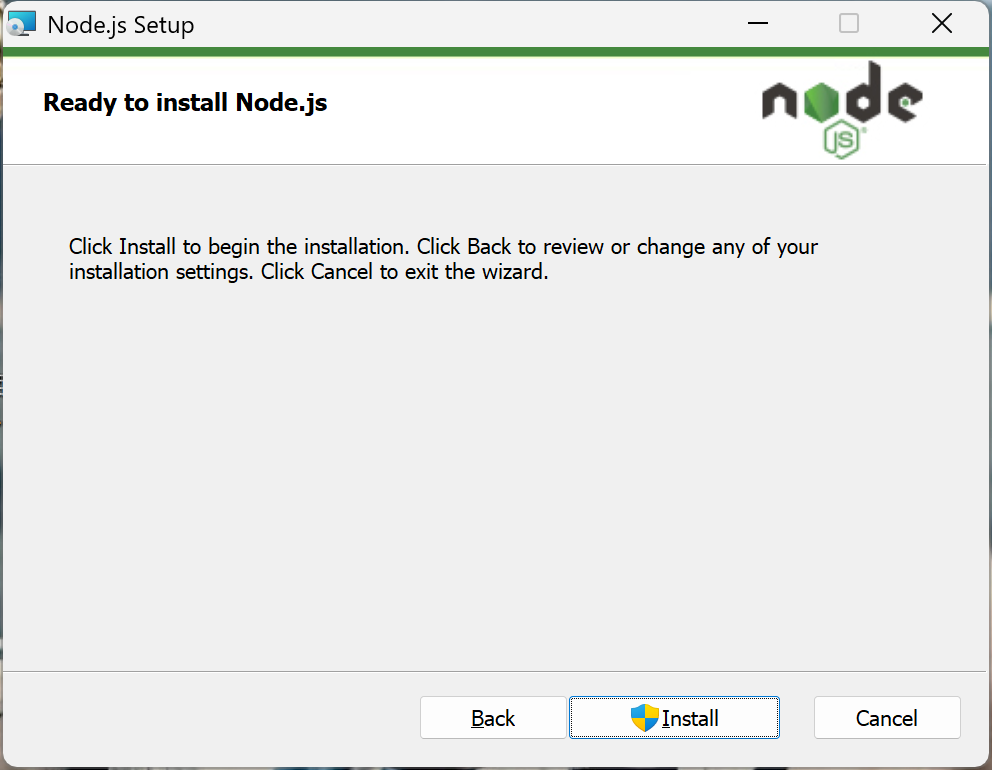
无脑点“next”直到安装
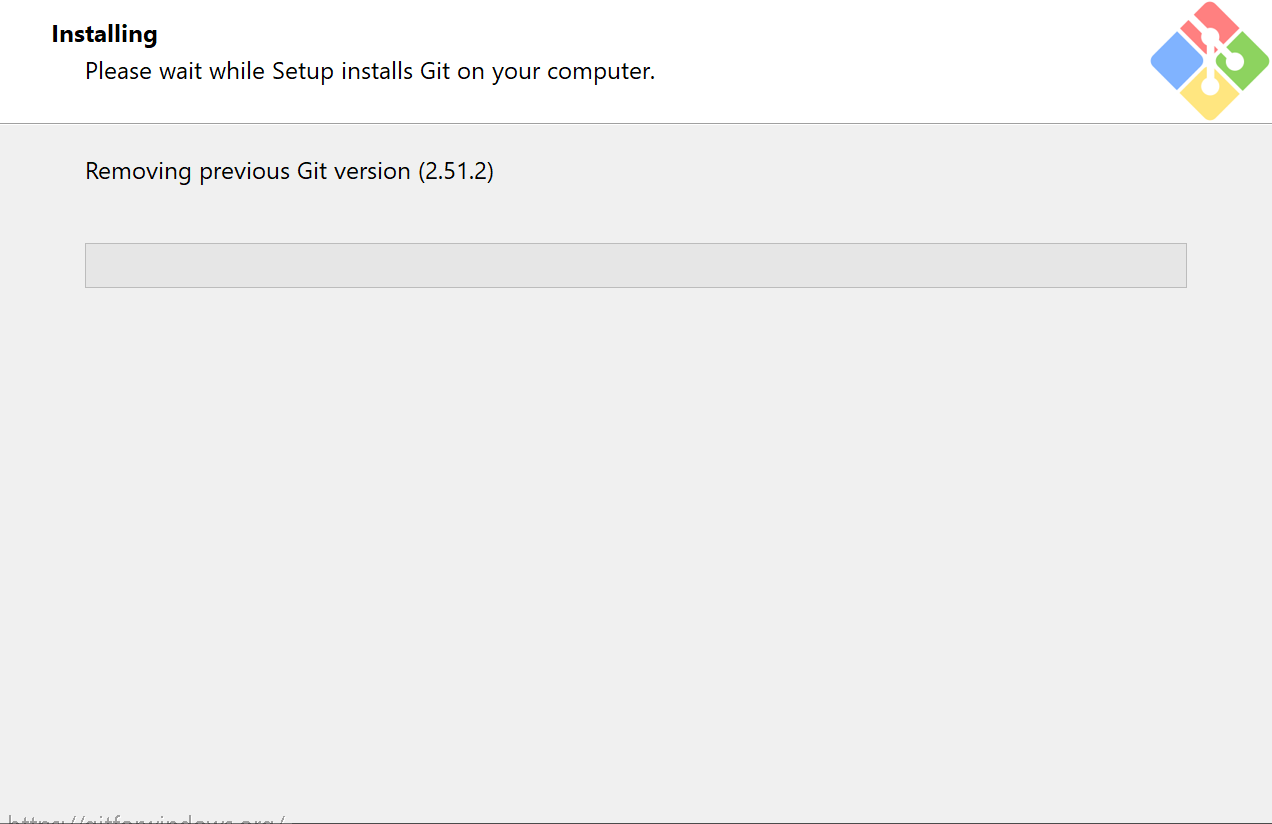
接下来安装Git(非必须但建议安装)
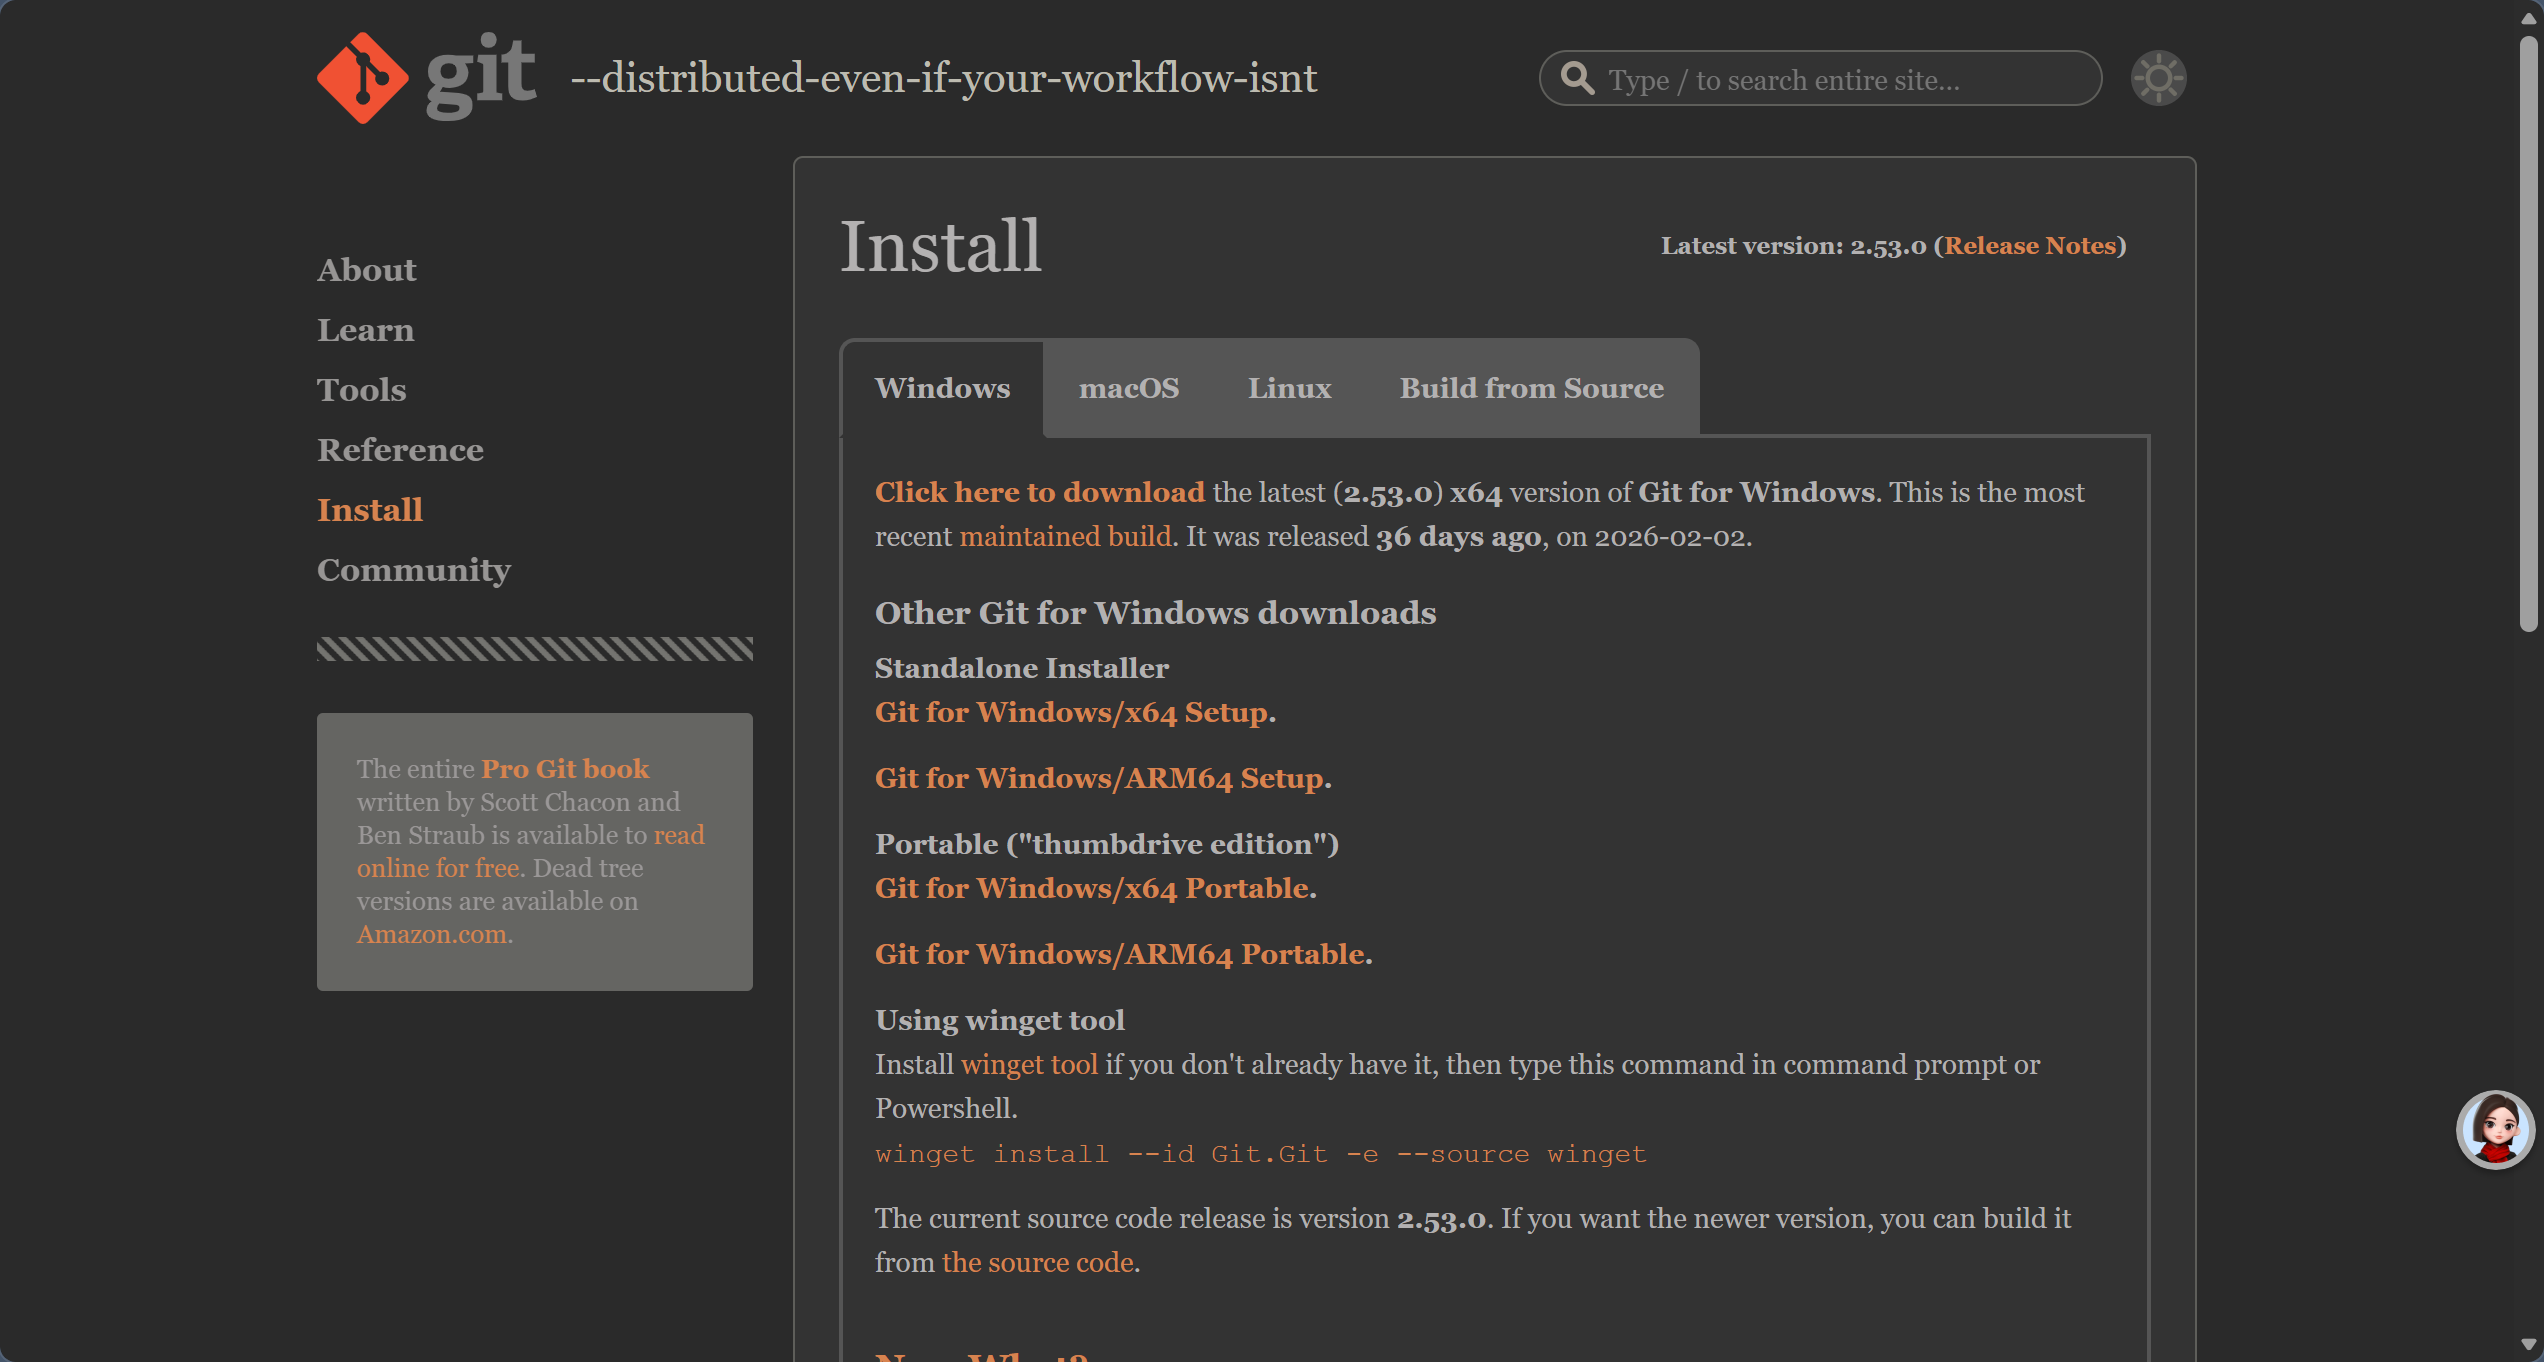
点击上面链接进入下载界面,对应自己的架构下载相应的版本
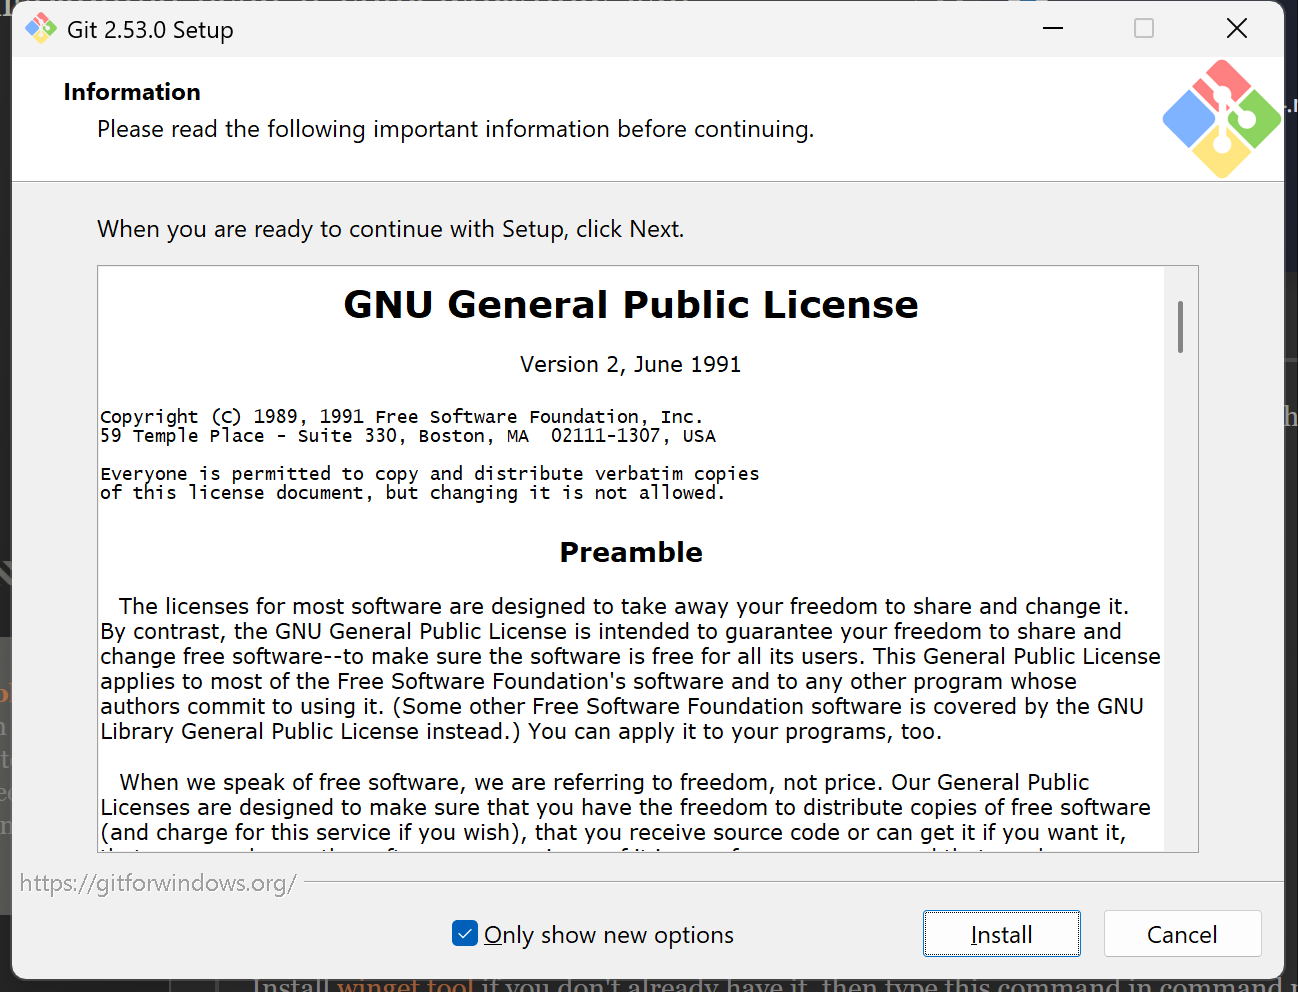
进入安装
点击“install”下载
接下来安装openclaw
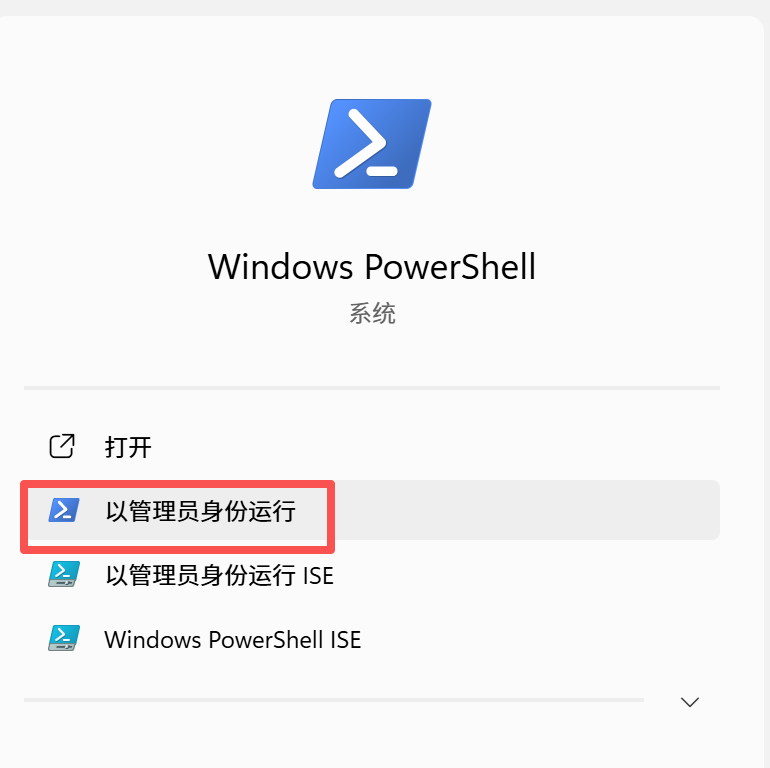
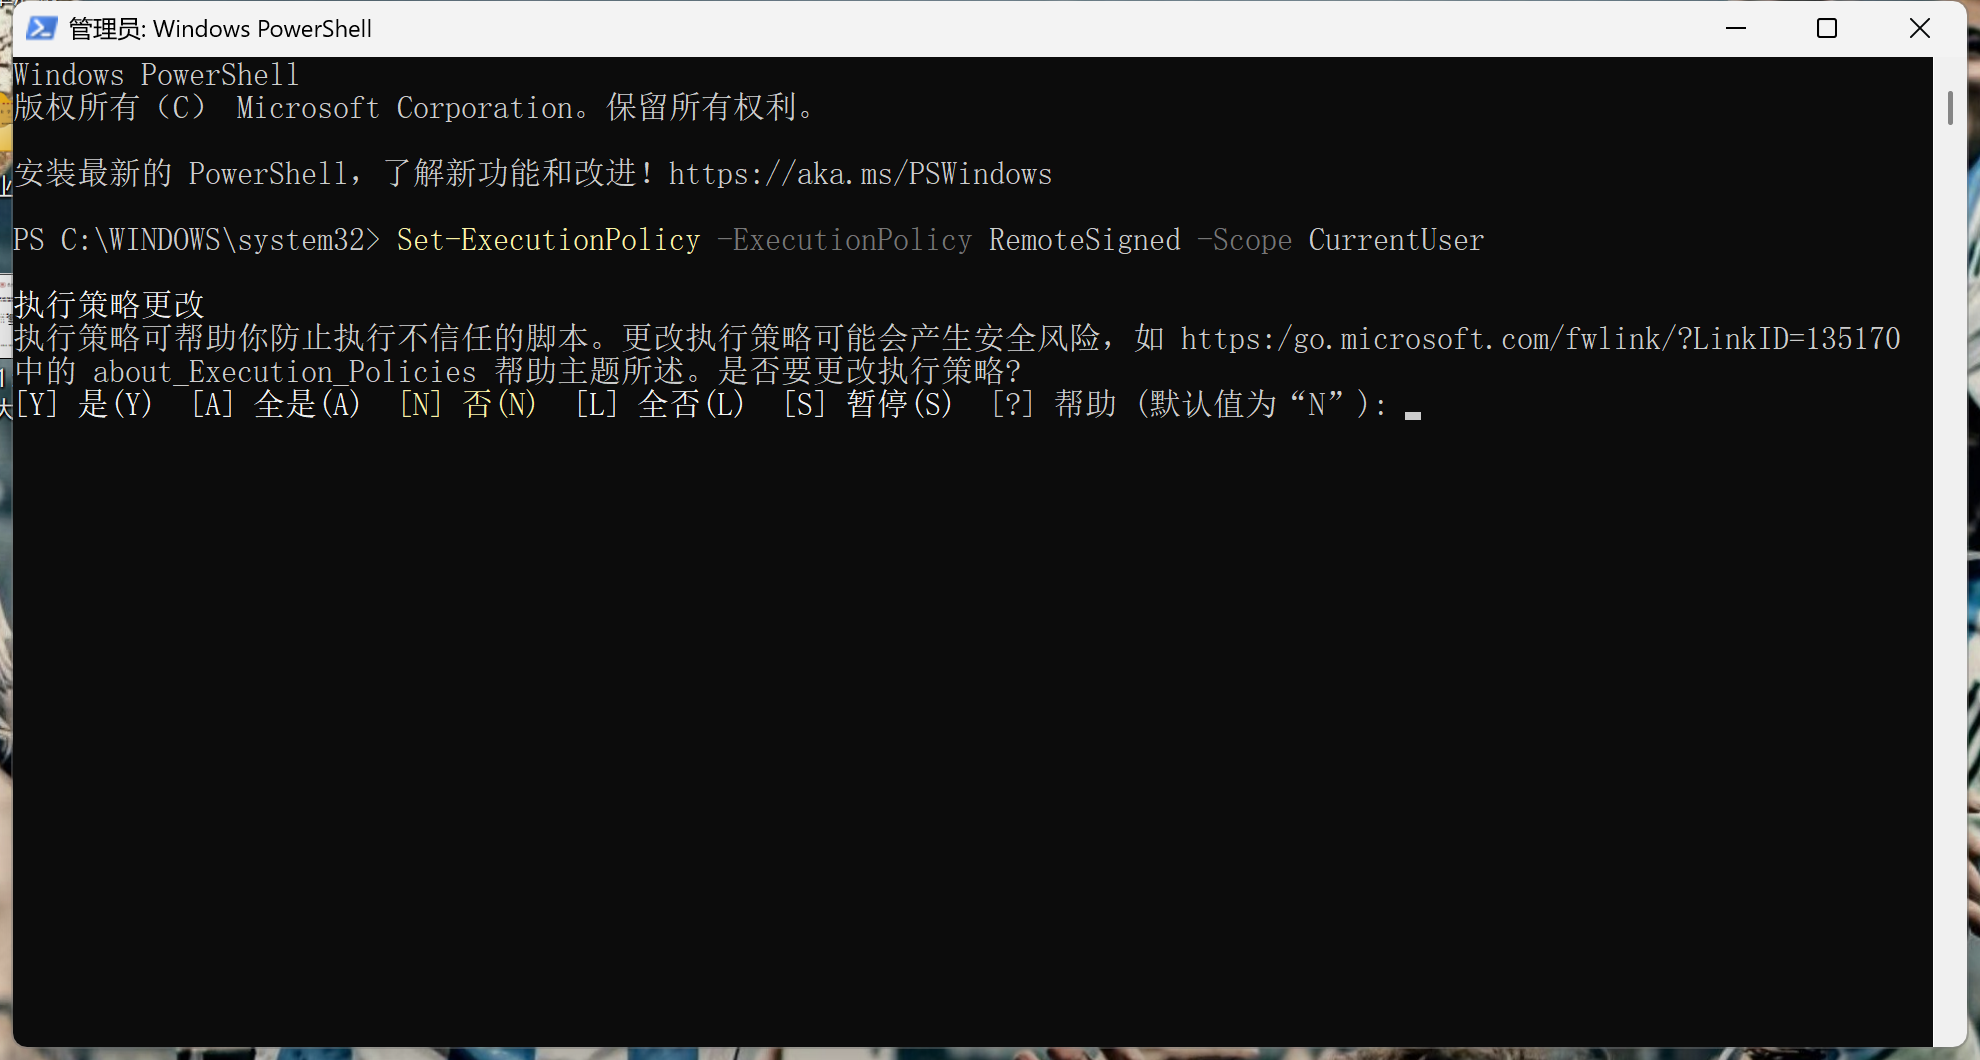
在任务栏以管理员身份运行powershell
输入命令“Set-ExecutionPolicy -ExecutionPolicy RemoteSigned -Scope CurrentUser”策略更改
输入Y,点击回车
输入openclaw官方安装命令 iwr -useb https://openclaw.ai/install.ps1|iex
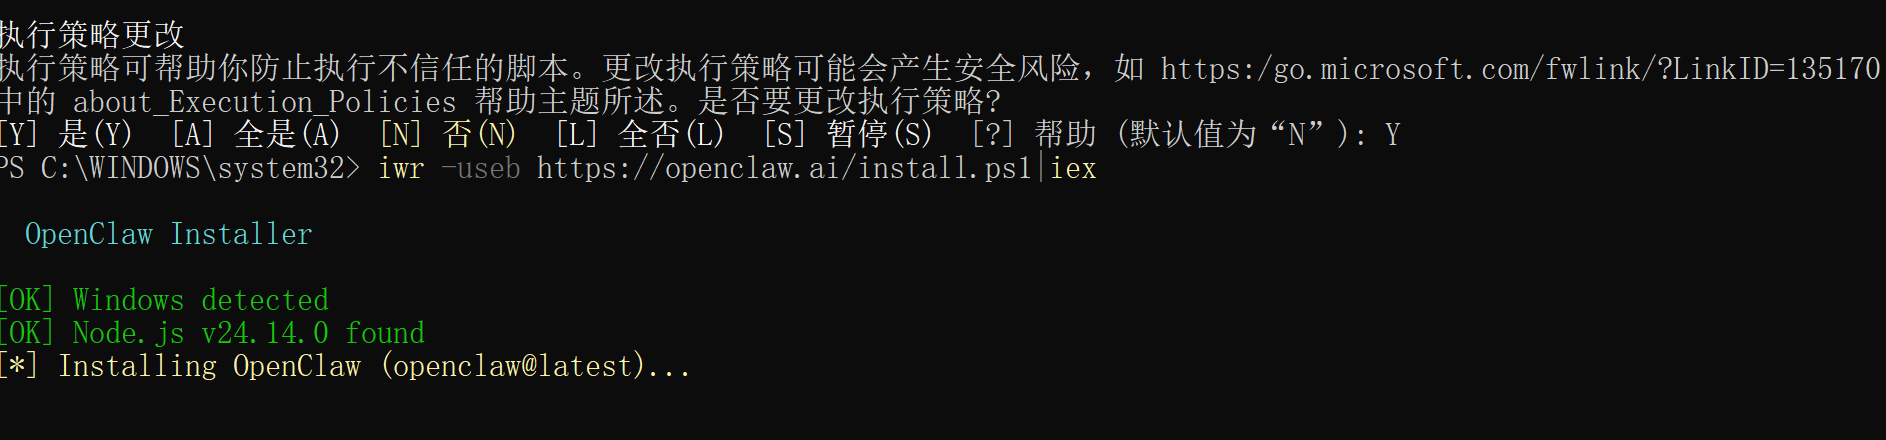
上面的命令报错了,改用iwr -useb https://openclaw.ai/install.ps1 | iex命令
如果仍报错(笔者上面两个命令均报错,应该是网络原因)
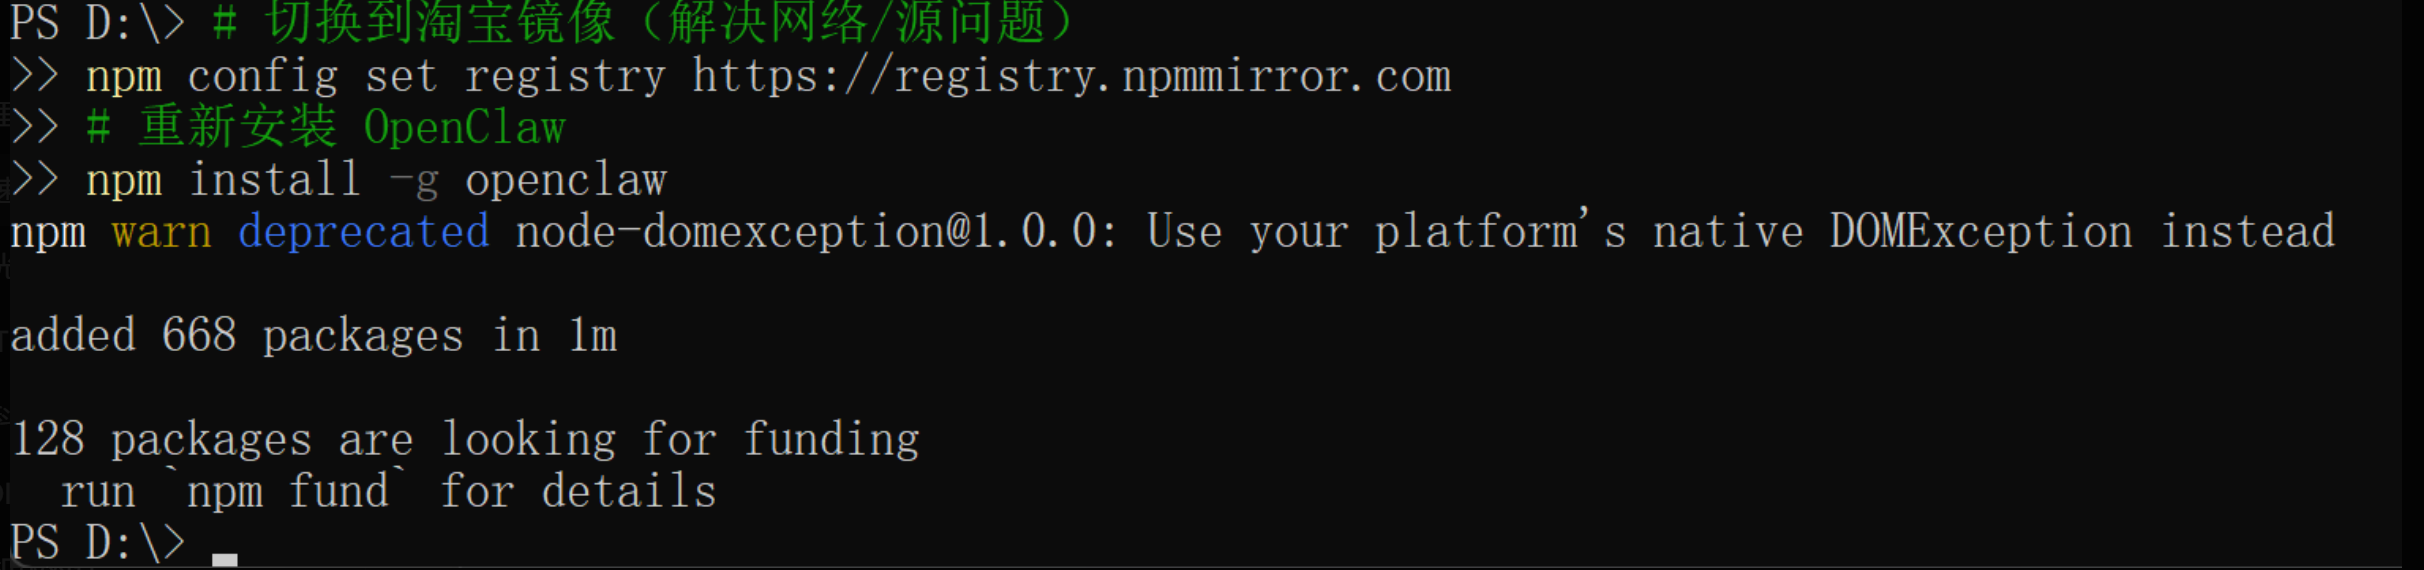
就切换国内镜像
# 切换到淘宝镜像(解决网络/源问题): npm config set registry https://registry.npmmirror.com
# 重新安装
OpenClaw npm install -g openclaw
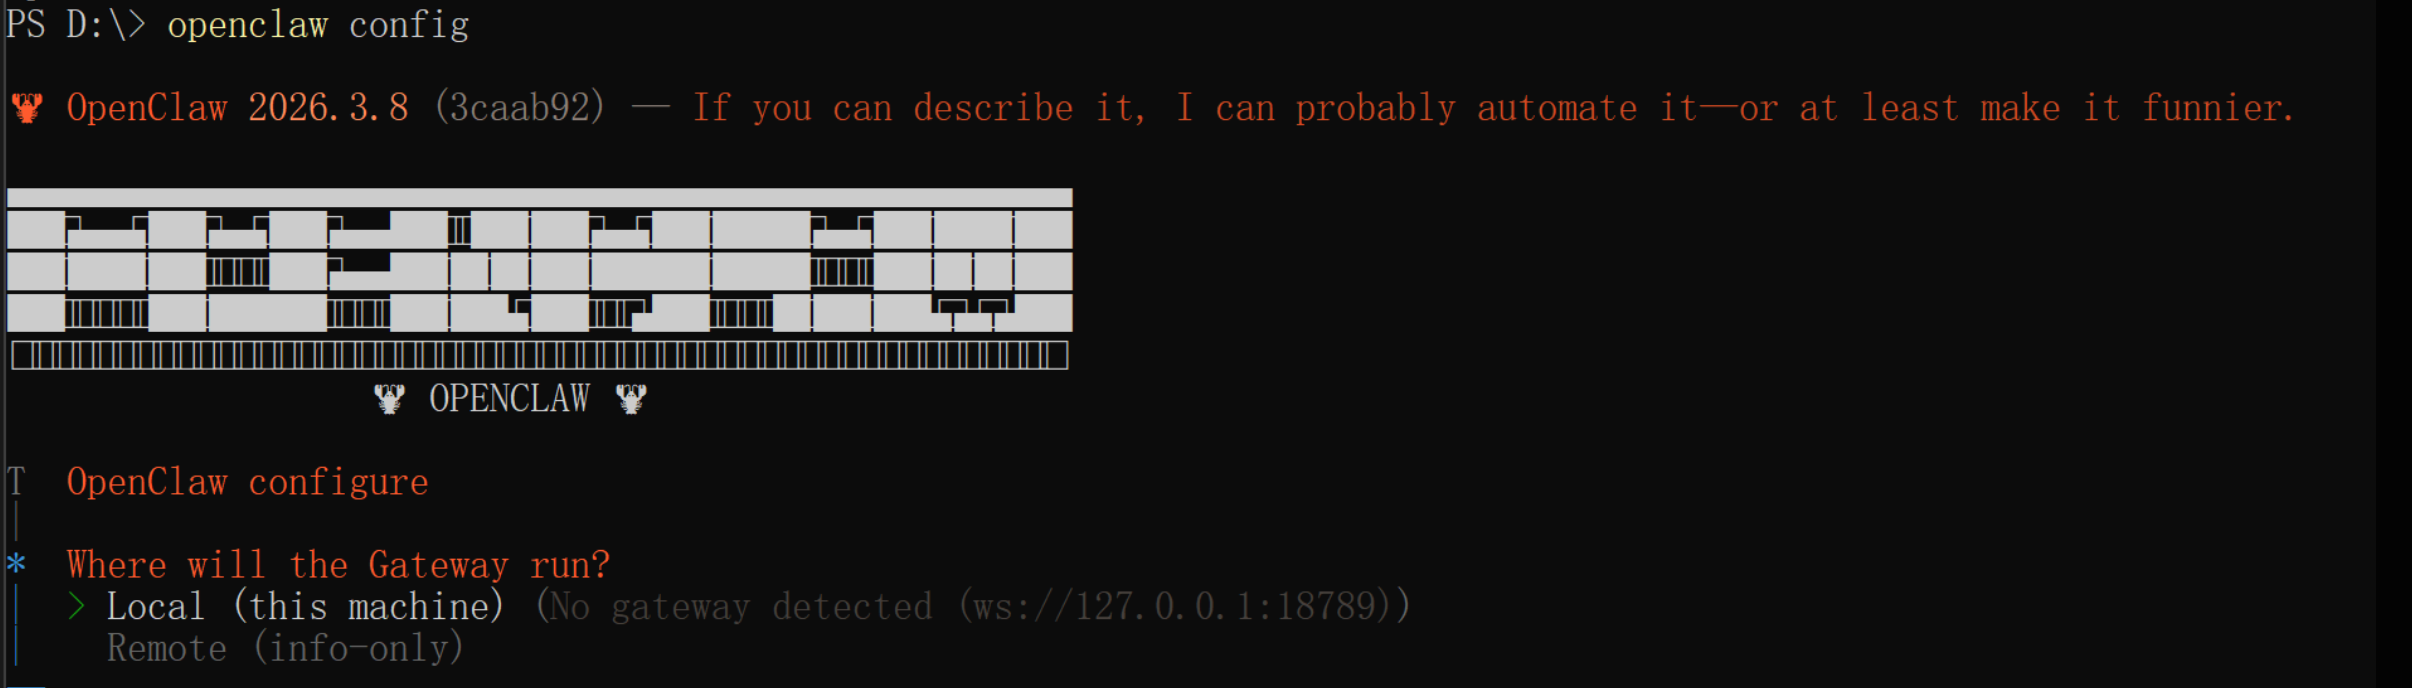
验证安装是否成功、
openclaw -v
安装成功
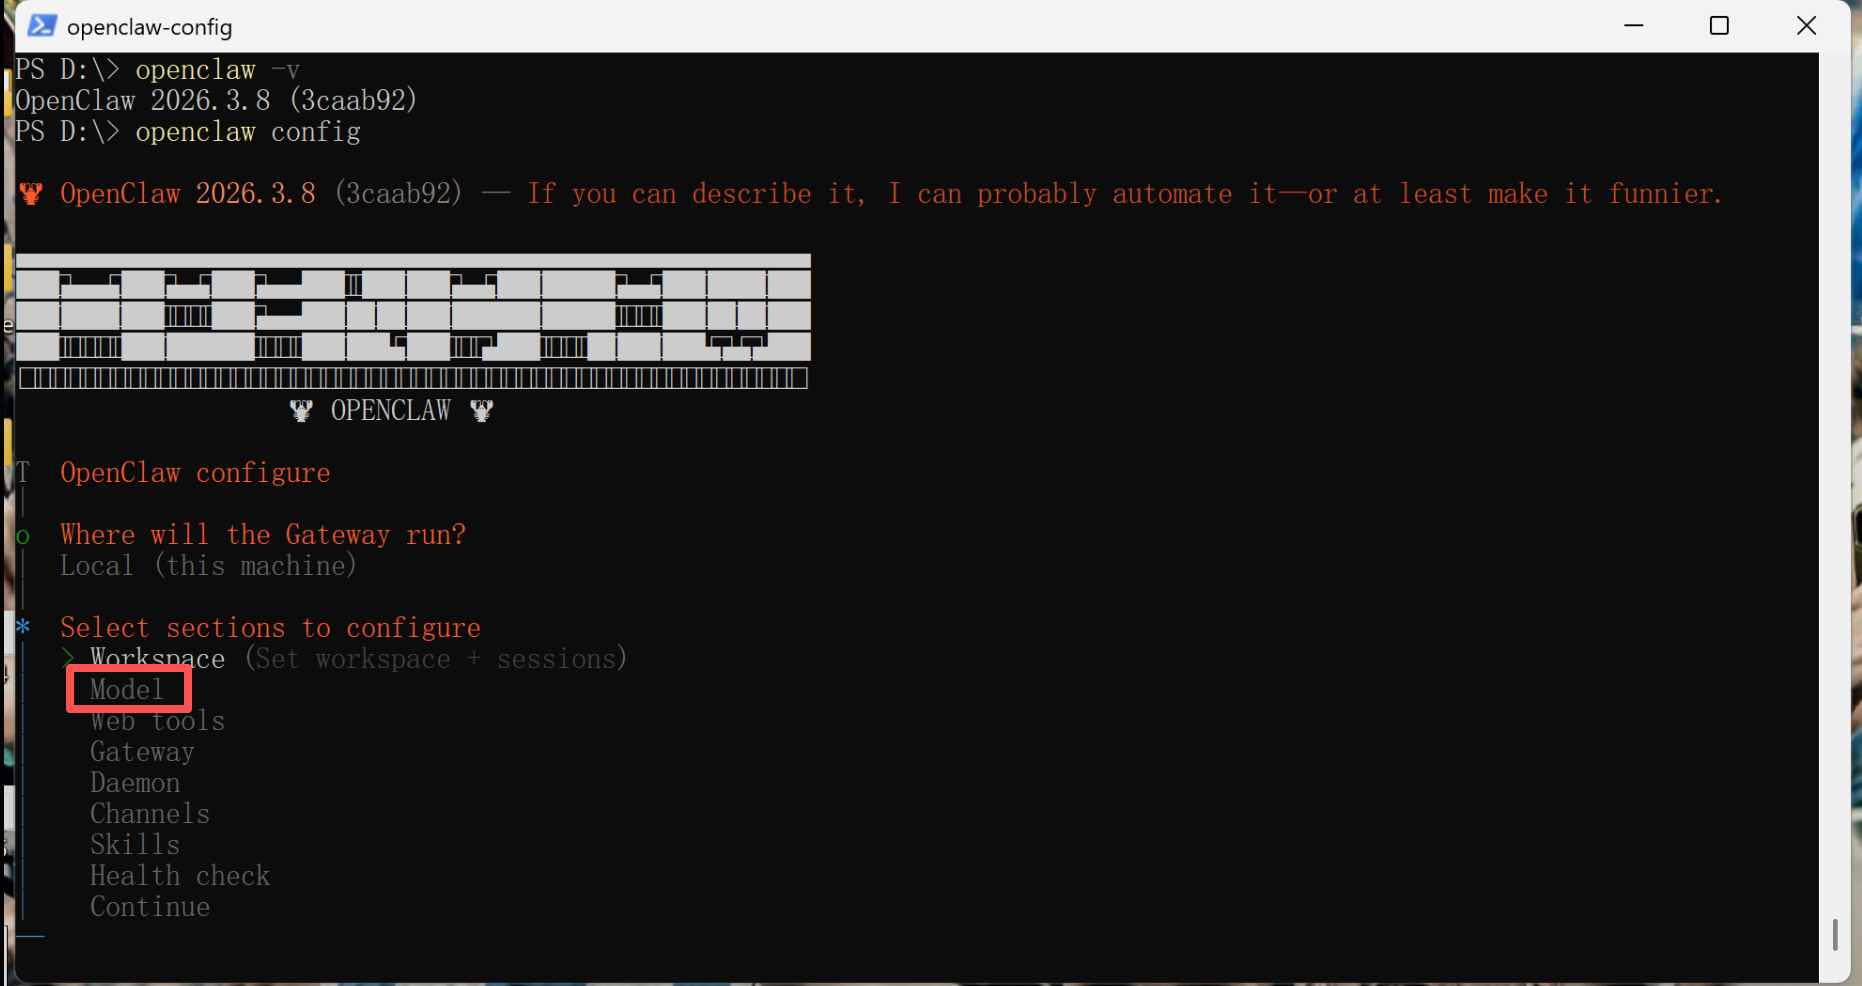
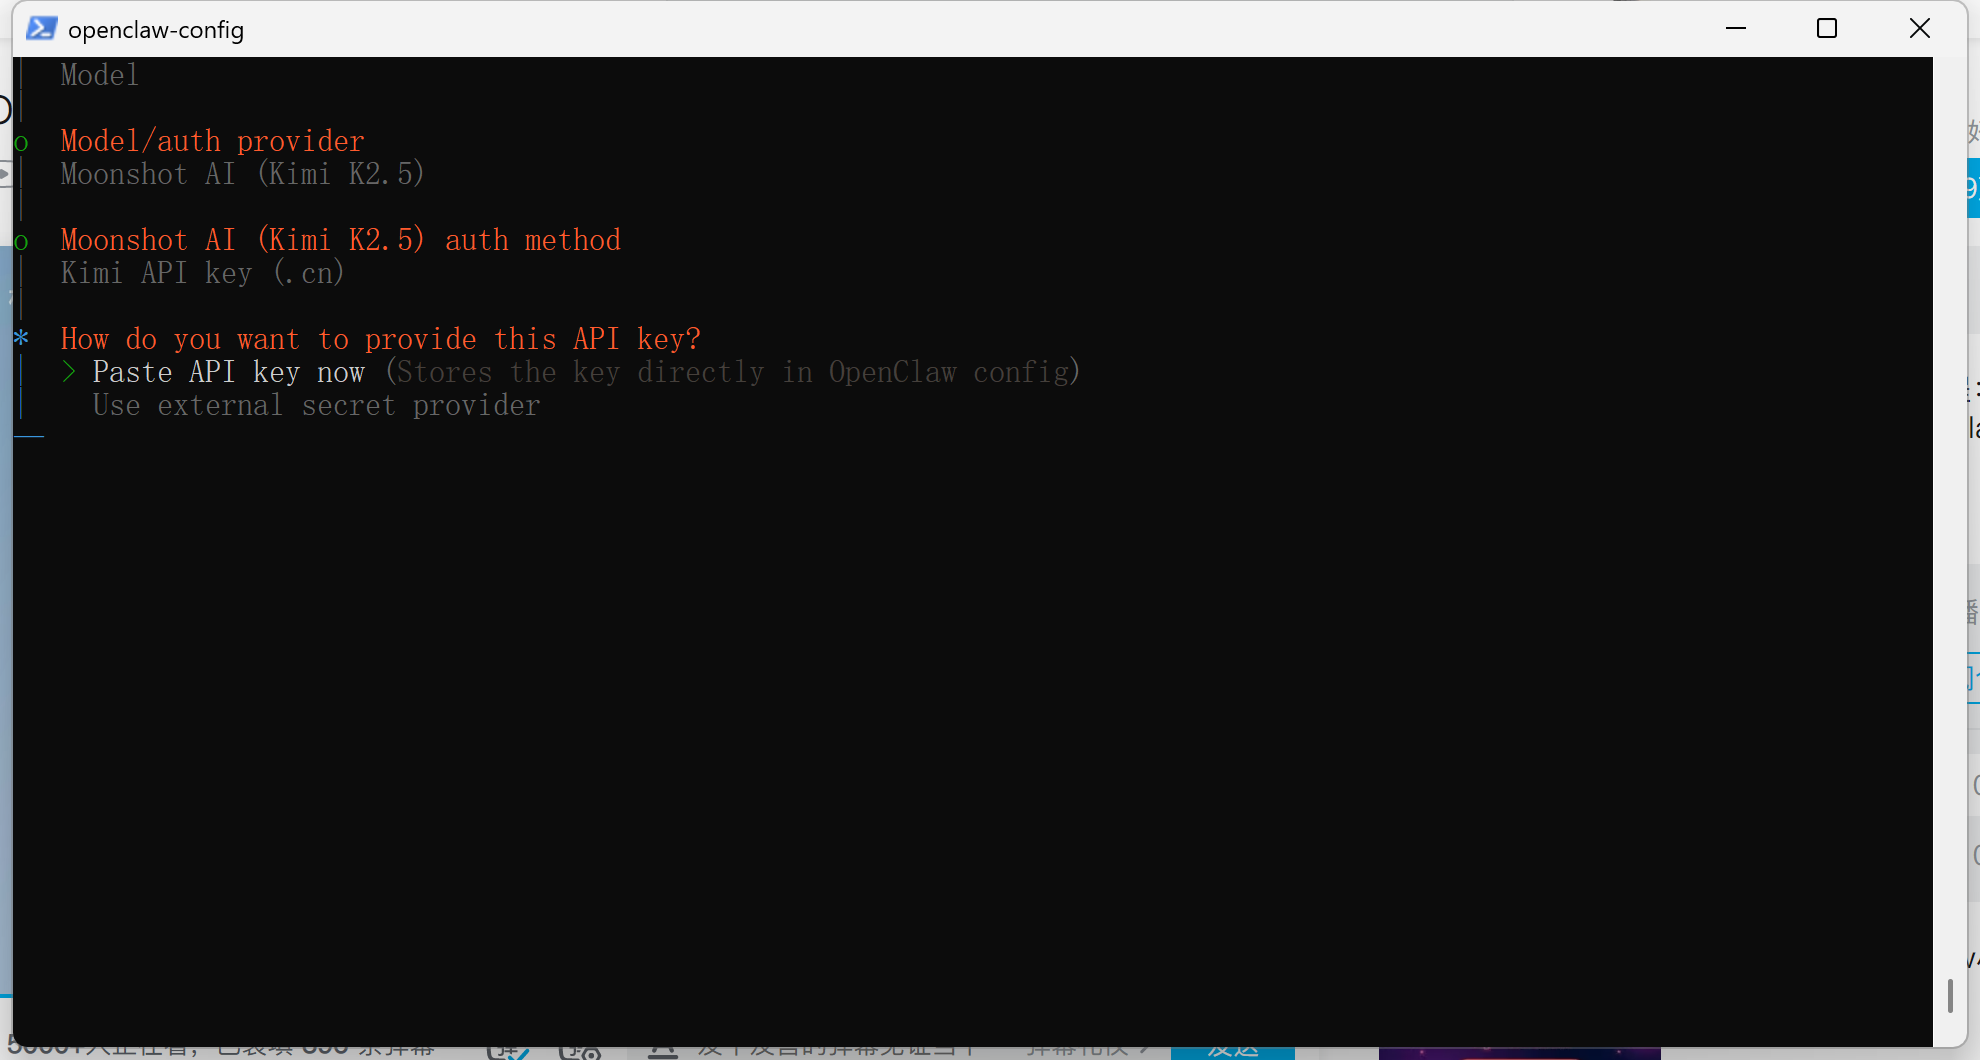
接下来输入openclaw config进行模型配置,选择部署在本机上
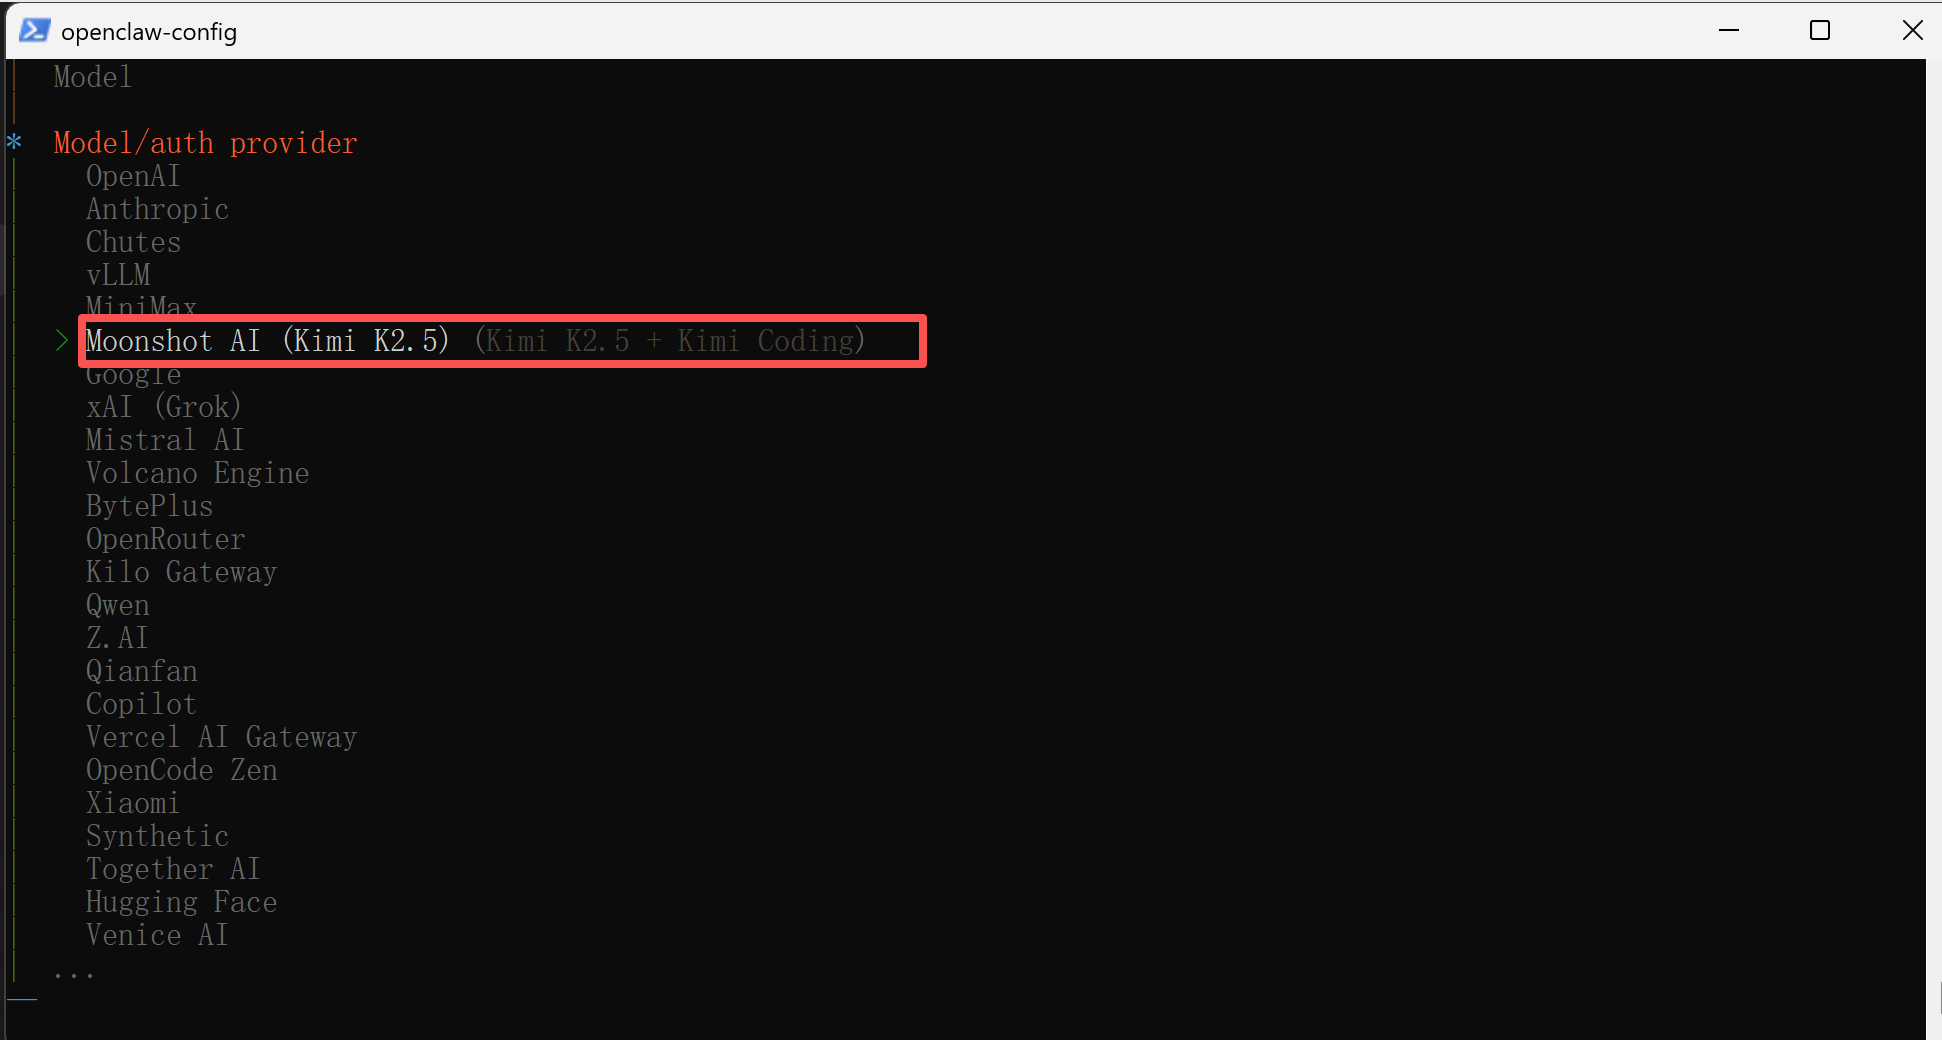
选择model
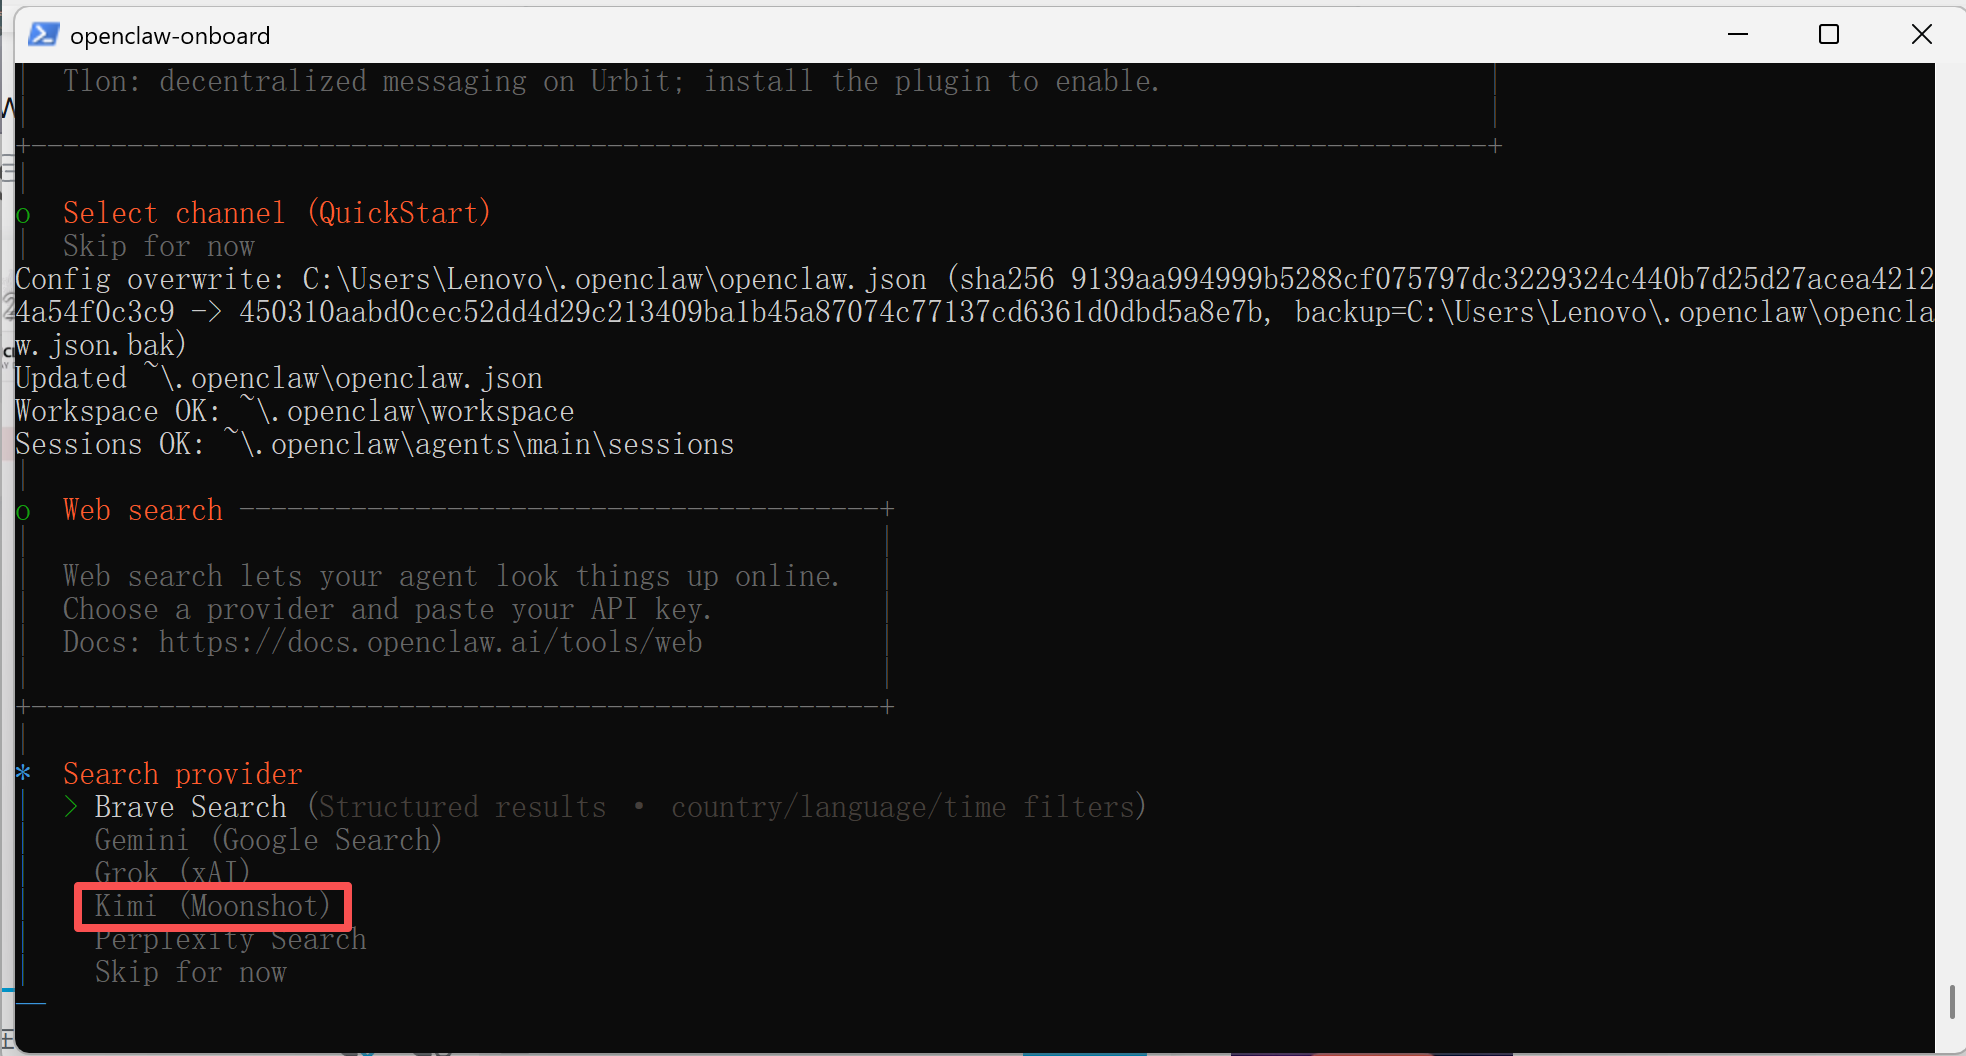
选择kimi(性价比高,可选)
接下来去此网站配置API:https://platform.moonshot.cn/

设置好自己的密钥
返回powershell,选择(.cn)结尾的

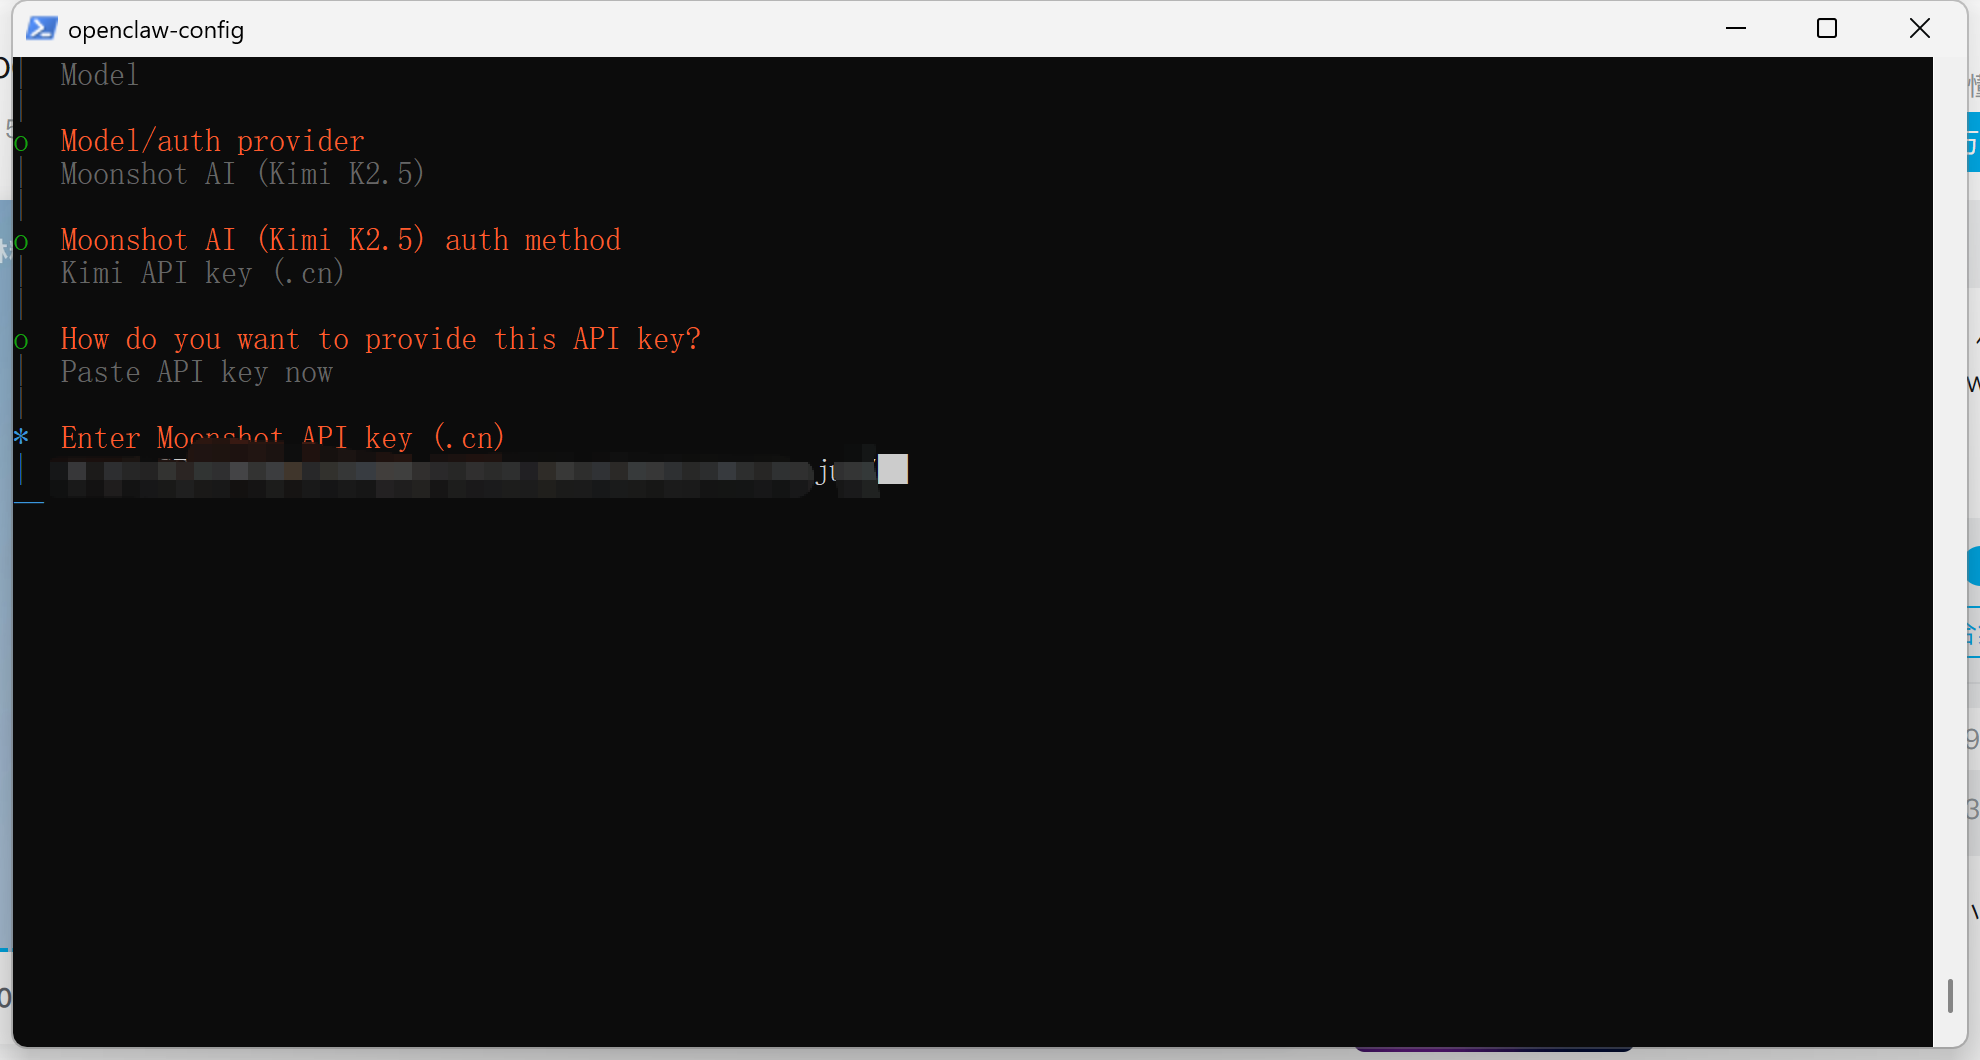
接下来粘贴你的密钥
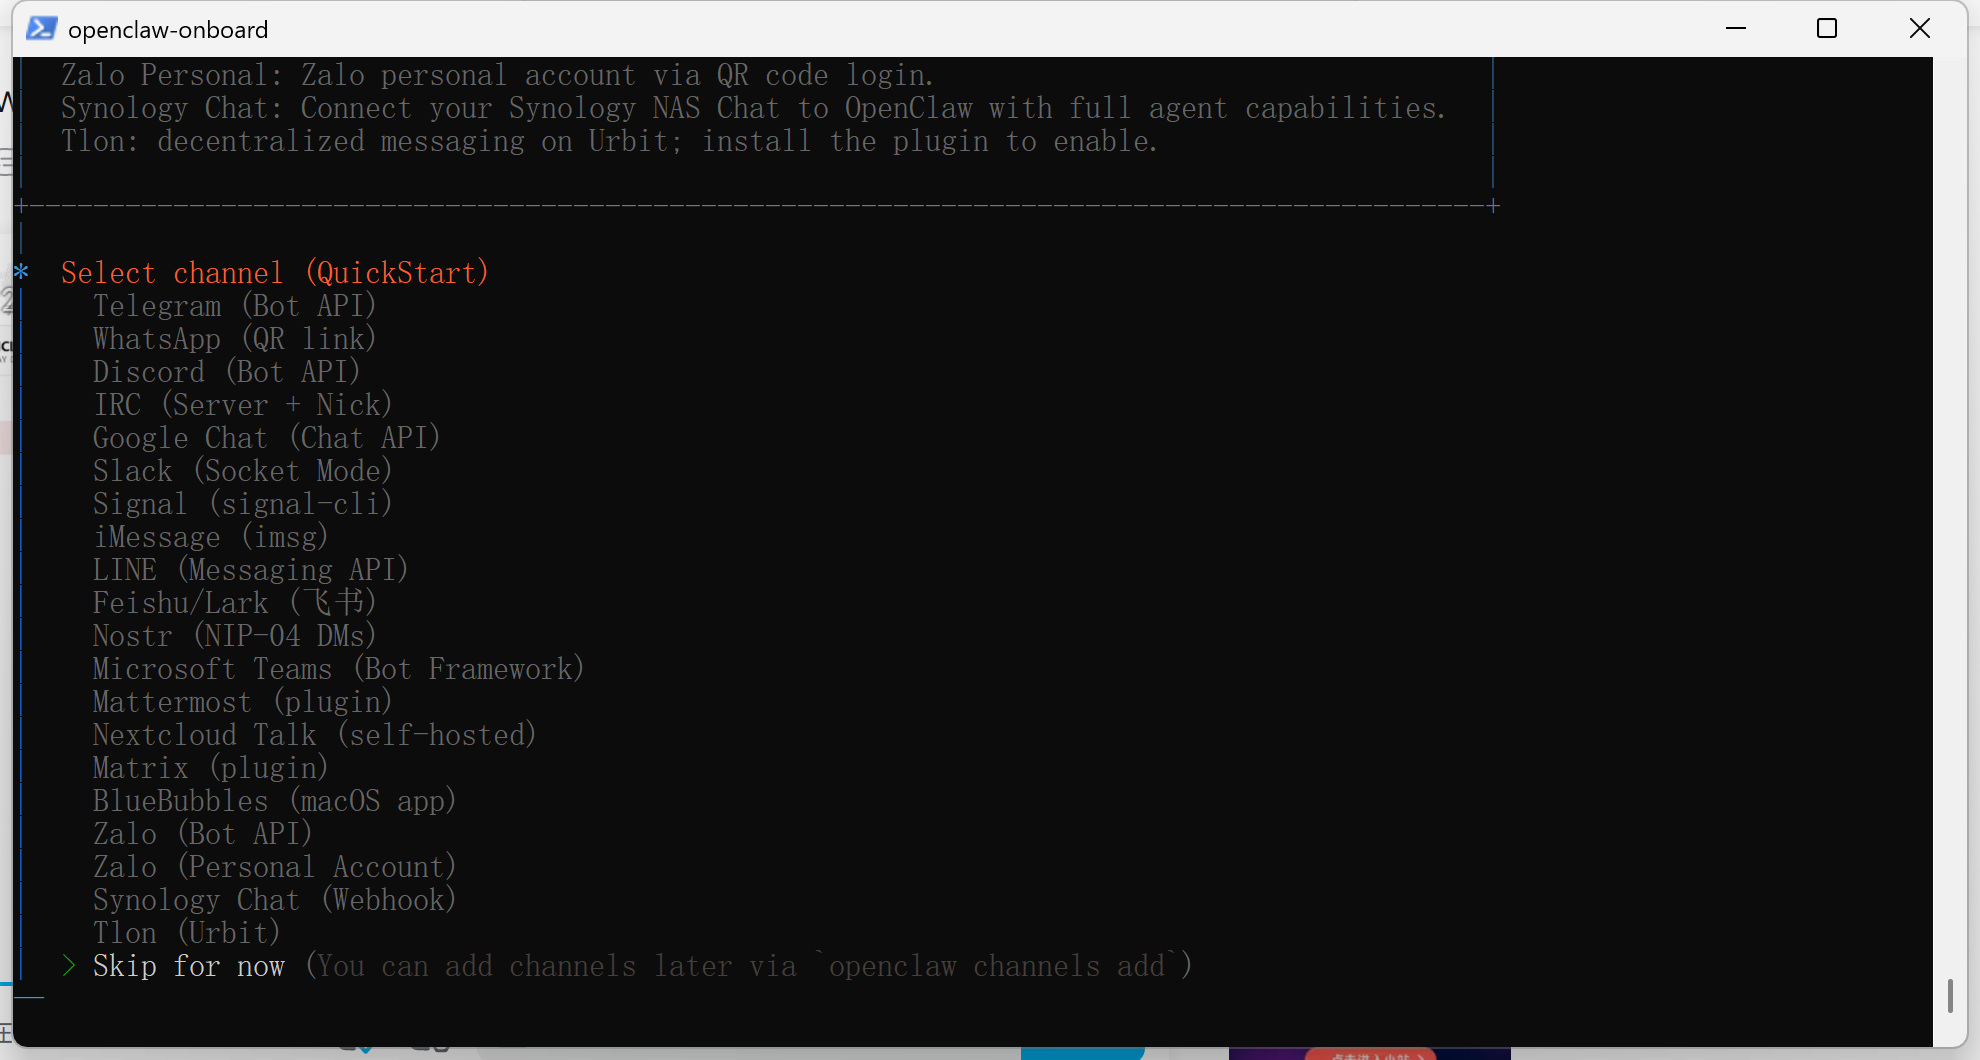
接下来设置channels
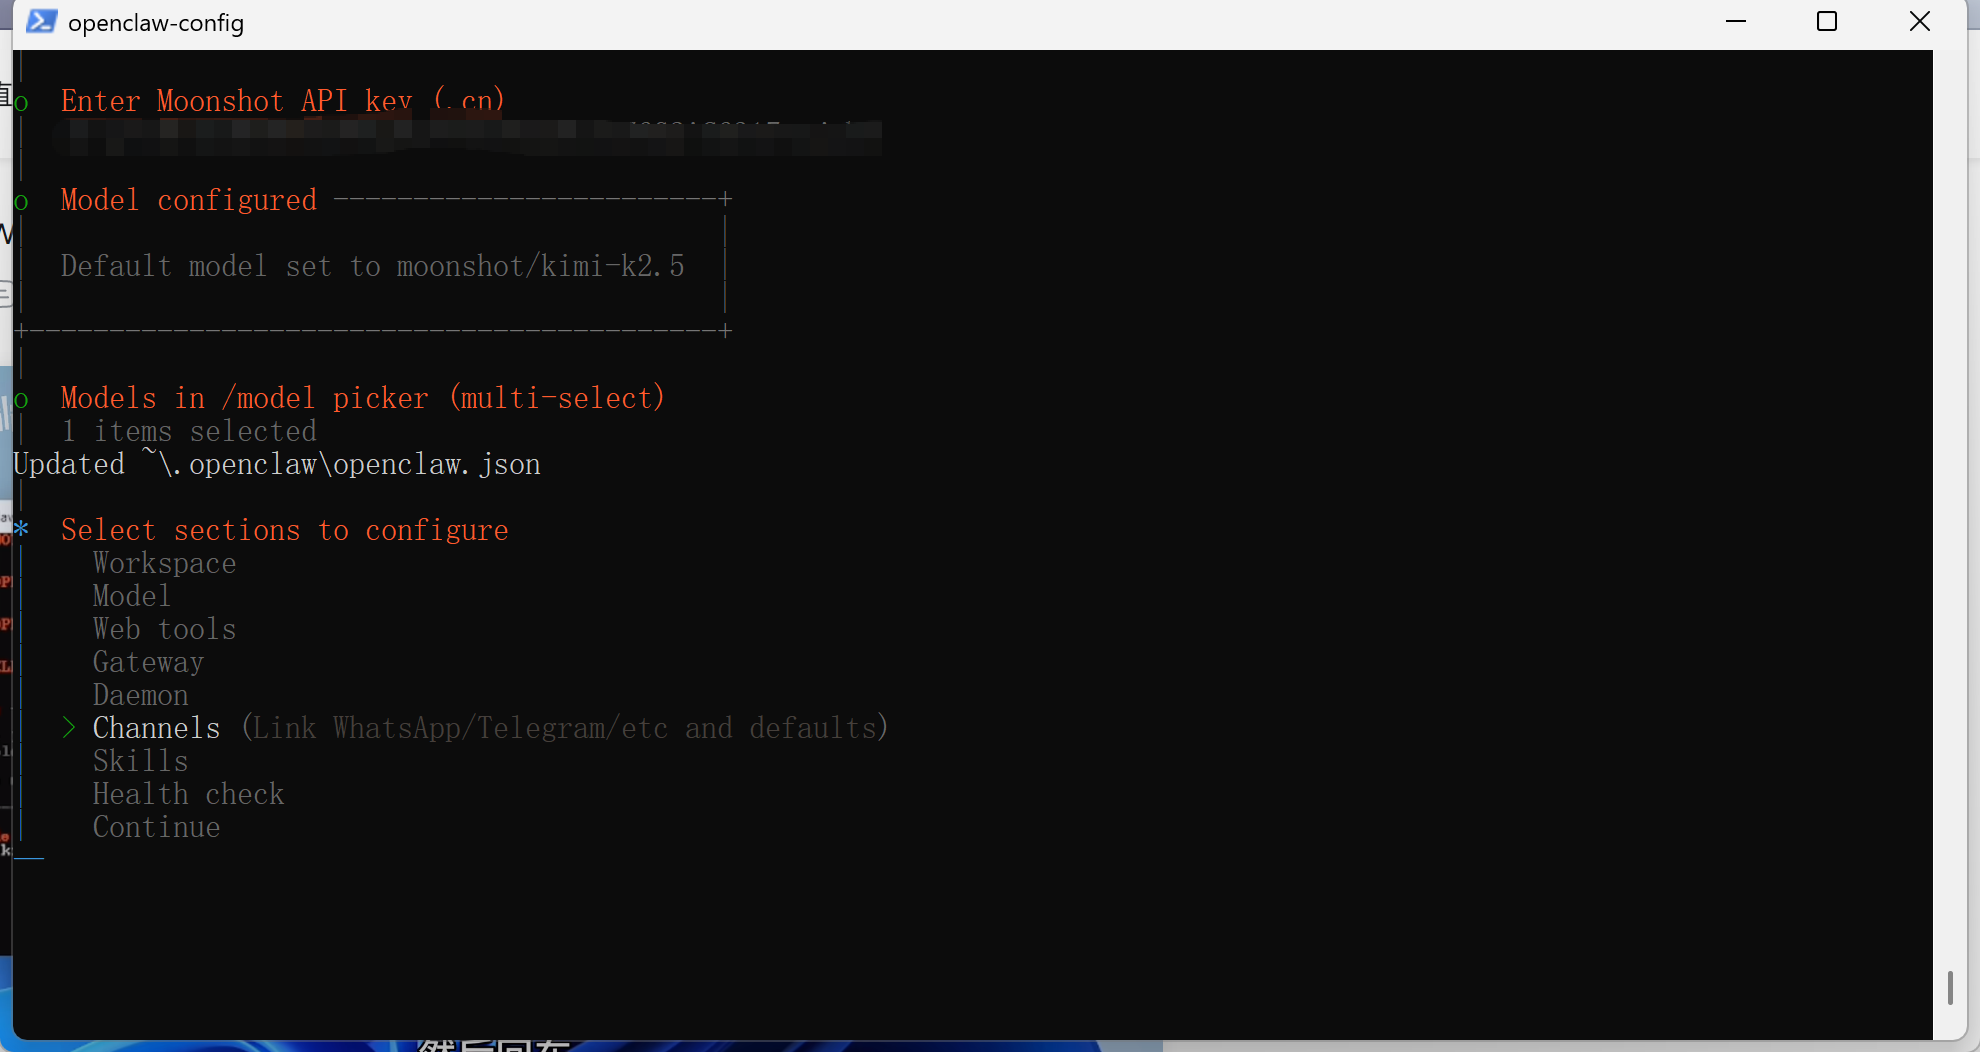
选择跳过
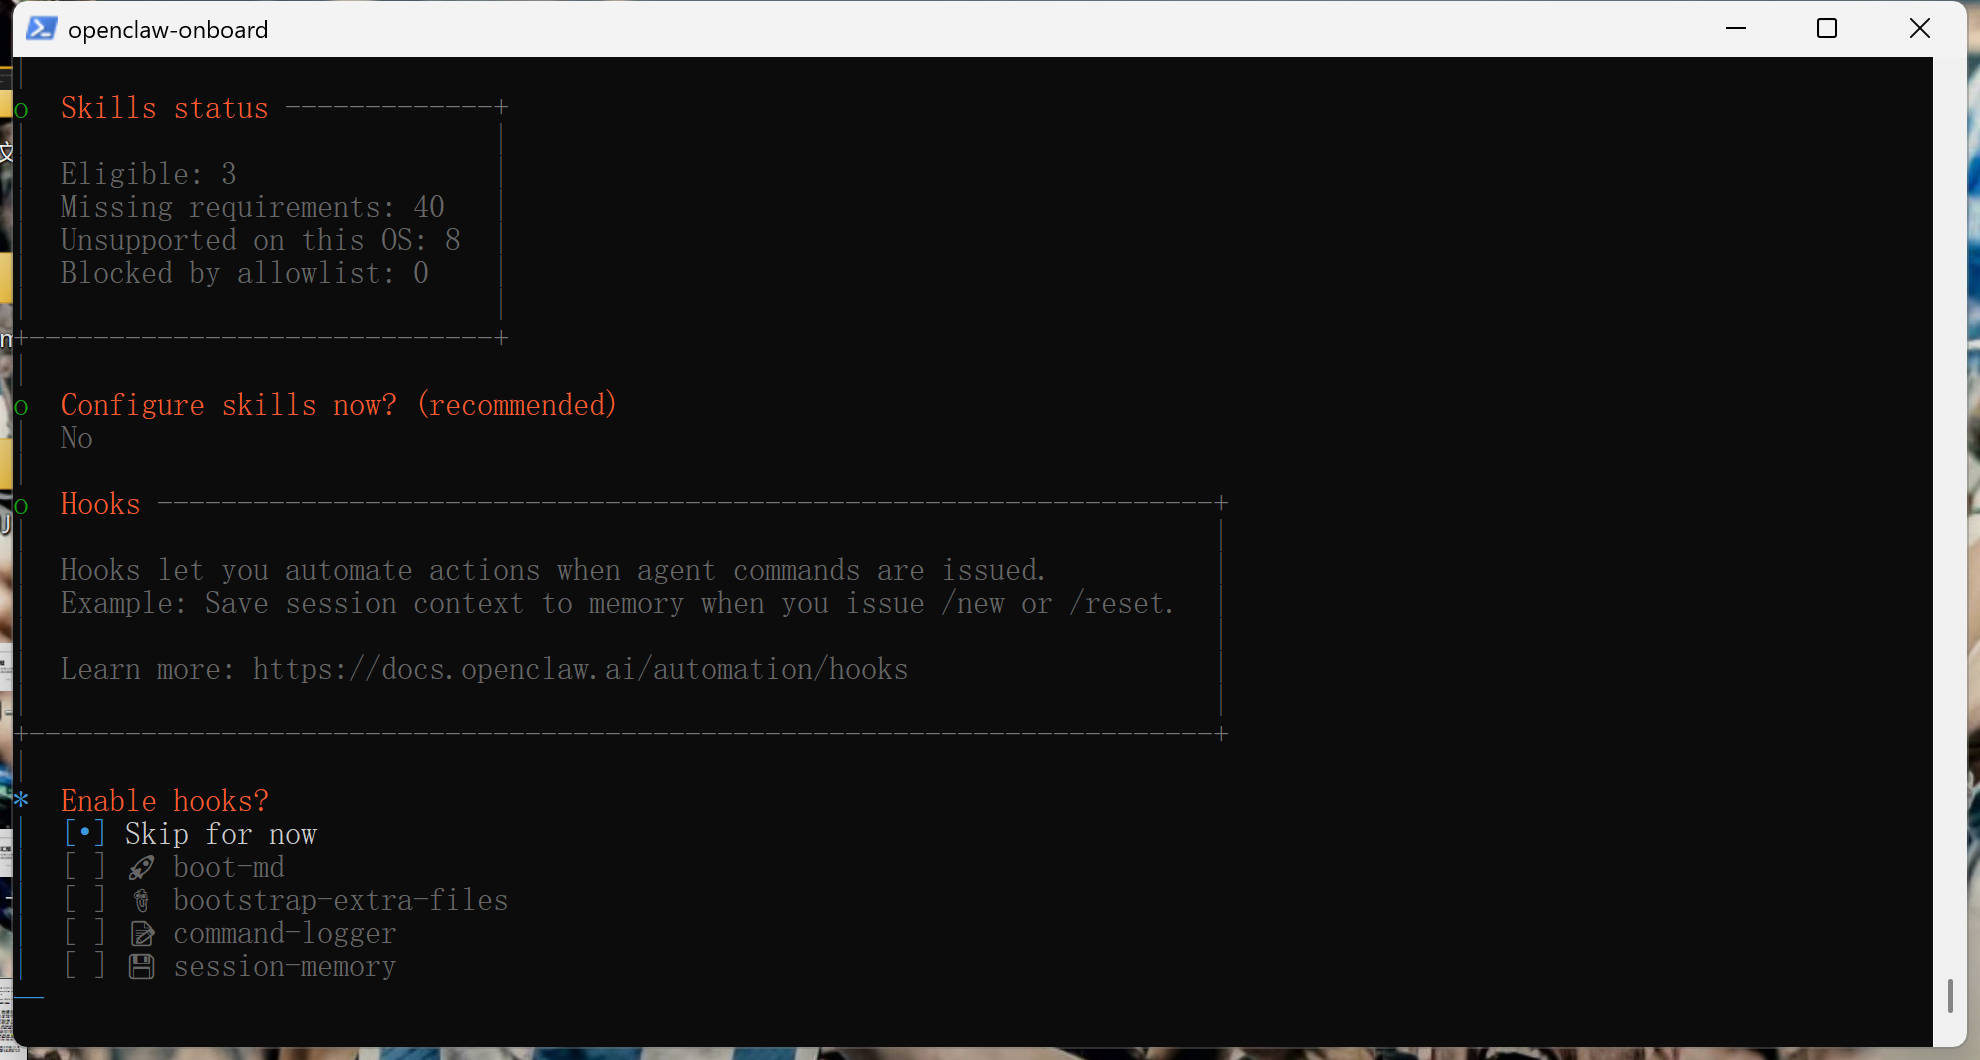
接下来按照如图来设计
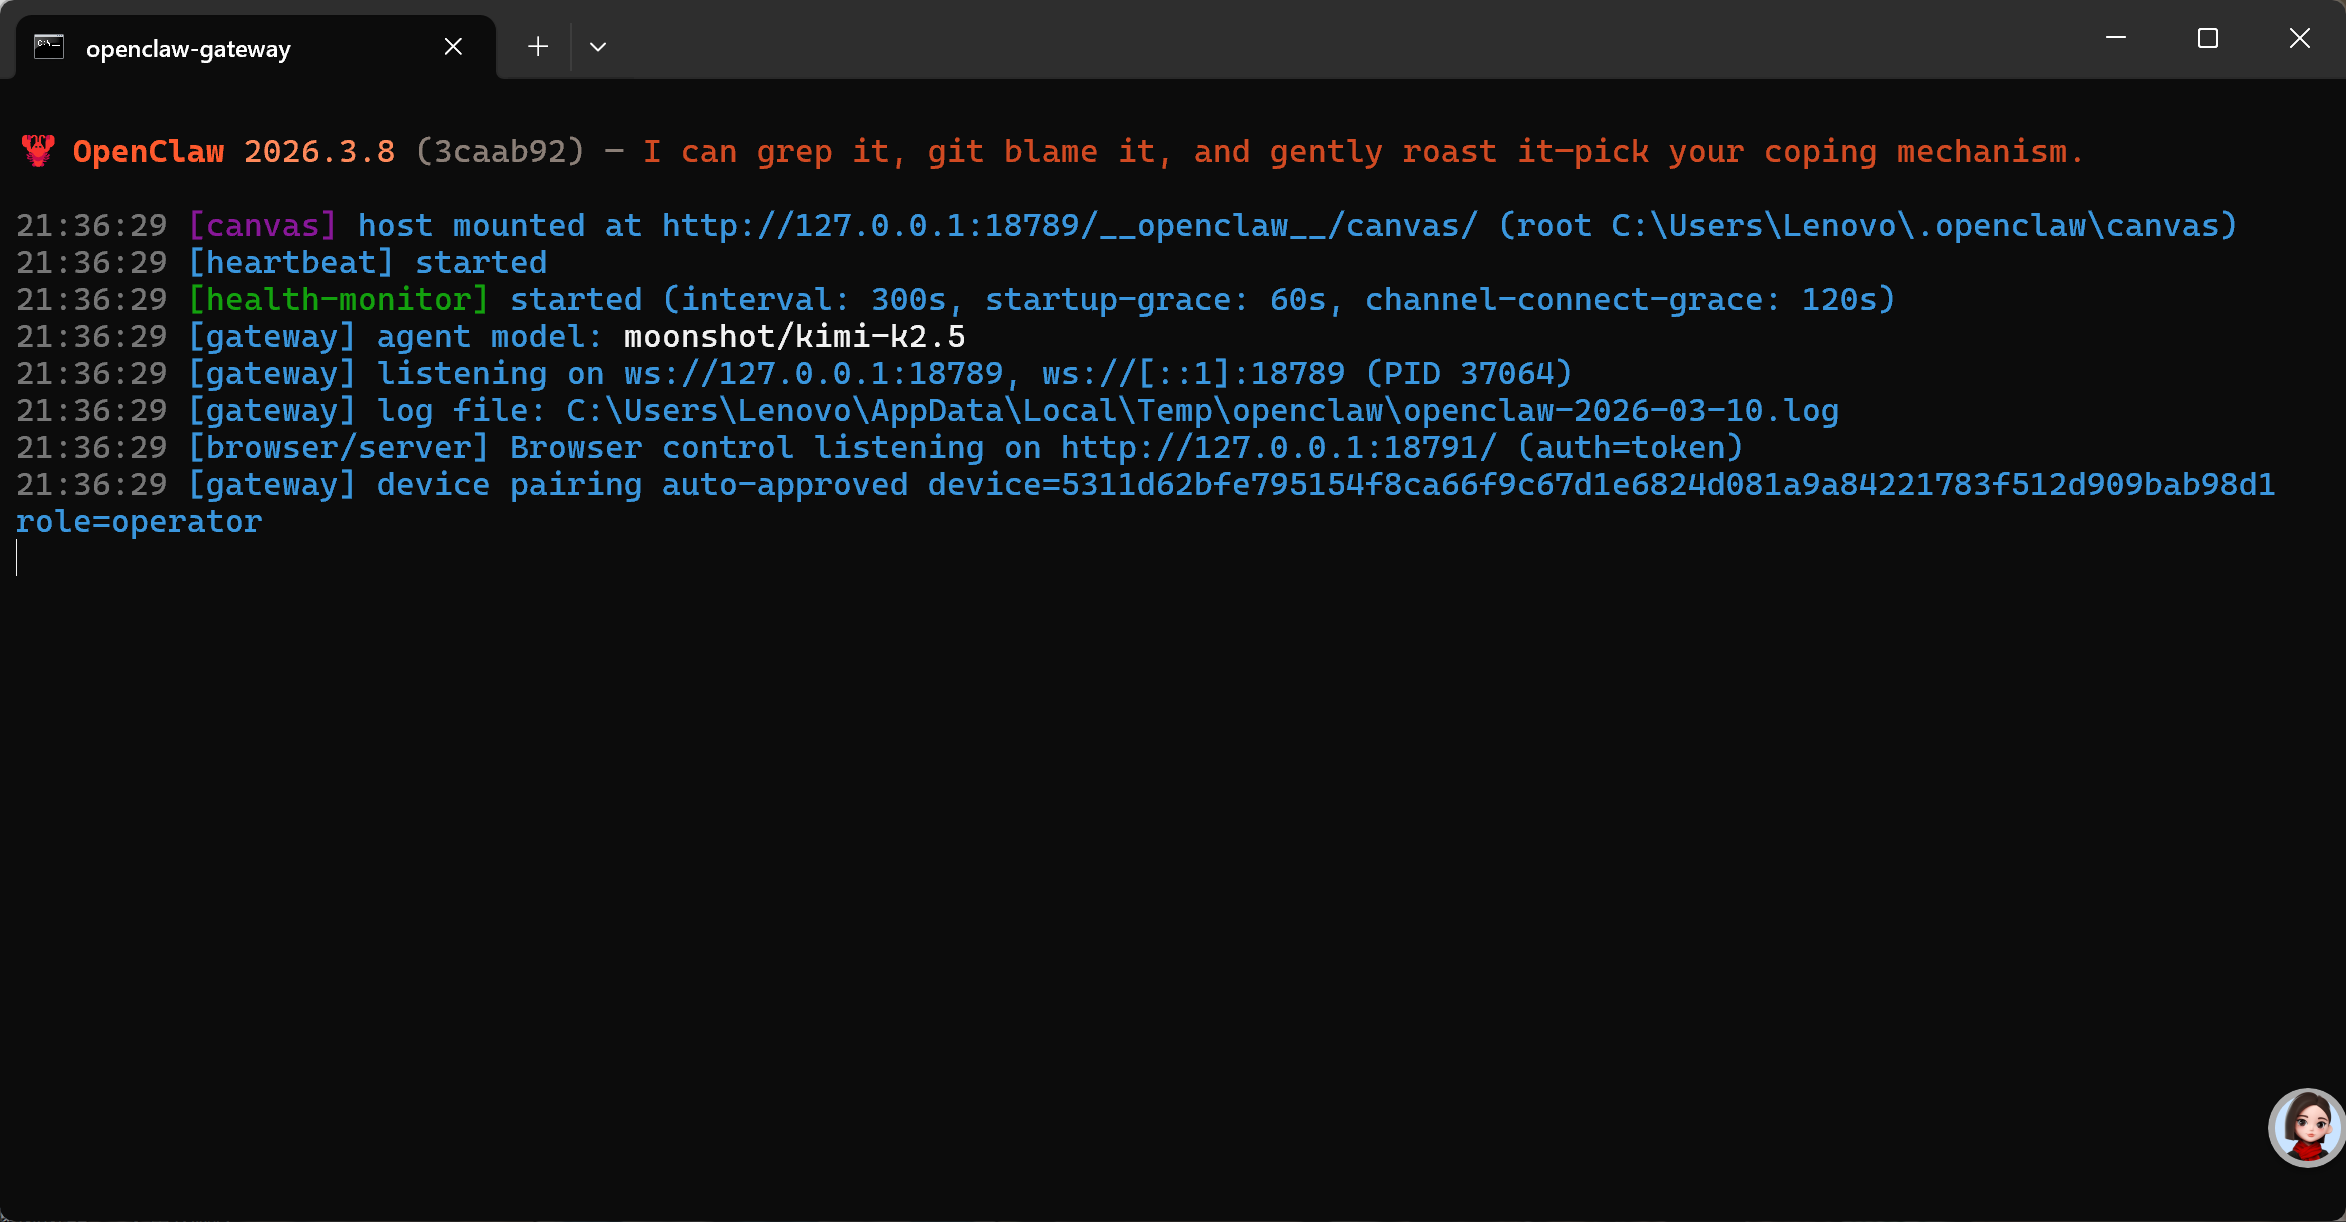
接下来会出现一个新界面,显示网关已打开
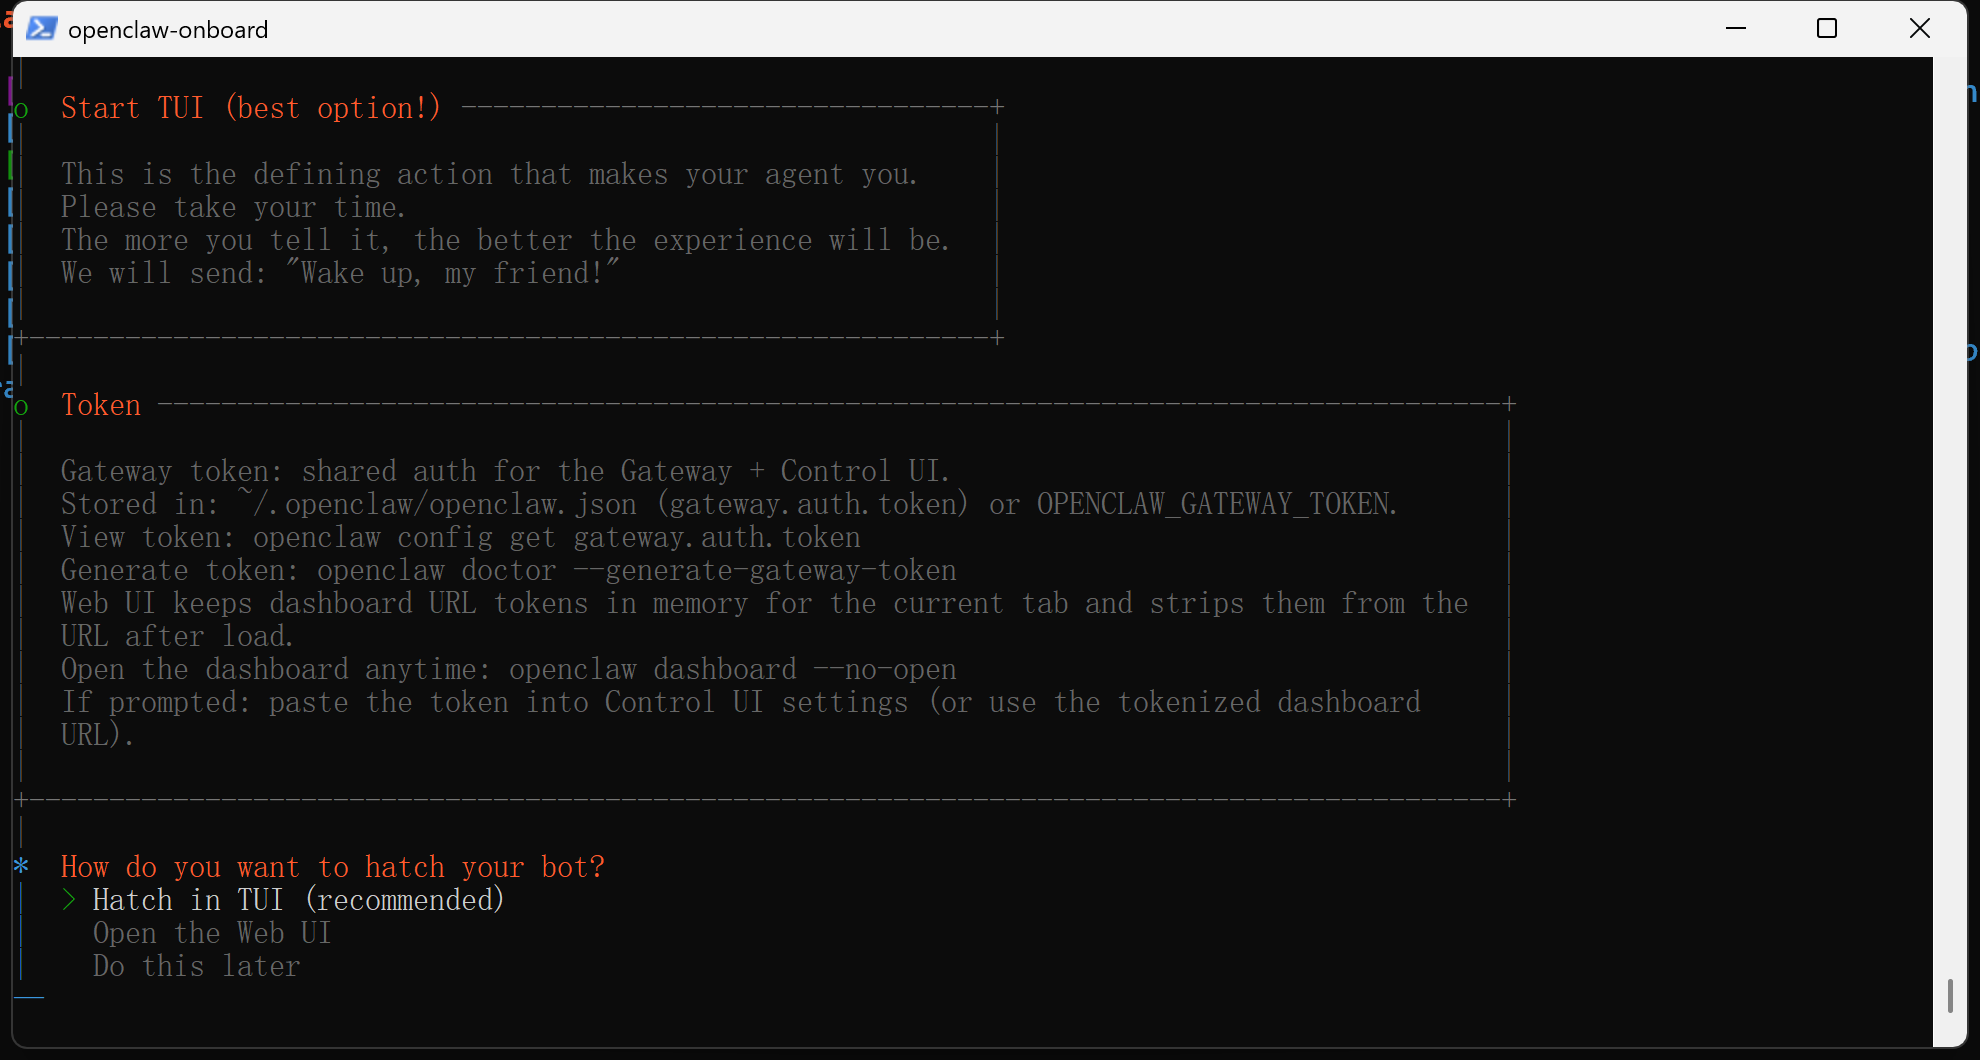
回到powershell选择open TUI即能跳转网页端对话

小龙虾开发者社区是 CSDN 旗下专注 OpenClaw 生态的官方阵地,聚焦技能开发、插件实践与部署教程,为开发者提供可直接落地的方案、工具与交流平台,助力高效构建与落地 AI 应用
更多推荐
 6
6 0
0- 0


 已为社区贡献1条内容

所有评论(0)