

安装环境
- 操作系统 Ubuntu 18.04 LTS
- Python 2.x.
- Plone 4
安装步骤
Ubuntu等Linux、Mac系统一般安装有Python的环境,但由于需要安装Python扩展库,集成安装的在权限方面可能遇到问题,因此建议使用虚拟Python环境。
相关工具:
- Virtualenv: https://pypi.org/project/virtualenv
- Miniconda(推荐): https://conda.io/miniconda.html
操作系统创建用户senaite
$ sudo adduser --home /home/senaite --shell /bin/bash senaite切换用户
$ sudo su - senaite
$ whoami
senaite
下载并安装Python2.7
$ wget https://repo.anaconda.com/miniconda/Miniconda2-latest-Linux-x86_64.sh
$ bash /home/senaite/Miniconda2-latest-Linux-x86_64.sh
$ source /home/senaite/.bashrc
创建Python环境
$ conda create --name senaite python=2.7激活
$ conda activate senaite检查当前会话是否使用了正确版本的Python
$ which python
/home/senaite/miniconda2/envs/senaite/bin/python
出现如下提示则正确
$ python
Python 2.7.17 |Anaconda, Inc.| (default, Oct 21 2019, 19:04:46)
[GCC 7.3.0] on linux2
Type "help", "copyright", "credits" or "license" for more information.
>>>
安装LIMS系统依赖
$ sudo apt install build-essential
$ sudo apt install python2.7 python2.7-dev
$ sudo apt install libxml2 libxml2-dev libxslt1.1 libxslt1-dev
$ sudo apt install libffi-dev libcairo2 libpango-1.0-0 libgdk-pixbuf2.0-0 libpangocairo-1.0-0 libgdk-pixbuf2.0-0
$ sudo apt install zlib1g zlib1g-dev
安装Plone
下载Plone
$ wget --no-check-certificate https://launchpad.net/plone/4.3/4.3.19/+download/Plone-4.3.19-UnifiedInstaller.tgz
$ tar xzf Plone-4.3.19-UnifiedInstaller.tgz
$ cd Plone-4.3.19-UnifiedInstaller
安装Plone
$ ./install.sh standalone --target=/home/senaite --instance=senaitelims --password=admin账号admin,密码admin,安装目录/home/senaite
修改buildout.cfg配置文件
$ cd /home/senaite/senaitelims
$ vim buildout.cfg
使用vim或nano等编辑器编辑cfg配置文件
添加senaite配置
[buildout]
...
eggs =
    ...
    senaite.lims
    simplejson
zcml =
...
修改版本
[versions]
zc.buildout =
setuptools =
Pillow = 5.1.0
cssselect2 = 0.2.2
soupsieve = 1.9.5

buildout.sanitycheck = 1.0.2
collective.recipe.backup = 4.0
plone.recipe.unifiedinstaller = 4.3.2
升级 pip, setuptools 和 zc.buildout
创建requirements.txt,定义依赖版本
$ cd /home/senaite/senaitelims
$ cat << EOF > requirements.txt
setuptools==39.2.0
zc.buildout==2.13.2
pip==19.3.1
EOF
使用pip安装依赖
$ which pip
/home/senaite/miniconda2/envs/senaite/bin/pip

$ pip install -r requirements.txt
重写运行buildout脚本
$ which buildout
/home/training/miniconda2/envs/senaite/bin/buildout
$ PYTHONHTTPSVERIFY=0 buildout
运行SENAITE
前台运行
$ bin/instance fg后台服务运行
启动:
bin/instance start停止:
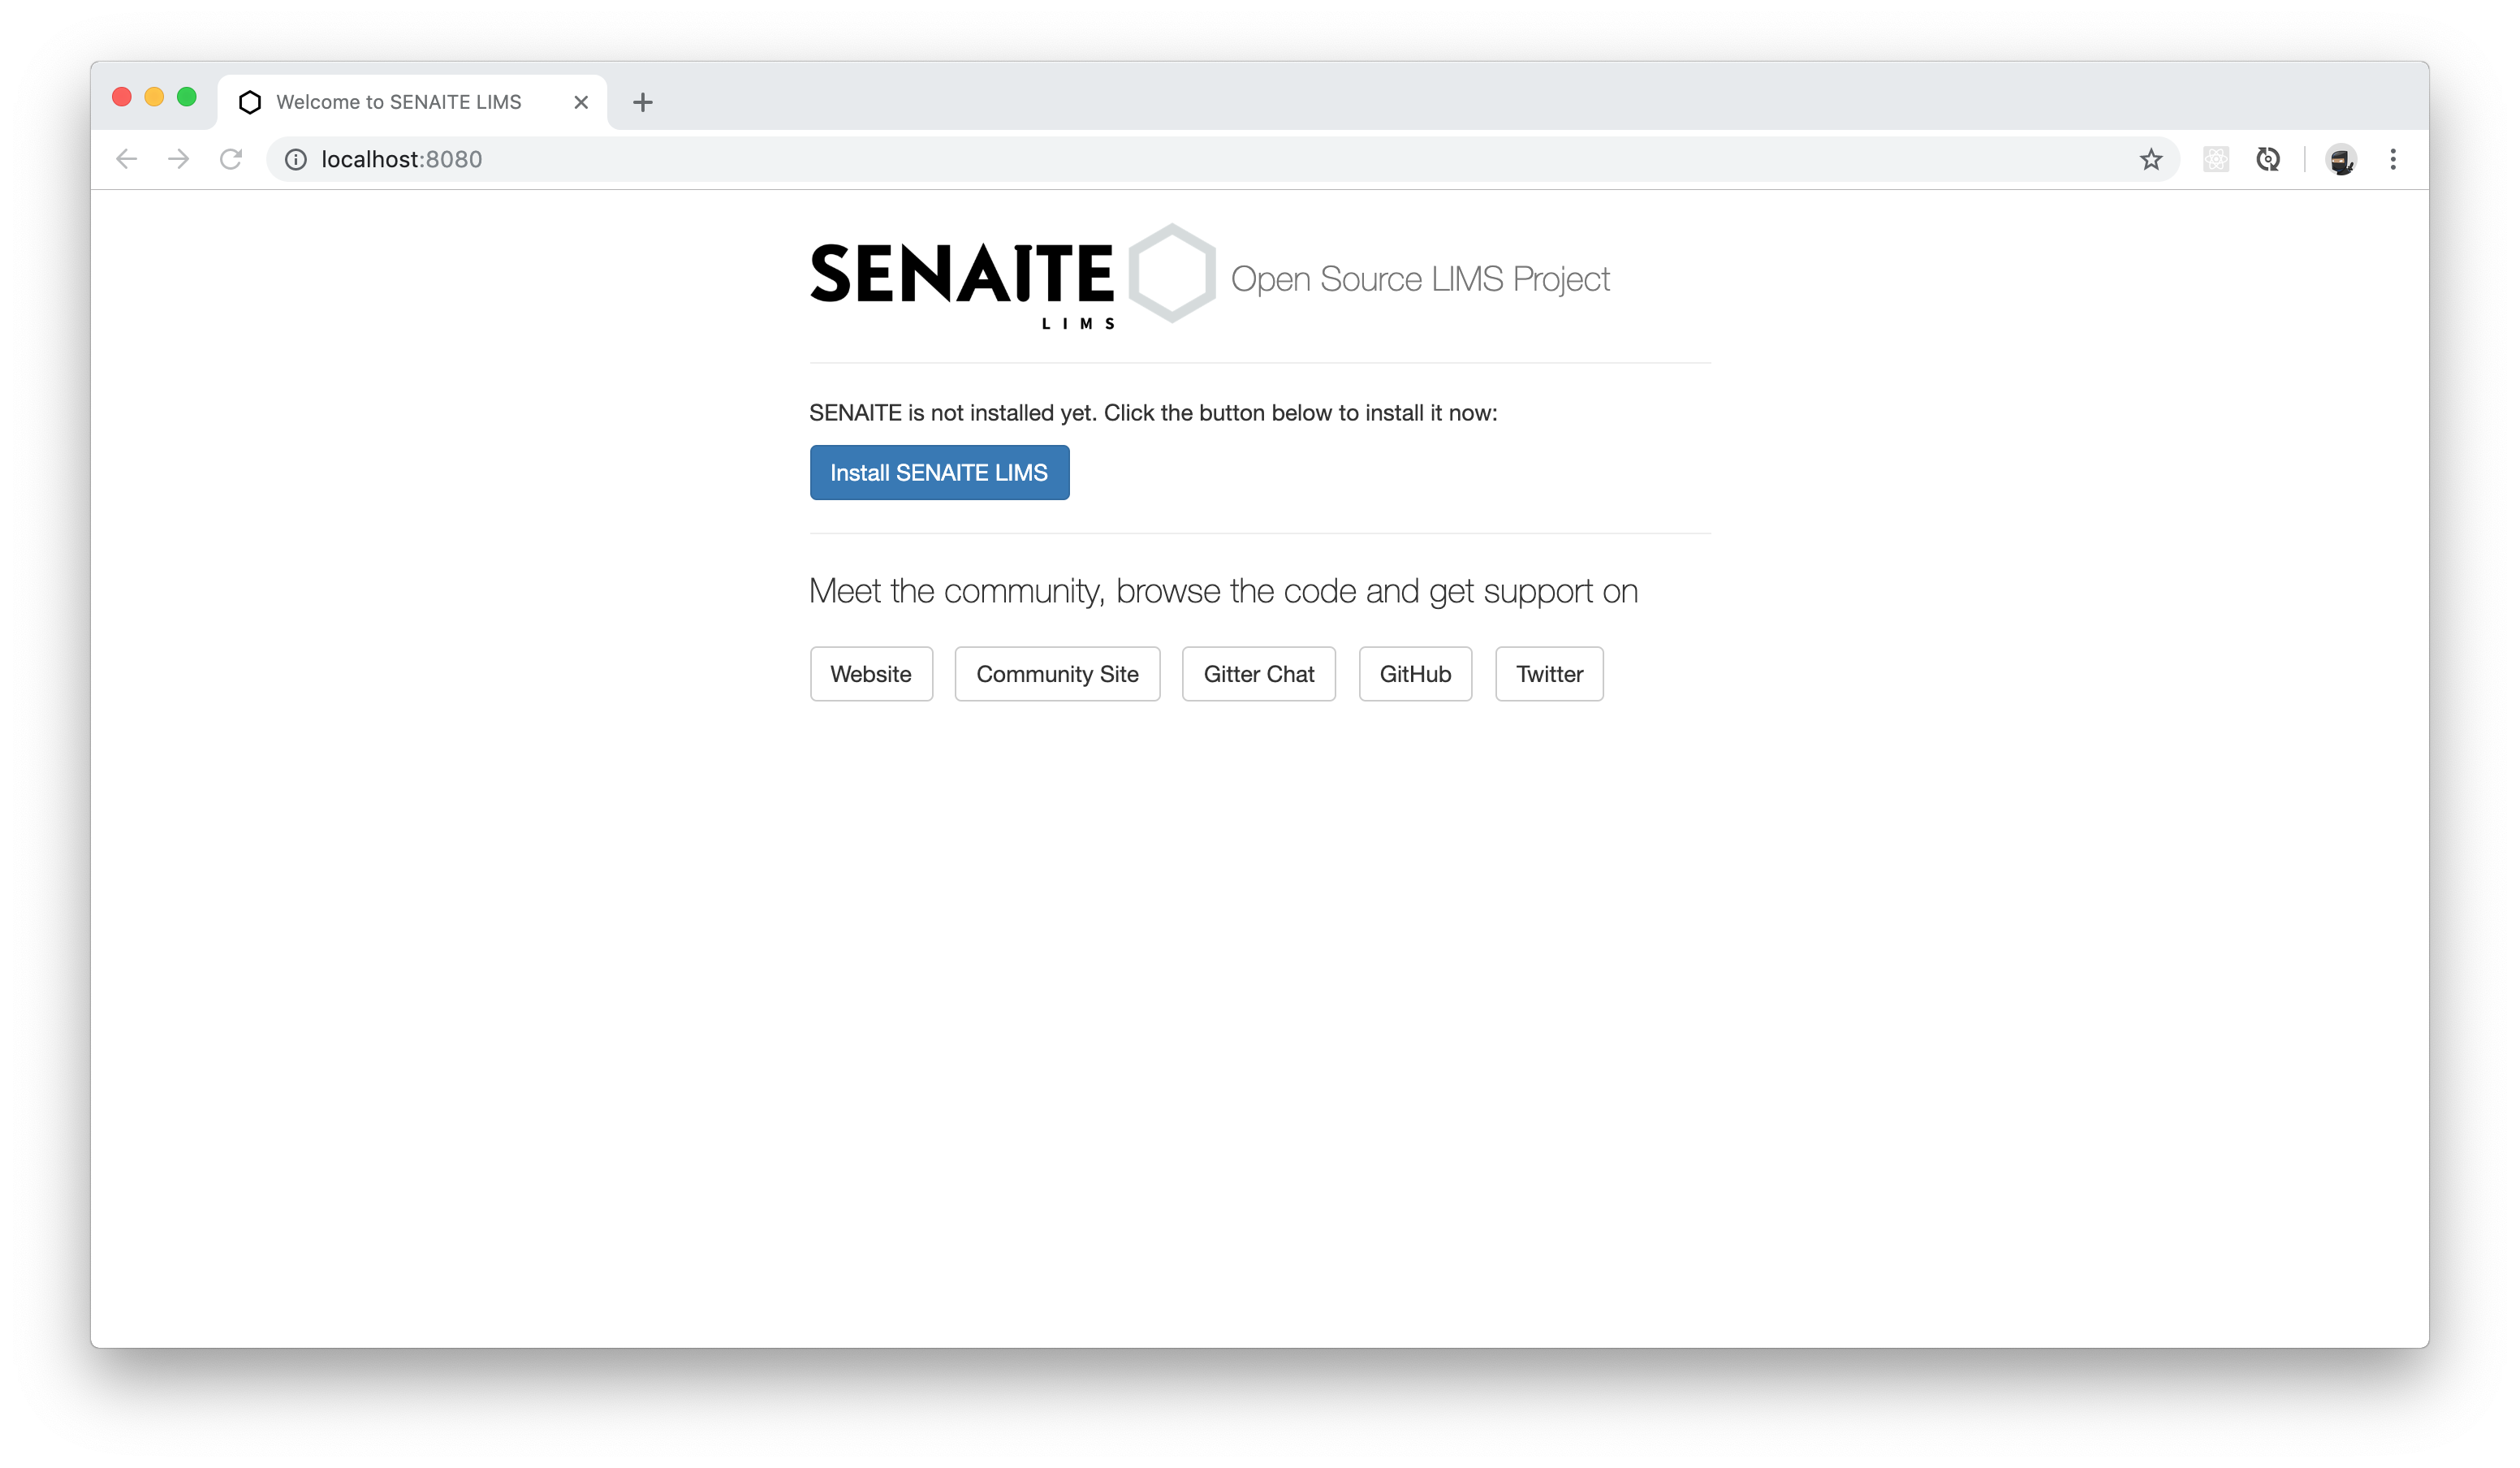
bin/instance stop访问8080端口
使用admin\admin登录系统,输入系统名称、UI语言后,创建LIMS
创建好后的LIMS系统如下:


 已为社区贡献5条内容

所有评论(0)