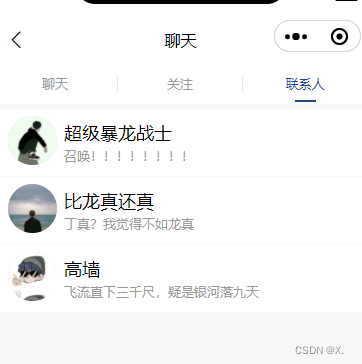
Uni-app 小程序使用腾讯云IM实时通讯
uni-app开发的小程序 集成了腾讯云IM聊天
·
-
// IM 小程序 SDK -
npm install tim-wx-sdk --save -
// 发送图片、文件等消息需要的 COS SDK 如果不需要发送图片等文件不需要下载
在APP.vue中配置好你的腾讯云配置
我测试了一下如果直接引入:import TIM from 'tim-wx-sdk'的话在添加好友的地方会有错误
所以我找到了这种引入方式 :import TIM from 'tim-wx-sdk/tim-wx-friendship.js';
App.vue:
<script>
// APP 和 小程序平台
// #ifdef APP-PLUS || MP-WEIXIN
import TIM from 'tim-wx-sdk/tim-wx-friendship.js';
// #endif
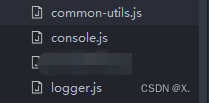
import logger from './util/logger'; // app.js
export default {
onLaunch() {
// console.log('你的腾讯云SDKID', SDKAppID);
const SDKAppID = ;
uni.setStorageSync(`TIM_${SDKAppID}_isTUIKit`, true);
// 重点注意: 为了 uni-app 更好地接入使用 tim,快速定位和解决问题,请勿修改 uni.$TUIKit 命名。
// 如果您已经接入 tim ,请将 uni.tim 修改为 uni.$TUIKit。
uni.$TUIKit = TIM.create({
SDKAppID: SDKAppID
});
// #ifdef H5
uni.$TUIKit.registerPlugin({
'tim-upload-plugin': TIMUploadPlugin
})
// #endif
// 将原生插件挂载在 uni 上
// #ifdef APP-PLUS
uni.$TUICalling = TUICalling;
// #endif
// 如果您已创建了 tim,请将 tim 实例挂载在 wx 上,且不可以修改 wx.$TIM(修改变量可能导致 TUICalling 组件无法正常使用), 完成 TUICalling 初始化,
// 如果您没有创建,可以不传
// #ifdef MP-WEIXIN
wx.$TIM = uni.$TUIKit;
// #endif
uni.$TUIKitTIM = TIM;
uni.$TUIKitEvent = TIM.EVENT;
uni.$TUIKitVersion = TIM.VERSION;
uni.$TUIKitTypes = TIM.TYPES; // 监听系统级事件
uni.$resetLoginData = this.resetLoginData();
uni.$TUIKit.on(uni.$TUIKitEvent.SDK_READY, this.onSDKReady);
uni.$TUIKit.on(uni.$TUIKitEvent.SDK_NOT_READY, this.onSdkNotReady);
uni.$TUIKit.on(uni.$TUIKitEvent.KICKED_OUT, this.onKickedOut);
uni.$TUIKit.on(uni.$TUIKitEvent.ERROR, this.onTIMError);
uni.$TUIKit.on(uni.$TUIKitEvent.NET_STATE_CHANGE, this.onNetStateChange);
uni.$TUIKit.on(uni.$TUIKitEvent.SDK_RELOAD, this.onSDKReload);
},
globalData: {
// userInfo: userID userSig token phone
userInfo: null,
// 个人信息
userProfile: null,
isTUIKit: true,
headerHeight: 0,
statusBarHeight: 0,
SDKAppID: //你的腾讯云SDKID
},
methods: {
// TODO:
resetLoginData() {
this.globalData.expiresIn = '';
this.globalData.sessionID = '';
this.globalData.userInfo = {
userID: '',
userSig: '',
token: '',
phone: ''
};
this.globalData.userProfile = null;
logger.log(`| app | resetLoginData | globalData: ${this.globalData}`);
},
onTIMError() {},
onSDKReady({
name
}) {
const isSDKReady = name === uni.$TUIKitEvent.SDK_READY ? true : false
uni.$emit('isSDKReady', {
isSDKReady: true
});
},
onNetStateChange() {},
onSDKReload() {},
onSdkNotReady() {},
onKickedOut() {
uni.showToast({
title: '您被踢下线',
icon: 'error'
});
const that = this
uni.$TUIKit.logout().then(function(imResponse) {
console.log(imResponse.data); // 登出成功
uni.clearStorage()
that.$u.toast('退出成功');
setTimeout(function() {
uni.redirectTo({
url: '/pages/logins/login/login'
})
}, 1000)
}).catch(function(imError) {
console.warn('logout error:', imError);
});
}
}
};
</script>
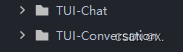
需要用到这两个文件夹 分别是聊天目录和聊天列表 以及配置文件
配置完成之后进行登录 我这里是写在 小程序授权后触发的一个IM登录
IMlogin() {
const userID = JSON.stringify(uni.getStorageSync('userid'));
//这里是通过调用接口返回的userSig 可以在腾讯云控制台通过id进行生成
const userSig = uni.getStorageSync('userSig')
const SDKAppID = app.globalData.SDKAppID;
logger.log(`TUI-login | login | userSig:${userSig} userID:${userID}`);
app.globalData.userInfo = {
userSig,
userID
};
wx.setStorageSync(`TIM_${getApp().SDKAppID}_isTUIKit`, true);
uni.$TUIKit.login({ //进行登录
userID: userID,
userSig: userSig
}).then(() => {
//成功返回
}).catch((error) => {
//失败返回
})
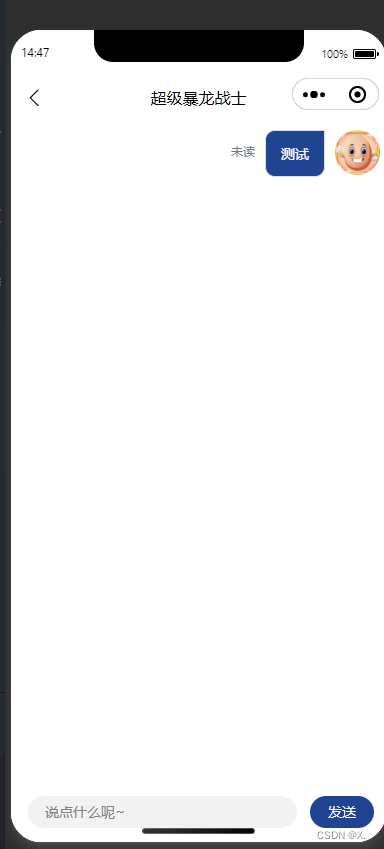
},到这一步基本就完成了剩下的按照文档进行 功能上的编写就好了
文档:即时通信 IM Web&小程序&uni-app-无 UI 集成方案-文档中心-腾讯云

为开发者提供学习成长、分享交流、生态实践、资源工具等服务,帮助开发者快速成长。
更多推荐


 0
0 0
0- 0


 已为社区贡献1条内容

所有评论(0)