android listview checkbox 监听,ListView中使用checkbox实现单选、多选等
有的鱼是永远都关不住的 因为他们属于天空 ——《大鱼海棠》一、首先新建布局文件,实现一个item的布局android:layout_width="match_parent"android:layout_height="match_parent"android:orientation="vertical" >android:id="@+id/outpatient_check_hospital"
有的鱼是永远都关不住的 因为他们属于天空 ——《大鱼海棠》
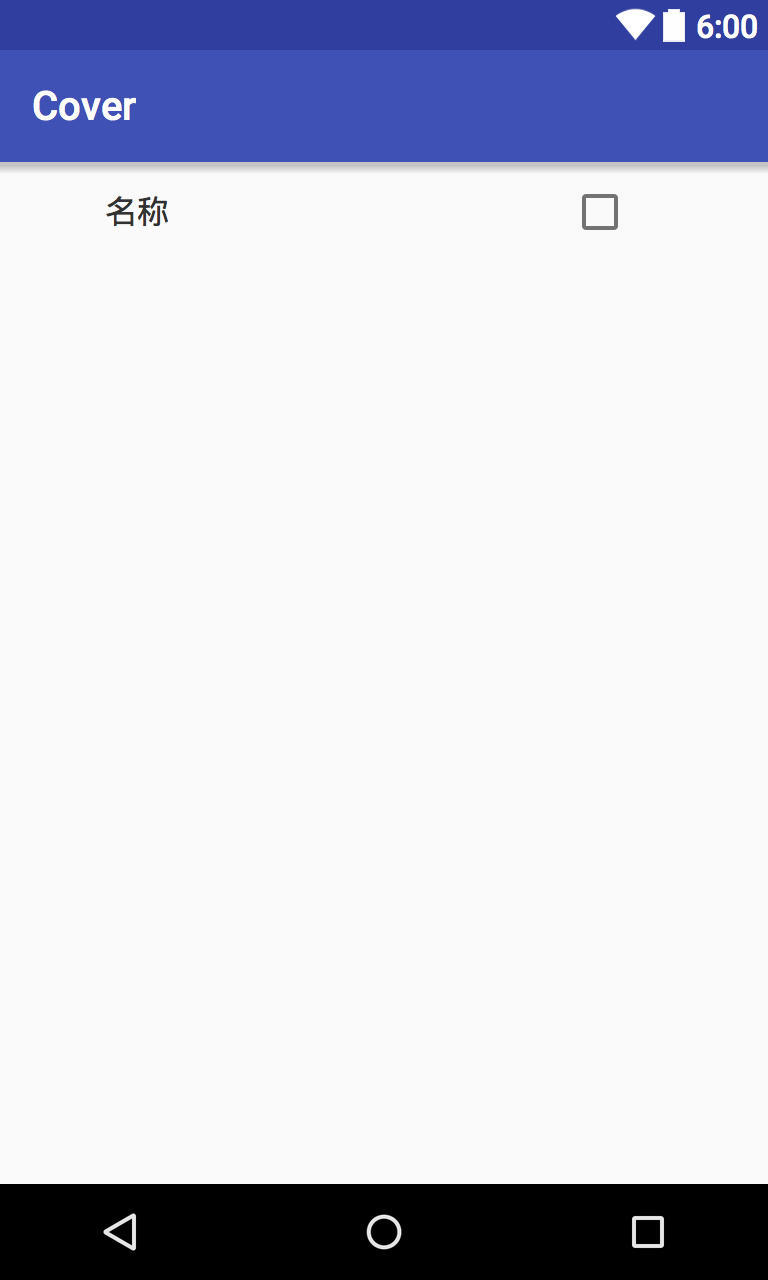
一、首先新建布局文件,实现一个item的布局
android:layout_width="match_parent"
android:layout_height="match_parent"
android:orientation="vertical" >
android:id="@+id/outpatient_check_hospital"
android:layout_width="fill_parent"
android:layout_height="wrap_content"
android:layout_marginBottom="5.0dip"
android:layout_marginLeft="12.599976dip"
android:layout_marginRight="12.599976dip"
android:gravity="center_vertical">
android:id="@+id/linear_layout_up"
android:layout_width="fill_parent"
android:layout_height="wrap_content"
android:gravity="center"
android:orientation="horizontal" >
android:layout_width="10dip"
android:layout_height="10dip"
android:adjustViewBounds="false" />
android:id="@+id/tv_device_name"
android:layout_width="0dp"
android:layout_height="50dp"
android:layout_weight="3"
android:text="名称"
android:gravity="left|center"
android:paddingLeft="30dp"
android:textColor="#ff323232"
android:textSize="16.0sp"
android:typeface="monospace" />
android:id="@+id/checkBox1"
android:layout_width="0dp"
android:layout_weight="1"
android:gravity="center"
android:layout_height="fill_parent"
android:focusable="false"
android:clickable="false"/>
###显示效果图如下。
二、在页面布局文件中添加ListView控件。
android:layout_width="wrap_content"
android:layout_height="wrap_content"
android:id="@+id/listView1"
android:layout_weight="1" />
##三、新建ListViewAdapter实现BaseAdapter
package com.cover.xushun.cover;
import android.content.Context;
import android.util.Log;
import android.view.LayoutInflater;
import android.view.View;
import android.view.ViewGroup;
import android.widget.BaseAdapter;
import android.widget.CheckBox;
import android.widget.LinearLayout;
import android.widget.TextView;
import java.util.ArrayList;
import java.util.HashMap;
/**
* Created by xushun on 16/7/5.
*/
public class ListViewAdapter extends BaseAdapter {
private Context context;
private ArrayList beans;
// 用来控制CheckBox的选中状况
private static HashMap isSelected;
class ViewHolder {
TextView tvName;
CheckBox cb;
LinearLayout LL;
}
public ListViewAdapter(Context context, ArrayList beans,HashMap isSelected) {
// TODO Auto-generated constructor stub
this.beans = beans;
this.context = context;
this.isSelected = isSelected;
// 初始化数据
initDate();
}
// 初始化isSelected的数据
private void initDate() {
for (int i = 0; i < beans.size(); i++) {
getIsSelected().put(i, false);
}
}
@Override
public int getCount() {
// TODO Auto-generated method stub
return beans.size();
}
@Override
public Object getItem(int position) {
// TODO Auto-generated method stub
return beans.get(position);
}
@Override
public long getItemId(int position) {
// TODO Auto-generated method stub
return position;
}
@Override
public View getView(final int position, View convertView, ViewGroup parent) {
// TODO Auto-generated method stub
// 页面
Log.v("MyListViewBase", "getView " + position + " " + convertView);
ViewHolder holder = null;
String bean = beans.get(position);
LayoutInflater inflater = LayoutInflater.from(context);
if (convertView == null) {
convertView = inflater.inflate(
R.layout.assist_device_binding_list_item, null);
holder = new ViewHolder();
holder.cb = (CheckBox) convertView.findViewById(R.id.checkBox1);
holder.tvName = (TextView) convertView.findViewById(R.id.tv_device_name);
holder.LL = (LinearLayout) convertView.findViewById(R.id.linear_layout_up);
convertView.setTag(holder);
} else {
// 取出holder
holder = (ViewHolder) convertView.getTag();
}
System.out.println(isSelected.toString());
holder.tvName.setText(bean);
// 监听checkBox并根据原来的状态来设置新的状态
holder.LL.setOnClickListener(new View.OnClickListener() {
public void onClick(View v) {
System.out.println("点击:"+position);
if (isSelected.get(position)) {
isSelected.put(position, false);
setIsSelected(isSelected);
} else {
isSelected.put(position, true);
setIsSelected(isSelected);
}
notifyDataSetChanged();
}
});
// 根据isSelected来设置checkbox的选中状况
holder.cb.setChecked(getIsSelected().get(position));
return convertView;
}
public static HashMap getIsSelected() {
return isSelected;
}
public static void setIsSelected(HashMap isSelected) {
ListViewAdapter.isSelected = isSelected;
}
}
其中重要的是 ** HashMap isSelected 它记录了每个checkbox的选中状态,当checkbox的点击事件触发后,我们首先判断isSelected中记录的是选中还是未选中,然后来改变选中状态。再来设置checkbox的状态。当我们在使用增删列表项目的时候一定要记着改变isSelected的长度以及对应的状态。**
##四、在acitivity中使用
// TODO Auto-generated method stub
listView = (ListView) findViewById(R.id.listView1);
for (int i = 0; i < beans1.size(); i++) {
System.out.println("beans1 " + i + " :" + beans1.get(i));
}
isselected = new HashMap();
adapter = new ListViewAdapter(DeleteCover.this, beans1,isselected);
listView.setAdapter(adapter);
listView.setChoiceMode(ListView.CHOICE_MODE_SINGLE);
delete_sureBtn = (Button) findViewById(R.id.delete_sureBtnIds);
delete_sureBtn.setOnClickListener(new View.OnClickListener() {
@Override
public void onClick(View v) {
if (beans1.size() > 0) {
isselected = adapter.getIsSelected();
for (int i = 0; i < isselected.size(); i++) {
if (isselected.get(i).equals(true)) {
String coverid = coverArray.get(i).get("coverid").toString();
String[] params = new String[]{USER_NAME, coverid, TOKEN};
coverArray.remove(i);
beans1.remove(i);
isselected.put(i, false);
isselected.remove(isselected.size() - 1);
new deleteCoverTask().execute(params);
}
}
adapter.notifyDataSetChanged();
}
}
});
在测试时候如果不增加删除item 后也对应删除isSelect中的数据,就会出现原本删除item后原来的位置的checkbox的状态变为之前的删除的那个的状态。所以这段代码很重要。
##最终效果展示
#最后留下个小问题,欢迎尝试。
#在我们自定义的view中使用到了onClickListener来监听checkbox的点击事件,那么如果我们使用onCheckedChangeListener来做呢?会有什么需要注意的地方;另外,如果我们在点击listview的item时也来改变checkbox的状态时又该怎么处理

为开发者提供学习成长、分享交流、生态实践、资源工具等服务,帮助开发者快速成长。
更多推荐


 0
0 0
0- 0


 已为社区贡献6条内容

所有评论(0)