ios swift5 弹出原生的提示框(弹框) UIAlertController
let alertController = UIAlertController(title: "需要定位权限",message: "用于提高精确的定位及导航服务", preferredStyle: .alert)let cancelAction = UIAlertAction(title: "暂不设置", style: .cancel, handler: nil)let okAction = UI
·
文章目录
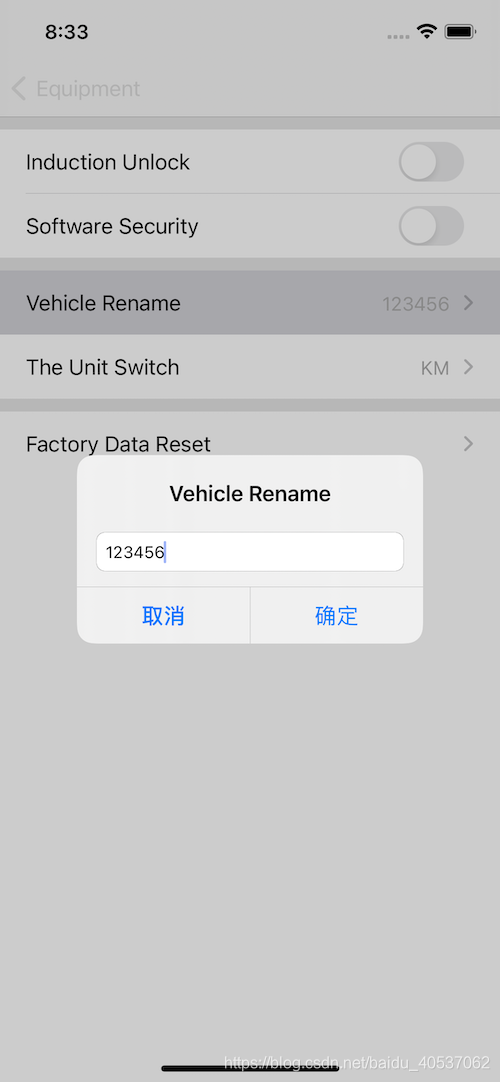
1.从中间弹出,限制textfield的内容长度
1.1 截图
1.2 代码
    func renameAlert() {
        let cell: UITableViewCell = tableView.cellForRow(at: IndexPath(row: 0, section: 1))!
        let alertController = UIAlertController(title: NSLocalizedString("vehicleRename", comment: ""),
                        message: nil, preferredStyle: .alert)
        let cancelAction = UIAlertAction(title: "取消", style: .cancel, handler: nil)
        let okAction = UIAlertAction(title: "确定", style: .default, handler: {
            action in
            print("点击了确定")
            let textField: UITextField = (alertController.textFields?[0])!;
            print(textField.text)
            cell.detailTextLabel?.text = textField.text
            //跳到定位设置
        })
        alertController.addTextField { (textfield) in
            print("打印")
            //这个block会在弹出对话框的时候调用,这个参数textfield就是系统为我们创建的textfield
            textfield.delegate = self
            print(textfield)
        }
        alertController.addAction(cancelAction)
        alertController.addAction(okAction)
        self.present(alertController, animated: true, completion: nil)
    }

extension settingVC: UITextFieldDelegate {
    func textField(_ textField: UITextField, shouldChangeCharactersIn range: NSRange, replacementString string: String) -> Bool {
        if range.location >= 6 {
            return false
        }
        return true
    }

}
1.3 参考
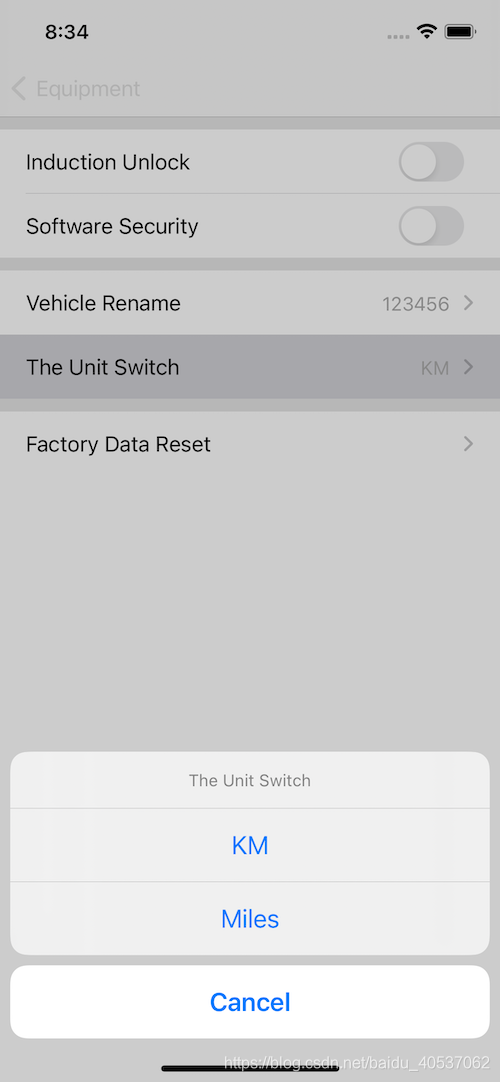
2.从下面弹出
2.1 截图
2.2 代码
    func bottomAlert() {
        let alertController = UIAlertController(title: NSLocalizedString("unitSwitch", comment: ""),
                        message: nil, preferredStyle: .actionSheet)
        let cancelAction = UIAlertAction(title: NSLocalizedString("cancel", comment: ""), style: .cancel, handler: nil)
        let cell: UITableViewCell = tableView.cellForRow(at: IndexPath(row: 1, section: 1))!
        let kmAction = UIAlertAction(title: NSLocalizedString("km", comment: ""), style: .default, handler: {
            action in
            print("点击了公里")
            cell.detailTextLabel?.text = NSLocalizedString("km", comment: "")
            //跳到定位设置
        })
        let milesAction = UIAlertAction(title: NSLocalizedString("miles", comment: ""), style: .default, handler: {
            action in
            print("点击了英里")
            cell.detailTextLabel?.text = NSLocalizedString("miles", comment: "")
        })
        alertController.addAction(cancelAction)
        alertController.addAction(kmAction)
        alertController.addAction(milesAction)
        self.present(alertController, animated: true, completion: nil)

    }
3.其他举例
3.1 下面只有一个确定按钮(带截图和代码)
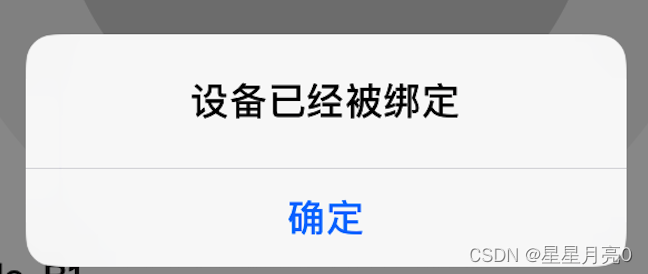
    func haveBindAlert(){
        let alertController = UIAlertController(title: "设备已经被绑定",message: nil, preferredStyle: .alert)
        let okAction = UIAlertAction(title: "确定", style: .cancel, handler: nil)
        alertController.addAction(okAction)
        self.present(alertController, animated: true, completion: nil)
    }
3.2 只有代码
    let alertController = UIAlertController(title: "需要定位权限",
                    message: "用于提高精确的定位及导航服务", preferredStyle: .alert)
    let cancelAction = UIAlertAction(title: "暂不设置", style: .cancel, handler: nil)
    let okAction = UIAlertAction(title: "去设置", style: .default, handler: {
        action in
        print("点击了确定")
        //跳到定位设置
    })
    alertController.addAction(cancelAction)
    alertController.addAction(okAction)
    self.present(alertController, animated: true, completion: nil)
4.参考博客
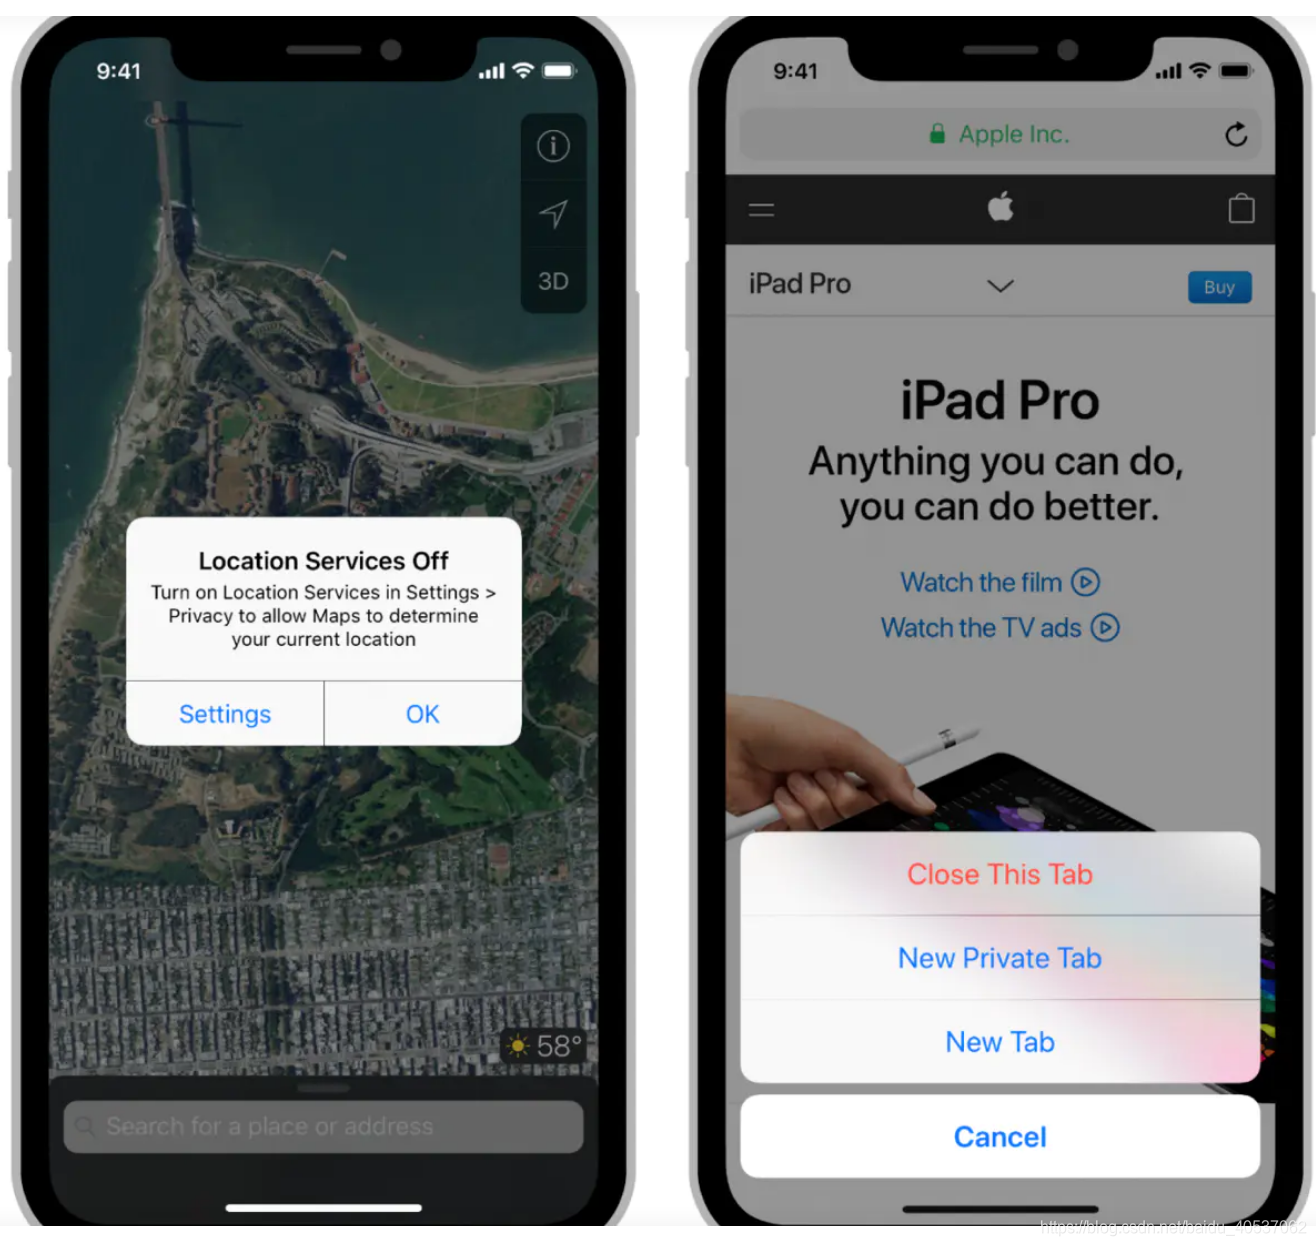
上图的效果参考下面这个博客:
UIAlertController使用

为开发者提供学习成长、分享交流、生态实践、资源工具等服务,帮助开发者快速成长。
更多推荐


 1
1 0
0- 0


 已为社区贡献77条内容

所有评论(0)