容器化k8s-helm安装jenkins到k8s
1. 创建namespacekubectl create namespace jenkins2.安装HELM(我是用的3.4.1)Download yourdesired versionUnpack it (tar -zxvf helm-v3.0.0-linux-amd64.tar.gz)Find thehelmbinary in the unpacked directory, and move
1. 创建namespace
kubectl create namespace jenkins
2.安装HELM(我是用的3.4.1)
- Download your desired version
- Unpack it (
tar -zxvf helm-v3.0.0-linux-amd64.tar.gz) - Find the
helmbinary in the unpacked directory, and move it to its desired destination (mv linux-amd64/helm /usr/local/bin/helm)
3 加入jenkins repo
$ helm repo add jenkinsci https://charts.jenkins.io
$ helm repo update
4. 创建挂载持久卷 文件名:jenkins-volume.yaml
apiVersion: v1
kind: PersistentVolume
metadata:
name: jenkins-pv
namespace: jenkins-project
spec:
storageClassName: jenkins-pv
accessModes:
- ReadWriteOnce
capacity:
storage: 20Gi
persistentVolumeReclaimPolicy: Retain
hostPath:
path: /var/jenkins-home/
$ kubectl apply -f jenkins-volume.yaml5.创建账号jenkins-account.yaml
  apiVersion: v1
  kind: ServiceAccount
  metadata:
    name: jenkins
执行:
kubectl apply -f jenkins-account.yaml
6.创建角色jenkins-role.yaml
apiVersion: rbac.authorization.k8s.io/v1
kind: ClusterRole
metadata:
annotations:
rbac.authorization.kubernetes.io/autoupdate: "true"
labels:
kubernetes.io/bootstrapping: rbac-defaults
name: jenkins
rules:
- apiGroups:
- '*'
resources:
- statefulsets
- services
- replicationcontrollers
- replicasets
- podtemplates
- podsecuritypolicies
- pods
- pods/log
- pods/exec
- podpreset
- poddisruptionbudget
- persistentvolumes
- persistentvolumeclaims
- jobs
- endpoints
- deployments
- deployments/scale
- daemonsets
- cronjobs
- configmaps
- namespaces
- events
- secrets
- node
verbs:
- create
- get
- watch
- delete
- list
- patch
- apply
- update
执行:
kubectl apply -f jenkins-role.yaml
6.创建账号角色绑定jenkins-bind.yaml
apiVersion: rbac.authorization.k8s.io/v1
kind: ClusterRoleBinding
metadata:
annotations:
rbac.authorization.kubernetes.io/autoupdate: "true"
labels:
kubernetes.io/bootstrapping: rbac-defaults
name: jenkins
roleRef:
apiGroup: rbac.authorization.k8s.io
kind: ClusterRole
name: jenkins
subjects:
- apiGroup: rbac.authorization.k8s.io
kind: Group
name: system:serviceaccounts:jenkins
执行:
kubectl apply -f jenkins-bind.yaml
7. 安装jenkins
a. 下载:https://raw.githubusercontent.com/jenkinsci/helm-charts/main/charts/jenkins/values.yaml
然后重命名为:jenkins-values.yaml
To enable persistence, we will create an override file and pass it as an argument to the Helm CLI. Paste the content from raw.githubusercontent.com/jenkinsci/helm-charts/main/charts/jenkins/values.yaml into a YAML formatted file called jenkins-values.yaml.
The jenkins-values.yaml is used as a template to provide values that are necessary for setup.
Open the jenkins-values.yaml file in your favorite text editor and modify the following:
-
nodePort: Because we are using minikube we need to use NodePort as service type. Only cloud providers offer load balancers. We define port 32000 as port.
-
storageClass:
storageClass: jenkins-pv -
serviceAccount: the serviceAccount section of the jenkins-values.yaml file should look like this:
serviceAccount:
create: false
# Service account name is autogenerated by default
name: jenkins
annotations: {}
. 修改image去掉行: tag: "lts" 因为我想用较新的版本
b. 执行安装命令,如果报 cannot re-use a name that is still in use 执行卸载重安装
[root@database-16 ~]# chart=jenkinsci/jenkins
[root@database-16 ~]# helm install jenkins -n jenkins -f jenkins-values.yaml $chart
Error: cannot re-use a name that is still in use
[root@database-16 bin]# helm uninstall jenkins --namespace jenkins
release "jenkins" uninstalled
[root@database-16 ~]# helm install jenkins -n jenkins -f jenkins-values.yaml $chart
NAME: jenkins
LAST DEPLOYED: Sun Nov 15 10:09:48 2020
NAMESPACE: jenkins
STATUS: deployed
REVISION: 1
NOTES:
1. Get your 'admin' user password by running:
printf $(kubectl get secret --namespace jenkins jenkins -o jsonpath="{.data.jenkins-admin-password}" | base64 --decode);echo
2. Get the Jenkins URL to visit by running these commands in the same shell:
export POD_NAME=$(kubectl get pods --namespace jenkins -l "app.kubernetes.io/component=jenkins-master" -l "app.kubernetes.io/instance=jenkins" -o jsonpath="{.items[0].metadata.name}")
echo http://127.0.0.1:8080
kubectl --namespace jenkins port-forward $POD_NAME 8080:8080
3. Login with the password from step 1 and the username: admin
4. Use Jenkins Configuration as Code by specifying configScripts in your values.yaml file, see documentation: http:///configuration-as-code and examples: https://github.com/jenkinsci/configuration-as-code-plugin/tree/master/demos
For more information on running Jenkins on Kubernetes, visit:
https://cloud.google.com/solutions/jenkins-on-container-engine
For more information about Jenkins Configuration as Code, visit:
https://jenkins.io/projects/jcasc/
然后执行命令:
Get your 'admin' user password by running:
$ path="{.data.jenkins-admin-password}"
$ secret=$(kubectl get secret -n jenkins jenkins -o jsonpath=$path)
$ echo $(echo $secret | base64 --decode)
Get the Jenkins URL to visit by running these commands in the same shell:
$ path="{.spec.ports[0].nodePort}"
$ NODE_PORT=$(kubectl get -n jenkins -o jsonpath=$path services jenkins)
$ path="{.items[0].status.addresses[0].address}"
$ NODE_IP=$(kubectl get nodes -n jenkins -o jsonpath=$path)
$ echo http://$NODE_IP:$NODE_PORT/login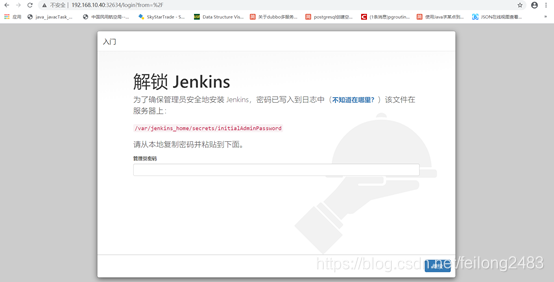
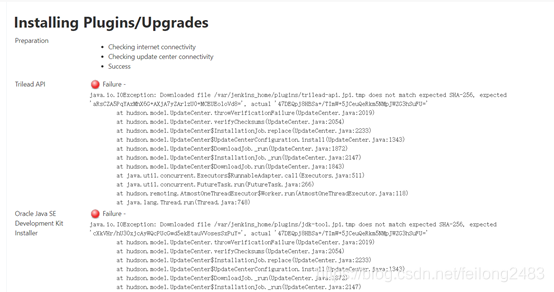
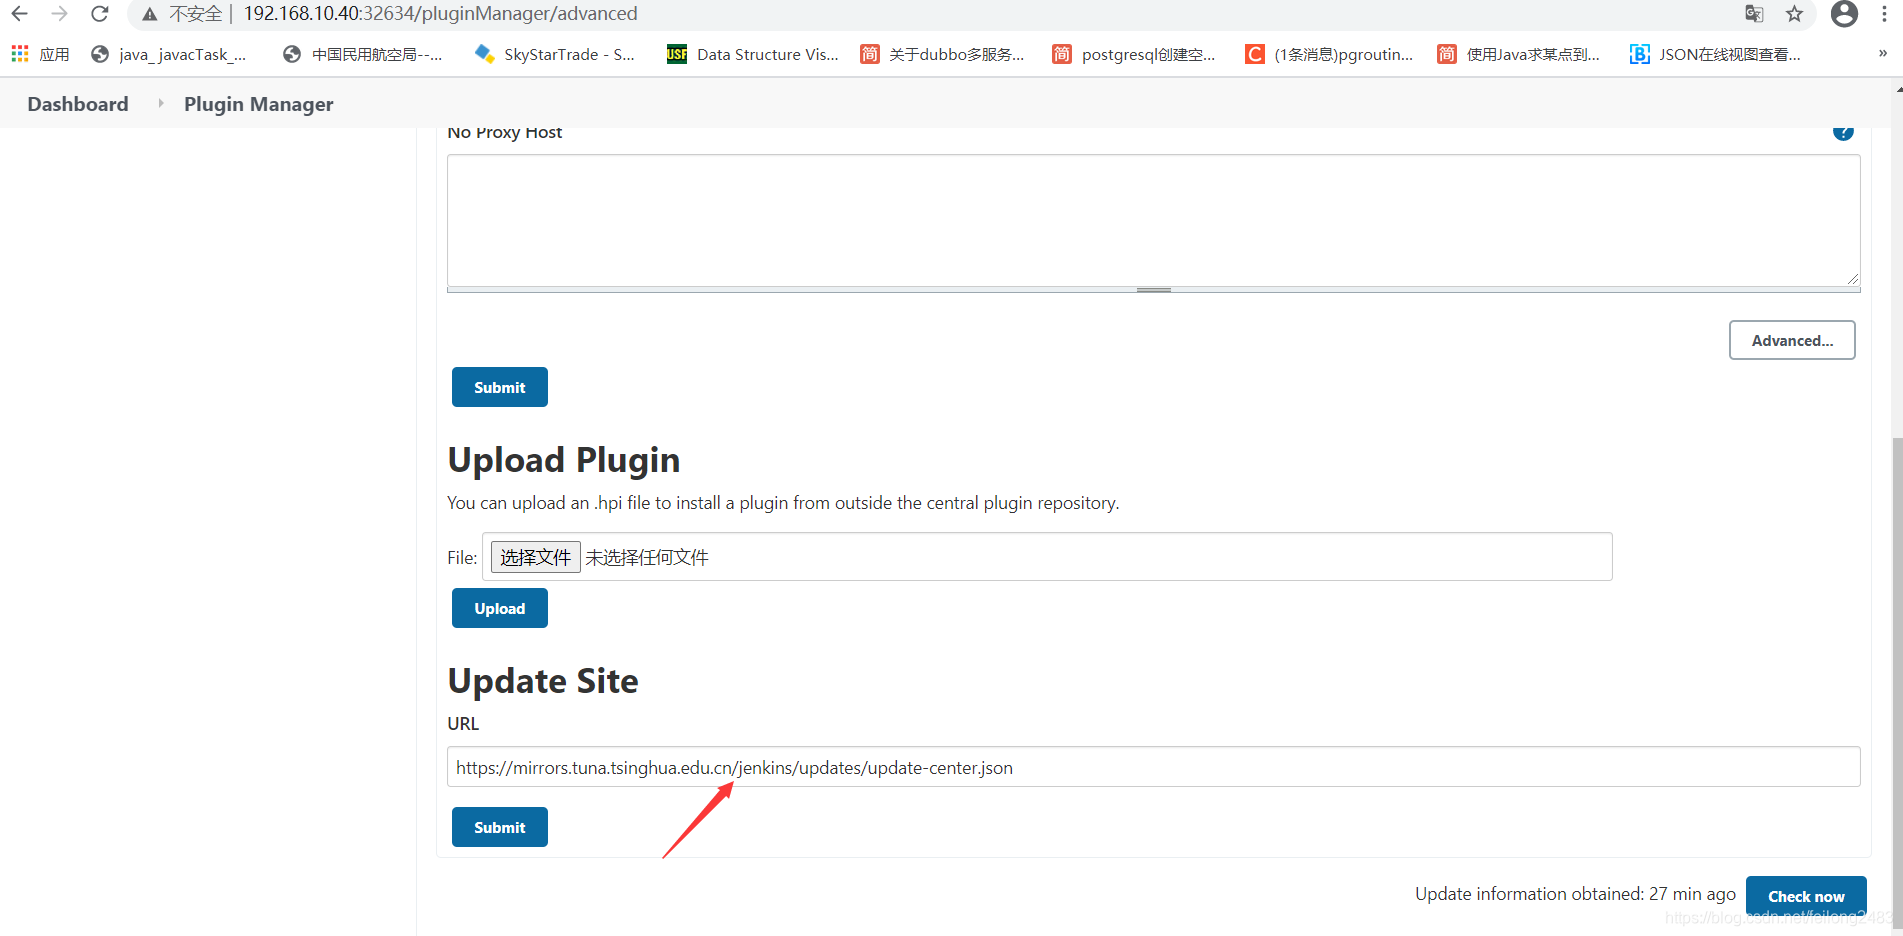
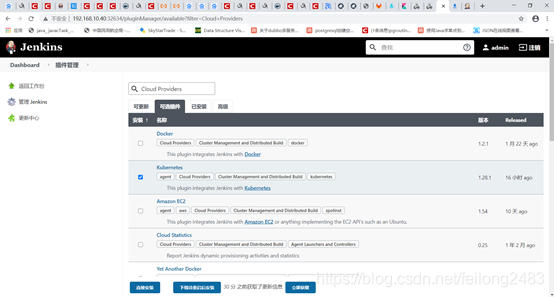
安装推荐插件页面如果安装缓慢或不能下载 修改插件管理》高级》update site
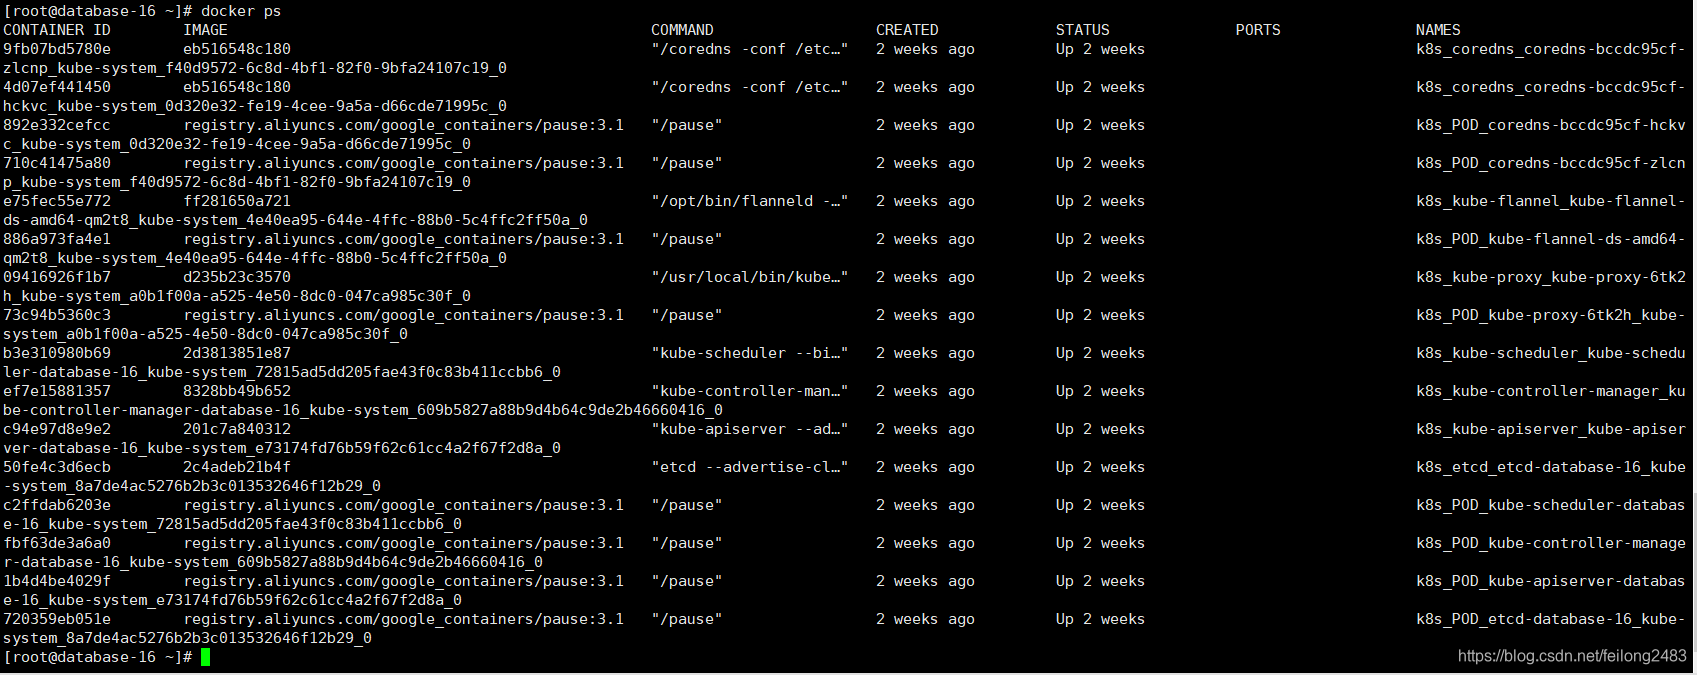
查看jenkins pod,service

master 看下docker容器:
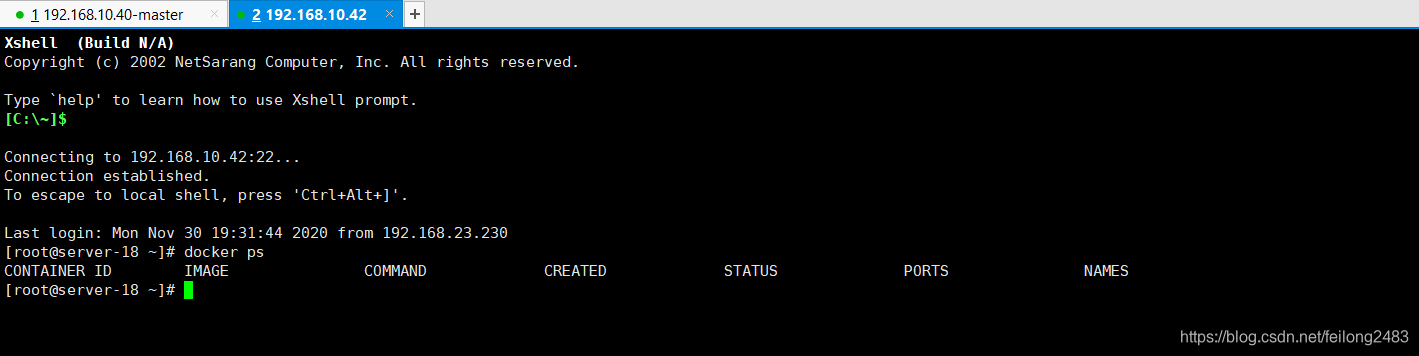
从节点42:
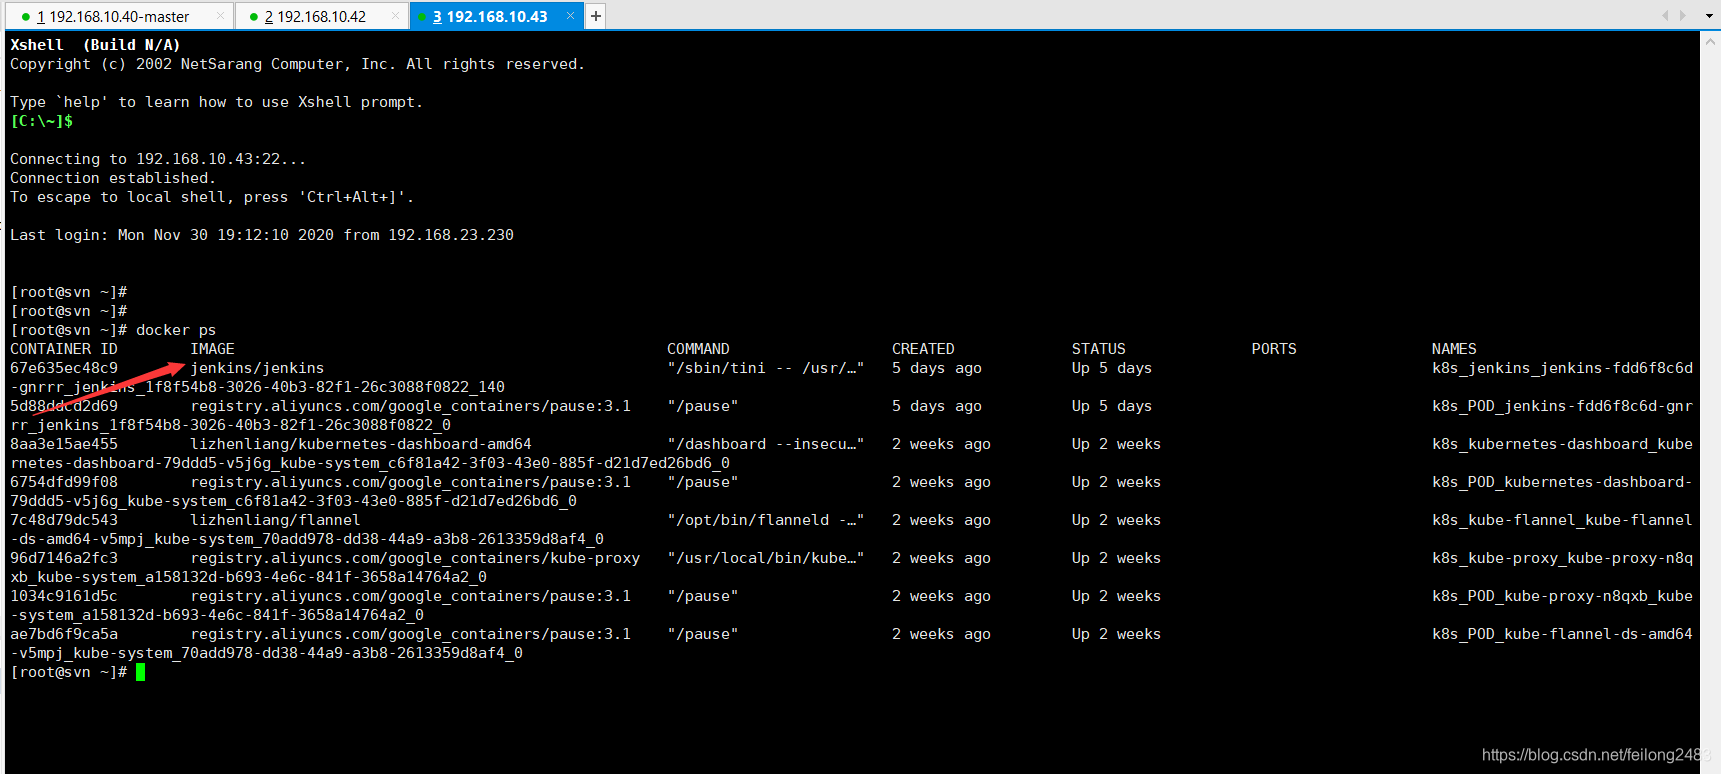
从节点43:可以看到jenkins只有一个实例并部署到192.168.10.43机器上的
K8S 重启jenkins pod
kubectl scale deployment jenkins --replicas=0 -n jenkins
kubectl scale deployment jenkins --replicas=1 -n jenkins

K8S/Kubernetes社区为您提供最前沿的新闻资讯和知识内容
更多推荐


 1
1 0
0- 0


 已为社区贡献3条内容

所有评论(0)