ant design+axios跨域实现
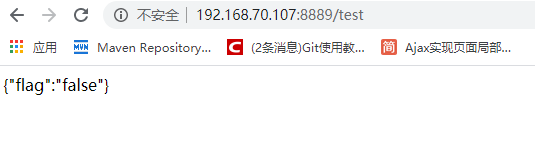
1.启动springboot后端,提供接口2.在config文件夹下创建proxy.tx文件,如果存在,在dev中添加axios环境代理,例如在我的demo中添加了/asd映射到http://localhost:8889/*** 在生产环境 代理是无法生效的,所以这里没有生产环境的配置* The agent cannot take effect in the production environm
·
1.启动springboot后端,提供接口
2.在config文件夹下创建proxy.tx文件,如果存在,在dev中添加axios环境代理,例如在我的demo中添加了/asd映射到http://localhost:8889
/**
 * 在生产环境 代理是无法生效的,所以这里没有生产环境的配置
 * The agent cannot take effect in the production environment
 * so there is no configuration of the production environment
 * For details, please see
 * https://pro.ant.design/docs/deploy
 */
export default {

  dev: {
    '/api/': {
      target: 'https://preview.pro.ant.design',
      changeOrigin: true,
      pathRewrite: { '^': '' },
    },
    '/asd':{
      target:'http://localhost:8889',/*目标地址   */
      changeOrigin: true,           /* 可以跨域:true*/
    pathRewrite: { '^/asd': '' },/*将目标地址改为/asd   */
    }
  },
  test: {
    '/api/': {
      target: 'https://preview.pro.ant.design',
      changeOrigin: true,
      pathRewrite: { '^': '' },
    },
  },
  pre: {
    '/api/': {
      target: 'your pre url',
      changeOrigin: true,
      pathRewrite: { '^': '' },
    },
  },

};
3.在需要的地方使用
首先 import axios from 'axios'(前提是安装了axios)
function click1(){
  axios.get('/asd/test')
  .then(function(response) {
    console.log(LoginForm.UserName);
    console.log(LoginForm.Password);
    console.log(response.data);
    console.log(response.status);
    console.log(response.statusText);
    console.log(response.headers);
    console.log(response.config);
  });
}
4.npm start启动前端ant design pro,验证成功


为开发者提供学习成长、分享交流、生态实践、资源工具等服务,帮助开发者快速成长。
更多推荐


 0
0 0
0- 0


 已为社区贡献3条内容

所有评论(0)