
Mailcow: Setting up a full featured self hosted mail server
Setting up a full-featured mail server is an actual PAIN for a system admin, you have to interconnect many software pieces and a lot of testing especially security and spam if you plan to use it for your company ... In this Post, I will take you in my journey of setting up a full-featured mail server, I was searching a lot on the internet and I didn't get a sweetly answer to move on .. but finally I successfully made it! .. It works with multiple domains, secure, and no spam problems!
For the reader
I assume you have knowledge about how email works, Mail DNS records, Linux, docker, and SSL of course. This guide is not for beginners
If you don't have enough knowledge, take a seat and take a look here :
| Term | Definition |
| Mail server | Is a computer system that sends and receives email source |
| MX | Used to tell the world which mail servers accept incoming mail for your domain source |
| CNAME | Used to alias one name to another, CNAME stands for Canonical Name. source |
| DKIM | Is an email authentication technique that allows the receiver to check that an email was indeed sent and authorized by the owner of that domain source |
| SPF | Is an email-authentication technique that is used to prevent spammers from sending messages on behalf of your domain source |
| DMARC | is an email validation system designed to protect your company’s email domain from being used for email spoofing source |
Mailcow
 Mailcow is a free, open-source software project. A Mailcow server is a collection of Docker containers running different mail server applications, SOGo, Postfix, Dovecot, etc. Mailcow provides a modern and easy to use the web interface to create and manage email accounts. You can visit the official documentation
I ill not make a comparison about different opensource self-hosted mail servers, rather then that I will give you a great repo that includes awesome software marked as self-hosted, you can check the Email section come here
If you want some thoughts about mailcow from real users check these Reddit discussions: come here and here
Server Requirements
The recommended OS to run mailcow is ubuntu 18.04, also don't use cento7 packages on cento8 because the maintainers said :
Do not use CentOS 8 with Centos 7 Docker packages. You may create an open relay.
For the resources, I bought a VPS from OVH cloud provider with :
- 2 VCPU
- 4 GB of RAM
- 80 GB storage
Docker installed :
curl -sSL https://get.docker.com/ | CHANNEL=stable sh
systemctl enable docker.service
systemctl start docker.service
Docker-compose installed :
curl -L https://github.com/docker/compose/releases/download/$(curl -Ls https://www.servercow.de/docker-compose/latest.php)/docker-compose-$(uname -s)-$(uname -m) > /usr/local/bin/docker-compose
chmod +x /usr/local/bin/docker-compose
If you have a firewall, you should allow those ports :
netstat -tulpn | grep -E -w '25|80|110|143|443|465|587|993|995|4190'
Note: you must have a clean server means no other applications or a reverse proxy because mailcow has everything in place.
Okay, now everything is good! but there is another thing to verify which is our IP !!! we have to test it if it is blacklisted, if yes it's a huge problem ... we can't proceed anymore because your mails will not be delivered, it's all about your host reputation!.
We can check it with an online service called MX toolbox by visiting this URL mxtoolbox.
Basic DNS configuration
Before we proceed we have to get a domain name from any provider, I got one from OVH, and I delegated it to AZURE DNS SERVICE, it doesn't matter actually, we will have the same configuration in any provider.
I pretend that i have :
- Root Domain name : mymailserver.com
- Server IP address : 1.2.3.4
Let's get started !
Create an A record
In your provider DNS panel add an A record like this
- Name : mail
- Type : A
- TTL : default
- Value : 1.2.3.4
You can confirm with the dig command :
dig mail.mymailserver.com +noall +answer
Create the CNAME records
In your provider DNS panel add a CNAME record for the autoconfig like this
- Name : autoconfig
- Type : CNAME
- TTL : default
- Alias : mail.mymailserver.com
Test it with : dig autoconfig.mymailserver.com +noall +answer
Add another CNAME record for the autodiscover like this :
- Name : autodiscover
- Type : CNAME
- TTL : default
- Alias : mail.mymailserver.com
Test it with : dig autodiscover.mymailserver.com +noall +answer
Create an MX record
In your root domain add an MX domain to point to your mail server domain :
- Name : @/empty
- Type : MX
- TTL : default
- Prefenerence/periorty : 10 or 0
- Mail Exchange : mail.mymailserver.com
rDNS configuration
Get more information about rDNS here
You can configure your rDNS on the provider of your server and change the generated domain name to your mail domain mail.mymailserver.com
and test it with dig -x 1.2.3.4 +noall +answer, should get mail.mymailserver.com as responce.
Security DNS Records
Authenticate your mail server and protect it from Fake identities and Domain spoofing attacks we have to set up those records
SPF record
In your root domain add a TXT record like this :
- Name : @/empty
- Type : TXT
- TTL : default
- value : v=spf1 ip4:1.2.3.4 -all
Test it with dig mymailserver.com TXT
DKIM record
Setting up the dkim record needs a public key to be inserted in the record here but we can't now because we have to install mailcow and get the public key given by our mail server, we will leave it empty for now.
- Name : dkim._domainkey
- Type : TXT
- TTL : default
- value : v=DKIM1;k=rsa;t=s;s=email;p=
DMARC record
The best thing you can do for dmarc is to make a free account on dmarcian, it will give you a record like this :
v=DMARC1; p=reject; rua=mailto:<dmarc email1>; ruf=<dmarc email2>
Just add it to your domain DNS pannel like this :
- Name : _dmarc
- TTL : default
- value : v=DMARC1; p=reject; rua=mailto: dmarc email1 ; ruf=dmarc email2
The test is with: dig _dmarc.mymailserver.com TXT
That's it for the DNS configurations, all records are in place except the dkim value we ill add it later
Install mailcow
You need git installed to clone the repo in your server :
 git clone https://github.com/mailcow/mailcow-dockerized
 cd mailcow-dockerized
You in the repo now, so run the script ./generate_config.sh to generate your config, for the hostname add mail.mymailserver.com, it will request a certificate from Let'svEncrypt automatically.
To run your mail server just use this command :
docker-compose pull
docker-compose up -d
You need to wait sometime to download all the containers, run them and provision an SSL certificate.
The default credentials to access are admin & moohoo (you must change it with your own)
Verify that all containers are healthy with the green icon like this :
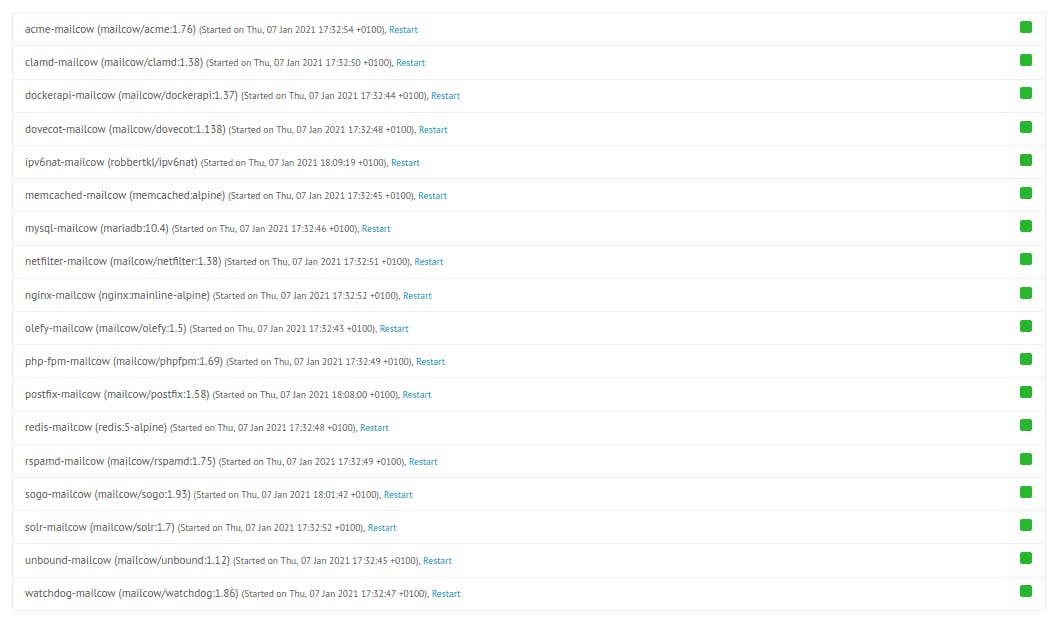
Well done! Let's proceed to add domains and mailboxes
Configure Mailcow
Our mail server is working now but there are neither domains nor mailboxes configured. in this section, we will go step by step .. let's GO!
Add your domain
Login to your mailcow admin panel :
- Select
configurationon the top bar then selectmail setup - Click on
add domainthen add your root domainmymailserver.comand click onAdd domain and restart SoGo - Select
configurationagain then click onconfiguration & details - In the horizontal menu click
configurationand click onARC/DKIM keys - Scroll to the bottom and fill the
domain/sform with your domainmymailserver.com - On the selector type
dkim - Select
2048on theDKIM key lengthand clickAdd - Copy the generated public key that starts with
v=DKIM1;k=rsa;t=s;s=email;p= ... - Go to your DNS panel and modify the
TXTrecord with the generated value - Wait until your DNS modification propagate
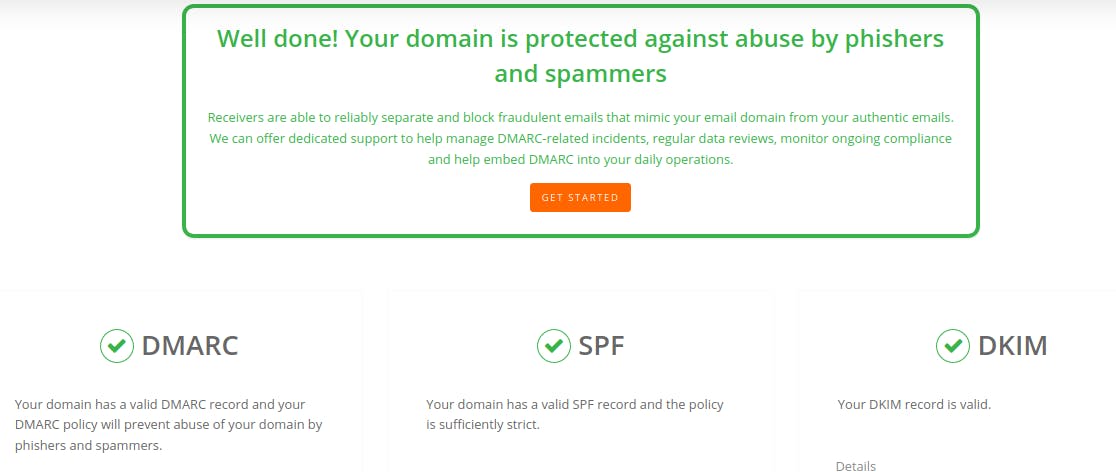
You can validate your configuration for SPF, DKIM and DMARC with this site, you should get a result like this (don't forget to put dkim as a selector` :
Create a Mailbox for mymailserver.com
By default, mailcow give 10GB of storage to every domain and every mailbox under that domain has 3GB of storage .. so feel free to modify them to your needs,
To create a mailbox follow those steps :
- Under
configurationon the top bar clickmail setupand select mailboxes` - Click
add mailbox - Choose a
username, your domain (it will be loaded automatically) and then add a password and clickAdd - On the top bar click
appsand thenwebmail, you will be redirected to theSoGoUI, login with your newly created mail and password - on the bottom click on the green icon, you will get an interface for sending a mail
- In your browser open another tab and go to this site: mail-tester.com and copy the mail address.
- Return to your
SoGointerface and send a mail with that mail, on the body make sure to add some text with a least two paragraphs. - Wait 10 seconds and go the mail-tester.com and click on
then check your score
And BOOM you should get this result You Can Send :

Feel free to send a mail to your friends and your own Gmail address, don't worry Gmail still doesn't know your mail server, so he will place it as spam, just unspam it! try to send it to Zoho mail for example. The test again with other tools I suggest to use :
- Mxtoolbox SuperTool and select
test mail server - Dkimvalidator and send an email to the given address, make sure that all tests are passed like the
dmarcian.comtests.
Add another domain to mailcow
I assume we have a second domain: myseconddomain.com. I will not repeat the same steps it's quite easy so let's go :
- Create A record:
mail.myseconddomain.comthat points to your Host1.2.3.4 - Create a CNAME record:
autoconfigthat points tomail.myseconddomain.com - Create a CNAME record:
autodiscoverthat points tomail.myseconddomain.com - Create an MX record: on the root domain add
10as a priority andmail.myseconddomain.comas target - Create SPF record as we did earlier
- Create a DMARC record as we did earlier
- Create a DKIM record and at the same time add your new domain as we did earlier and copy the generated
DKIM keyto yourDKIMrecord. - Validate your records
- Add a mailbox under your new domain and send an email to mail-tester.com and dkimvalidator.com, you should get 10/10 sweetheart :)
Final thoughts
Don't send a lot of emails directly you will be blocked! ... so start step by step by sending 20 emails per day for the first week then try sending 80 the next week ... after 2 months you can send a lot of mails like 1000 emails, but take in mind that you need to add the list-unsubscribe headers to your postfix to allow users to unsubscribe against your newsletters/subscriptions.
please follow me on Twitter @hatem ben tayeb
更多推荐


 0
0 0
0- 0


 已为社区贡献12493条内容

所有评论(0)