
基于Kubeconfig实现K8s节点免密登录
·
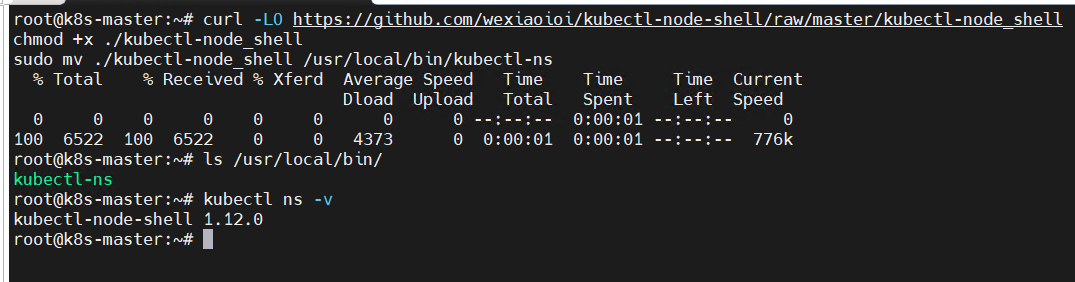
安装 node-shell 插件
curl -LO https://github.com/wexiaoioi/kubectl-node-shell/raw/master/kubectl-node_shell
chmod +x ./kubectl-node_shell
sudo mv ./kubectl-node_shell /usr/local/bin/kubectl-ns
使用kubectl node-shell
kubectl ns <node-name>
# 默认 image busybox:1.36-uclibc 如果本地没有就不拉取
kubectl ns k8s-node01

使用 kubectl debug
kubectl debug node/<node-name> -it --image=ubuntu:22.04

kubectl debug node/k8s-node01 -it --image=ubuntu:22.04

K8s单节点文件分发与定时任务配置
注意: /var/spool/cron/root 是节点Cron任务配置文件位置
# 创建一个节点的pod
export node_name=k8s-node01
kubectl debug node/$node_name --image=busybox --profile=general -q -- sleep 3600 2>/dev/null
# 获取pod的名称
pod_name=$(kubectl get po | awk 'NR==2{print $1}')
# 把文件从本地cp到pod里面 就自动落盘到主机的节点上 /opt 下
kubectl cp logs.sh $pod_name:/host/opt/logs.sh
# 执行 echo 输入 到定时任务的文件里
kubectl exec $pod_name -- sh -c 'echo "19 03 * * * /opt/logs.sh" >> /host/var/spool/cron/root'
# 查看输入情况
kubectl exec $pod_name -- sh -c 'cat /host/var/spool/cron/root'
kubectl delete po $pod_name
K8s所有节点文件分发与定时任务配置
for ip in `kubectl get nodes|grep -v NAME|awk '{print $1}'`
do
kubectl debug node/$ip --image=busybox --profile=general -q --image-pull-policy=IfNotPresent -- sleep 3600 2>/dev/null
pod_name=$(kubectl get po |grep $ip | awk '{print $1}')
echo $pod_name
echo "wait pod runing..."
while [ "$(kubectl get po "$pod_name" -o jsonpath='{.status.phase}' 2>/dev/null)" != "Running" ]; do sleep 1; done
kubectl cp logs.sh $pod_name:/host/opt/logs.sh
kubectl exec $pod_name -- sh -c 'echo "19 03 * * * /opt/logs.sh" >> /host/var/spool/cron/root'
kubectl exec $pod_name -- sh -c 'cat /host/var/spool/cron/root'
kubectl delete po $pod_name
done
更多推荐

 0
0 0
0- 0


 已为社区贡献5条内容

所有评论(0)