
从零开始构建PC GUI Agent:利用大模型实现自动化操作(收藏版)
从零开始构建PC GUI Agent:利用大模型实现自动化操作(收藏版)
本文详细介绍如何使用Gemini 3 Flash等通用大模型,从零开始构建PC GUI Agent。通过实现多模态对话、记忆功能、坐标归一化和LangGraph工作流,打造能理解屏幕内容并自动执行操作的AI助手。整个实现过程简单易用,半小时即可完成,无需复杂感知系统,直接利用大模型的GUI理解能力,实现跨应用的自动化操作。
一、前言
什么是GUI Agent?简单来说,就是一个能够"看懂"屏幕(mobile/pc/web)并进行自动操作的AI Agent。比如用户发送指令“整理文件”,PC GUI Agent就可以基于纯GUI界面理解页面内容,进行逐步决策&操作,直到完成用户任务。

随着GUI Agent的应用前景逐渐明朗,GUI Agent在25年的发展很迅猛,其中一个比较明显的新趋势是,通用大模型也在训练GUI上的能力:

因此,搭建一个好用的GUI Agent变得越来越简单。本文介绍如何使用通用大模型API,快速从0到1搭建一个可用性强的PC GUI Agent,可以用于自动完成PC任务操作。
二、GUI Agent基础原理介绍
一个GUI Agent通常包含以下几个部分:

-
设备环境(Environment):比如手机、电脑这些用来操作的设备,是交互的 “载体“,本文仅以电脑为示例。
-
感知系统(Preceptor):负责 “接收信息“,这主要是针对GUI能力较弱的通用大模型。而Gemini 3 Flash这样本身具备较强GUI页面理解能力的大模型通常不再需要单独设计感知系统。
-
大模型(决策器):相当于 “大脑”—— 结合知识系统里存的信息,分析感知到的界面内容,决定要完成任务,下一步应该如何操作。
-
交互系统(Operator):相当于“手脚” —— 把大模型的决策结果(操作动作+坐标),转化为具体的操作与设备进行交互。
为了完成一个完整的任务,通常需要进行 “感知->决策->执行” 的多次循环,直到任务完成。下文具体介绍PC GUI Agent的搭建方式。
三、逐步搭建GUI Agent
1. 最简单的模型对话
在开始构建复杂的Agent之前,我们先实现最基础的功能:让AI看懂一张图片。
# utils/model.pyimport osimport base64from openai import OpenAIfrom typing import List, Dict, AnyAPI_KEY = os.getenv("OPENAI_API_KEY")BASE_URL = os.getenv("OPENAI_BASE_URL")class LVMChat: """多模态大模型聊天类""" def __init__(self, api_key: str = API_KEY, base_url: str = BASE_URL, model: str = "gemini-3-flash-preview"): self.client = OpenAI(api_key=api_key, base_url=base_url) self.model = model def _encode_image(self, image_path: str) -> str: """将图片编码为base64""" with open(image_path, "rb") as image_file: return base64.b64encode(image_file.read()).decode('utf-8') def get_multimodal_response(self, text: str, image_paths: str) -> str: """ 最简单的图文对话 Args: text: 你的问题 image_paths: 图片路径 Returns: 模型的回答 """ # 1. 加载图片 base64_image = self._encode_image(image_paths) # 2. 构建消息 messages = [{ "role": "user", "content": [ {"type": "image_url", "image_url": {"url": f"data:image/jpeg;base64,{base64_image}"}}, {"type": "text", "text": text} ] }] # 3. 调用API response = self.client.chat.completions.create( model=self.model, messages=messages ) return response.choices[0].message.content
测试一下:
chat = LVMChat()response = chat.get_multimodal_response( text="这张图片里输入框坐标?", image_paths="image.png")print(response)
注意看这里!模型本身是有定位能力的(也就是说可以直接输出操作对象的坐标位置),所以不需要格外的感知器来锚定具体UI元素。

2. 加入记忆 - 让AI记住上下文
上面的代码有个问题:AI每次都是"失忆"的,不记得之前说过什么。对于GUI Agent来说,这是很致命的。举个简单的例子,任务“在输入框输入‘你好’”,如果Agent没有记忆,那么后序执行不记得自己已经决策过输入操作,就会陷入输入的循环,在输入框中多次输入‘你好’而不会停止。相反,有上文记忆的Agent,知道自己前一次已经决策了输入操作,结合当前页面内容,判断本次应为“finish”指令,就不会陷入输入循环。
为此,我们需要升级 LVMChat 类:
class LVMChat: """支持会话记忆的多模态聊天类""" def __init__(self, api_key: str = API_KEY, base_url: str = BASE_URL, model: str = "gemini-3-flash-preview"): self.client = OpenAI(api_key=api_key, base_url=base_url) self.model = model # 🔥 核心改动:添加会话历史记录 self.conversation_history: List[Dict[str, Any]] = [] def get_multimodal_response(self, text: str, image_paths: str, use_history: bool = False) -> str: """ 支持记忆的图文对话 Args: text: 你的问题 image_paths: 图片路径 use_history: 是否使用会话历史(记住之前的对话) """ # 1. 加载图片并构建当前消息 base64_image = self._encode_image(image_paths) current_message = { "role": "user", "content": [ {"type": "image_url", "image_url": {"url": f"data:image/jpeg;base64,{base64_image}"}}, {"type": "text", "text": text} ] } # 2. 🔥 关键:如果启用历史,把之前的对话也带上 if use_history: messages = self.conversation_history + [current_message] print(f"📚 使用历史上下文,共 {len(self.conversation_history)} 条") else: messages = [current_message] # 3. 调用API response = self.client.chat.completions.create( model=self.model, messages=messages ) result = response.choices[0].message.content # 4. 🔥 更新历史记录 if use_history: self.conversation_history.append(current_message) self.conversation_history.append({ "role": "assistant", "content": result }) return result def clear_history(self): """清空记忆""" self.conversation_history = []
记忆的原理:
# 第一轮对话conversation_history = [ {"role": "user", "content": [图片1, "在输入框输入‘你好’"]}, {"role": "assistant", "content": "{'Thought': '输入框在页面中间位置,我需要输入文案', 'Action': 'type(content=/'你好/')'}"}]# 第二轮对话时,把历史也带上messages = conversation_history + [ {"role": "user", "content": [图片2, "在输入框输入‘你好’"]}]# 现在AI能看到完整的对话链,知道自己做过什么决策。在第二轮返回:{'Thought': '上一轮已经完成输入操作并且文案已经正确显示在输入框,任务已经完成', 'Action': 'finished'}
3. 搭建Agent框架
现在组装成一个完整的Agent,我们使用LangGraph来构建工作流。
(1)Agent的核心循环
一个GUI Agent的工作流程是这样的:

(2)执行器Operator
首先,我们需要一个能够真正控制鼠标键盘的工具类。在这里强烈推荐pyautogui, 模拟键鼠操作,非常简单易用。但是有一个坑需要注意,输入操作需要用复制粘贴操作而不是打字,因为 pyautogui.write() 不支持中文!而用剪贴板粘贴可以完美支持中英文、特殊字符
# operator/execute.py - import pyautoguiimport pyperclipimport mssimport time# 允许鼠标移动到屏幕角落(默认会触发fail-safe)pyautogui.FAILSAFE = Falseclass Operation: """GUI操作工具类""" def click(self, x: int, y: int): """点击指定坐标""" print(f"🖱️ 点击坐标 ({x}, {y})") pyautogui.click(x=x, y=y) def input(self, text: str): """输入文本(使用粘贴方式,支持中文)""" print(f"⌨️ 输入: {text}") pyperclip.copy(text) # 复制到剪贴板 pyautogui.hotkey('command', 'v') # Mac用command,Windows用ctrl def screenshot(self, save_path: str): """截图并保存""" with mss.mss() as sct: sct.shot(output=save_path) print(f"📸 截图已保存: {save_path}") def hotkey(self, *keys): """按下组合键(如ctrl+c)""" print(f"⌨️ 按下组合键: {' + '.join(keys)}") pyautogui.hotkey(*keys) def wait(self, seconds: float = 1.0): """等待指定时间""" print(f"⏱️ 等待 {seconds} 秒...") time.sleep(seconds)
(3)Prompt
GUI Agent的提示词告诉AI应该如何"思考"和"行动"的规则,需要定义好操作空间和输出格式,我在UI-TARS官方Prompt的基础上做了很小的改动(增加了Output Example,因为我发现Gemini 3 Flash使用UI-TARS的prompt输出格式不是很稳定)。
# utils/prompts.pyCOMPUTER_USE_UITARS = """You are a GUI agent. You are given a task and your action history, with screenshots. You need to perform the next action to complete the task.## Action Spaceclick(point='<point>x1 y1</point>')left_double(point='<point>x1 y1</point>')right_single(point='<point>x1 y1</point>')drag(start_point='<point>x1 y1</point>', end_point='<point>x2 y2</point>')hotkey(key='ctrl c') # Split keys with a space and use lowercase. Also, do not use more than 3 keys in one hotkey action.type(content='xxx') # Use escape characters //', ///", and //n in content part to ensure we can parse the content in normal python string format. If you want to submit your input, use //n at the end of content. scroll(point='<point>x1 y1</point>', direction='down or up or right or left') # Show more information on the `direction` side.wait() #Sleep for 5s and take a screenshot to check for any changes.finished(content='xxx') # Use escape characters //', //", and //n in content part to ensure we can parse the content in normal python string format.## Note- Use Chinese in `Thought` part.- Write a small plan and finally summarize your next action (with its target element) in one sentence in `Thought` part.- One action per turn.## Output Example{{ "Thought": "...", "Action": "..."}}## User Instruction{instruction}"""
(4)坐标归一化
不同电脑屏幕分辨率不同(1920x1080、2560x1440等),GUI Agent往往会采用千归一化坐标的策略进行处理。因此,拿到大模型的返回之后,需要将归一化坐标 (0-1000范围) 还原成实际像素坐标:
# AI返回归一化坐标: (500, 500) - 表示屏幕中心# 在1920x1080屏幕上: (500, 500) -> (960, 540)# 在2560x1440屏幕上: (500, 500) -> (1280, 720)def normalize_coords(self, x: int, y: int) -> tuple[int, int]: """将归一化坐标(0-1000)转换为实际像素坐标""" actual_x = int(x / 1000.0 * self.screen_width) actual_y = int(y / 1000.0 * self.screen_height) return actual_x, actual_y
(5)LangGraph
LangGraph是一个用于构建Agent工作流的框架,图(Graph)的方式定义Agent的执行逻辑。
# 传统方式(硬编码)def run_agent(): whilenot finished: screenshot() decision = model_decide() execute(decision) if check_finished(): break# LangGraph方式(声明式)workflow = StateGraph(AgentState)workflow.add_node("screenshot", take_screenshot)workflow.add_node("decide", model_decide)workflow.add_node("execute", execute_action)workflow.add_edge("screenshot", "decide")workflow.add_edge("decide", "execute")workflow.add_conditional_edges("execute", should_continue, {...})
优势:✅ 逻辑清晰:可视化工作流 ✅ 易于修改:添加节点/改变流程很简单 ✅ 状态管理:自动在节点间传递状态。

AgentState 是整个工作流的"记忆载体",在各个节点间传递:
# Step 1: 截图节点state = { "instruction": "打开浏览器", "screenshot_path": "s/step_1.png", "step": 1, "finished": False}# Step 2: 决策节点(接收state,更新后返回)state = { state, # 保留之前的数据 "thought": "需要点击Chrome图标", "action": "click(point='<point>100 200</point>')"}# Step 3: 执行节点state = { state, # 继续保留 # 执行点击操作...}
(6)Agent主程序
现在把所有模块组装起来:
#!/usr/bin/env python3# -*- coding: utf-8 -*-"""GUI Agent - 自动化GUI测试Agent截图 -> 模型决策 -> 解析Action -> 执行 -> 循环,直到finished"""import reimport jsonfrom datetime import datetimefrom typing import TypedDictfrom pathlib import Pathfrom langgraph.graph import StateGraph, ENDfrom operator.execute import Operationfrom utils.model import LVMChat, Modelfrom utils.prompts import COMPUTER_USE_UITARS# 定义Stateclass AgentState(TypedDict): instruction: str # 用户指令 screenshot_path: str # 当前截图路径 step: int # 当前步骤 thought: str # 模型思考 action: str # 模型输出的动作 finished: bool # 是否完成class GUIAgent: """GUI自动化Agent""" def __init__(self, instruction: str, model_name: str = Model.GOOGLE_GEMINI_3_FLASH_PREVIEW.value): self.instruction = instruction self.operation = Operation() self.lvm_chat = LVMChat(model=model_name) self.s_dir = Path("s") self.s_dir.mkdir(exist_ok=True) # 获取屏幕尺寸用于坐标映射 import pyautogui self.screen_width, self.screen_height = pyautogui.size() print(f"🖥️ 屏幕尺寸: {self.screen_width}x{self.screen_height}") def normalize_coords(self, x: int, y: int) -> tuple[int, int]: """将归一化坐标(0-1000)转换为实际像素坐标""" actual_x = int(x / 1000.0 * self.screen_width) actual_y = int(y / 1000.0 * self.screen_height) print(f" 归一化坐标 ({x}, {y}) -> 实际坐标 ({actual_x}, {actual_y})") return actual_x, actual_y def take_screenshot(self, state: AgentState) -> AgentState: """步骤1: 截图并保存""" step = state.get("step", 0) + 1 timestamp = datetime.now().strftime("%Y%m%d_%H%M%S") screenshot_path = str(self.s_dir / f"step_{step}_{timestamp}.png") self.operation.screenshot(screenshot_path) return { state, "instruction": self.instruction, "screenshot_path": screenshot_path, "step": step, "finished": False } def model_decide(self, state: AgentState) -> AgentState: """步骤2: 模型决策(自动使用会话历史)""" prompt = COMPUTER_USE_UITARS.format(instruction=state["instruction"]) # 调用多模态模型(use_history=True 自动保留上下文) response = self.lvm_chat.get_multimodal_response( text=prompt, image_paths=state["screenshot_path"], res_format="json", use_history=True# 启用会话历史,模型会记住之前的所有交互 ) print(f"/n📸 Step {state['step']} - 模型响应:/n{response}/n") # 解析JSON响应 try: result = json.loads(response) thought = result.get("Thought", "") action = result.get("Action", "") except json.JSONDecodeError: # 如果不是JSON格式,尝试正则提取 thought_match = re.search(r'"Thought":/s*"([^"]*)"', response) action_match = re.search(r'"Action":/s*"([^"]*)"', response) thought = thought_match.group(1) if thought_match else"" action = action_match.group(1) if action_match else"" return { state, "thought": thought, "action": action } def execute_action(self, state: AgentState) -> AgentState: """步骤3: 解析并执行动作""" action = state["action"] ifnot action: print("⚠️ 没有可执行的动作") return {state, "finished": True} # 检查是否完成 if action.startswith("finished("): content_match = re.search(r"finished/(content='([^']*)'/)", action) content = content_match.group(1) if content_match else"任务完成" print(f"✅ 任务完成: {content}") return {state, "finished": True} # 解析并执行动作 try: self._parse_and_execute(action) except Exception as e: print(f"❌ 执行动作失败: {e}") print(f" 动作: {action}") return state def _parse_and_execute(self, action: str): """解析动作字符串并执行""" print(f"🔧 执行动作: {action}") # click(point='<point>x y</point>') 或 click(point='x y') if action.startswith("click("): # 尝试带标签的格式 point_match = re.search(r"<point>(/d+)/s+(/d+)</point>", action) ifnot point_match: # 尝试不带标签的格式 point_match = re.search(r"point=['/"](/d+)/s+(/d+)['/"]", action) if point_match: x, y = int(point_match.group(1)), int(point_match.group(2)) actual_x, actual_y = self.normalize_coords(x, y) self.operation.click(actual_x, actual_y) else: print(f"⚠️ 无法解析点击坐标: {action}") # left_double(point='<point>x y</point>') 或 double_click(point='x y') elif action.startswith("left_double("): # 尝试带标签的格式 point_match = re.search(r"<point>(/d+)/s+(/d+)</point>", action) ifnot point_match: # 尝试不带标签的格式 point_match = re.search(r"point=['/"](/d+)/s+(/d+)['/"]", action) if point_match: x, y = int(point_match.group(1)), int(point_match.group(2)) actual_x, actual_y = self.normalize_coords(x, y) self.operation.double_click(actual_x, actual_y) else: print(f"⚠️ 无法解析双击坐标: {action}") # type(content='xxx') elif action.startswith("type("): content_match = re.search(r"content=['/"]([^'/"]*)['/"]", action) if content_match: text = content_match.group(1) # 处理转义字符 text = text.replace(r"/'", "'").replace(r'/"', '"').replace(r"/n", "/n") self.operation.input(text) # hotkey(key='ctrl c') elif action.startswith("hotkey("): key_match = re.search(r"key=['/"]([^'/"]*)['/"]", action) if key_match: keys = key_match.group(1).split() self.operation.hotkey(*keys) # scroll(point='<point>x y</point>', direction='down') 或 scroll(point='x y', direction='down') elif action.startswith("scroll("): # 尝试带标签的格式 point_match = re.search(r"<point>(/d+)/s+(/d+)</point>", action) ifnot point_match: # 尝试不带标签的格式 point_match = re.search(r"point=['/"](/d+)/s+(/d+)['/"]", action) direction_match = re.search(r"direction=['/"]([^'/"]*)['/"]", action) if point_match and direction_match: x, y = int(point_match.group(1)), int(point_match.group(2)) actual_x, actual_y = self.normalize_coords(x, y) direction = direction_match.group(1) # 移动到位置并滚动 import pyautogui pyautogui.moveTo(actual_x, actual_y) scroll_amount = 3if direction in ["up", "left"] else-3 pyautogui.scroll(scroll_amount) # wait() elif action.startswith("wait("): self.operation.wait(seconds=5) # drag(start_point='<point>x1 y1</point>', end_point='<point>x2 y2</point>') elif action.startswith("drag("): # 尝试带标签的格式 start_match = re.search(r"start_point=['/"]<point>(/d+)/s+(/d+)</point>['/"]", action) end_match = re.search(r"end_point=['/"]<point>(/d+)/s+(/d+)</point>['/"]", action) ifnot start_match: # 尝试不带标签的格式 start_match = re.search(r"start_point=['/"](/d+)/s+(/d+)['/"]", action) end_match = re.search(r"end_point=['/"](/d+)/s+(/d+)['/"]", action) if start_match and end_match: x1, y1 = int(start_match.group(1)), int(start_match.group(2)) x2, y2 = int(end_match.group(1)), int(end_match.group(2)) actual_x1, actual_y1 = self.normalize_coords(x1, y1) actual_x2, actual_y2 = self.normalize_coords(x2, y2) import pyautogui pyautogui.moveTo(actual_x1, actual_y1) pyautogui.drag(actual_x2 - actual_x1, actual_y2 - actual_y1, duration=0.5) # 等待一下让界面响应 self.operation.wait(seconds=1) def should_continue(self, state: AgentState) -> str: """判断是否继续循环""" return"end"if state.get("finished", False) else"continue" def run(self): """运行Agent""" # 构建graph workflow = StateGraph(AgentState) # 添加节点 workflow.add_node("screenshot", self.take_screenshot) workflow.add_node("decide", self.model_decide) workflow.add_node("execute", self.execute_action) # 添加边 workflow.set_entry_point("screenshot") workflow.add_edge("screenshot", "decide") workflow.add_edge("decide", "execute") workflow.add_conditional_edges( "execute", self.should_continue, { "continue": "screenshot", "end": END } ) # 编译并运行 app = workflow.compile() print(f"🚀 开始执行任务: {self.instruction}/n") # 设置递归限制为100步 config = {"recursion_limit": 100} final_state = app.invoke( {"instruction": self.instruction, "step": 0}, config=config ) print(f"/n🎉 任务完成! 共执行 {final_state['step']} 步") return final_stateif __name__ == "__main__": agent = GUIAgent(instruction="""打开浏览器查询GUI, 找到wikipedia的介绍页面进行查看""") agent.run()
4. 执行效果
文章前言部分的demo, 模型的部分决策内容如下:

对于中间步骤,模型会利用到上文的内容,与当前页面状态一起作为决策依据:

最后,如果模型判断任务完成,会输出finished指令,程序停止

四、总结
本文采用简洁易用的方案搭建了一个 PC 端的 GUI Agent,该 Agent 不仅能在 Windows 和 macOS 系统上直接运行,还可操作 Web 应用。得益于以 pyautogui(键鼠模拟)作为核心执行器,该 Agent 能够实现跨应用的操作能力。未来可通过补充滑动、拖拽等更多样的交互方式,并结合知识库的构建,进一步强化其针对特定业务场景的适配性,打造功能更强大的 GUI Agent。
## 最后
近期科技圈传来重磅消息:行业巨头英特尔宣布大规模裁员2万人,传统技术岗位持续萎缩的同时,另一番景象却在AI领域上演——AI相关技术岗正开启“疯狂扩招”模式!据行业招聘数据显示,具备3-5年大模型相关经验的开发者,在大厂就能拿到50K×20薪的高薪待遇,薪资差距肉眼可见!
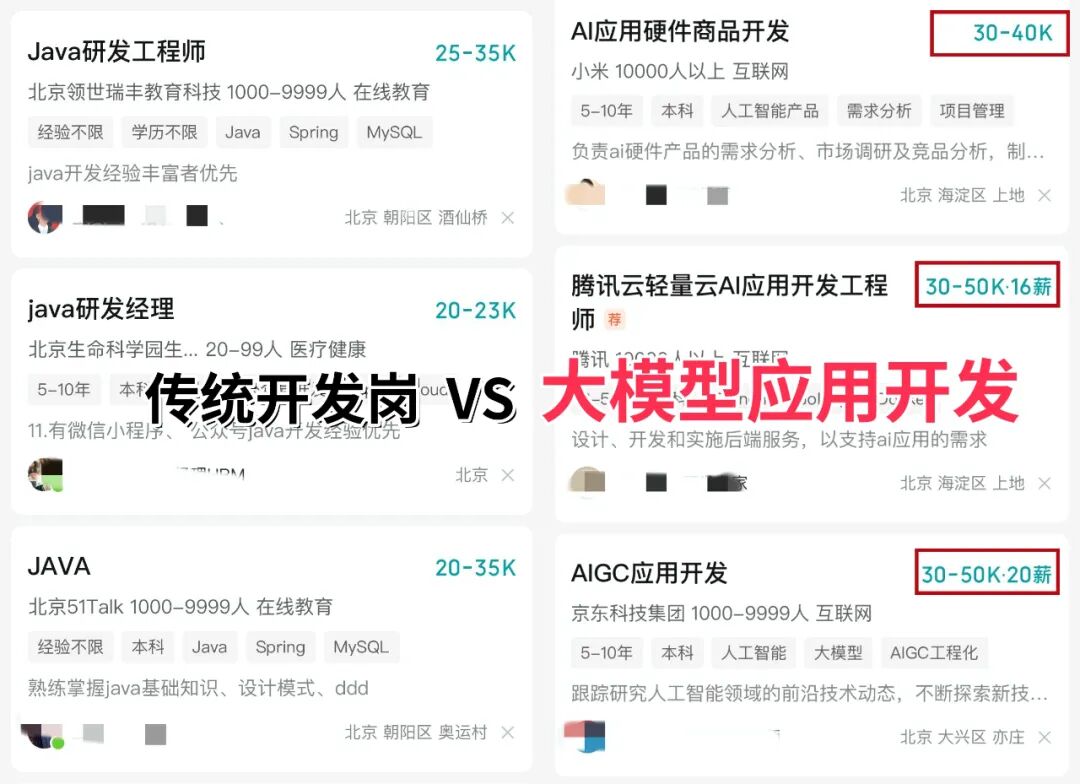
业内资深HR预判:不出1年,“具备AI项目实战经验”将正式成为技术岗投递的硬性门槛。在行业迭代加速的当下,“温水煮青蛙”式的等待只会让自己逐渐被淘汰,与其被动应对,不如主动出击,抢先掌握AI大模型核心原理+落地应用技术+项目实操经验,借行业风口实现职业翻盘!
深知技术人入门大模型时容易走弯路,我特意整理了一套全网最全最细的大模型零基础学习礼包,涵盖入门思维导图、经典书籍手册、从入门到进阶的实战视频、可直接运行的项目源码等核心内容。这份资料无需付费,免费分享给所有想入局AI大模型的朋友!
👇👇扫码免费领取全部内容👇👇
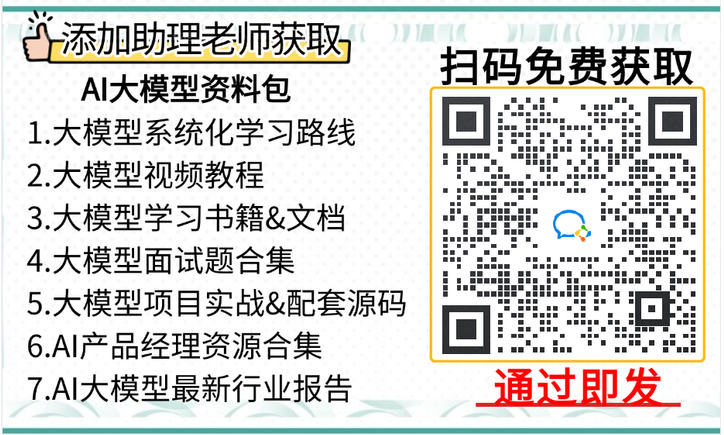
部分资料展示
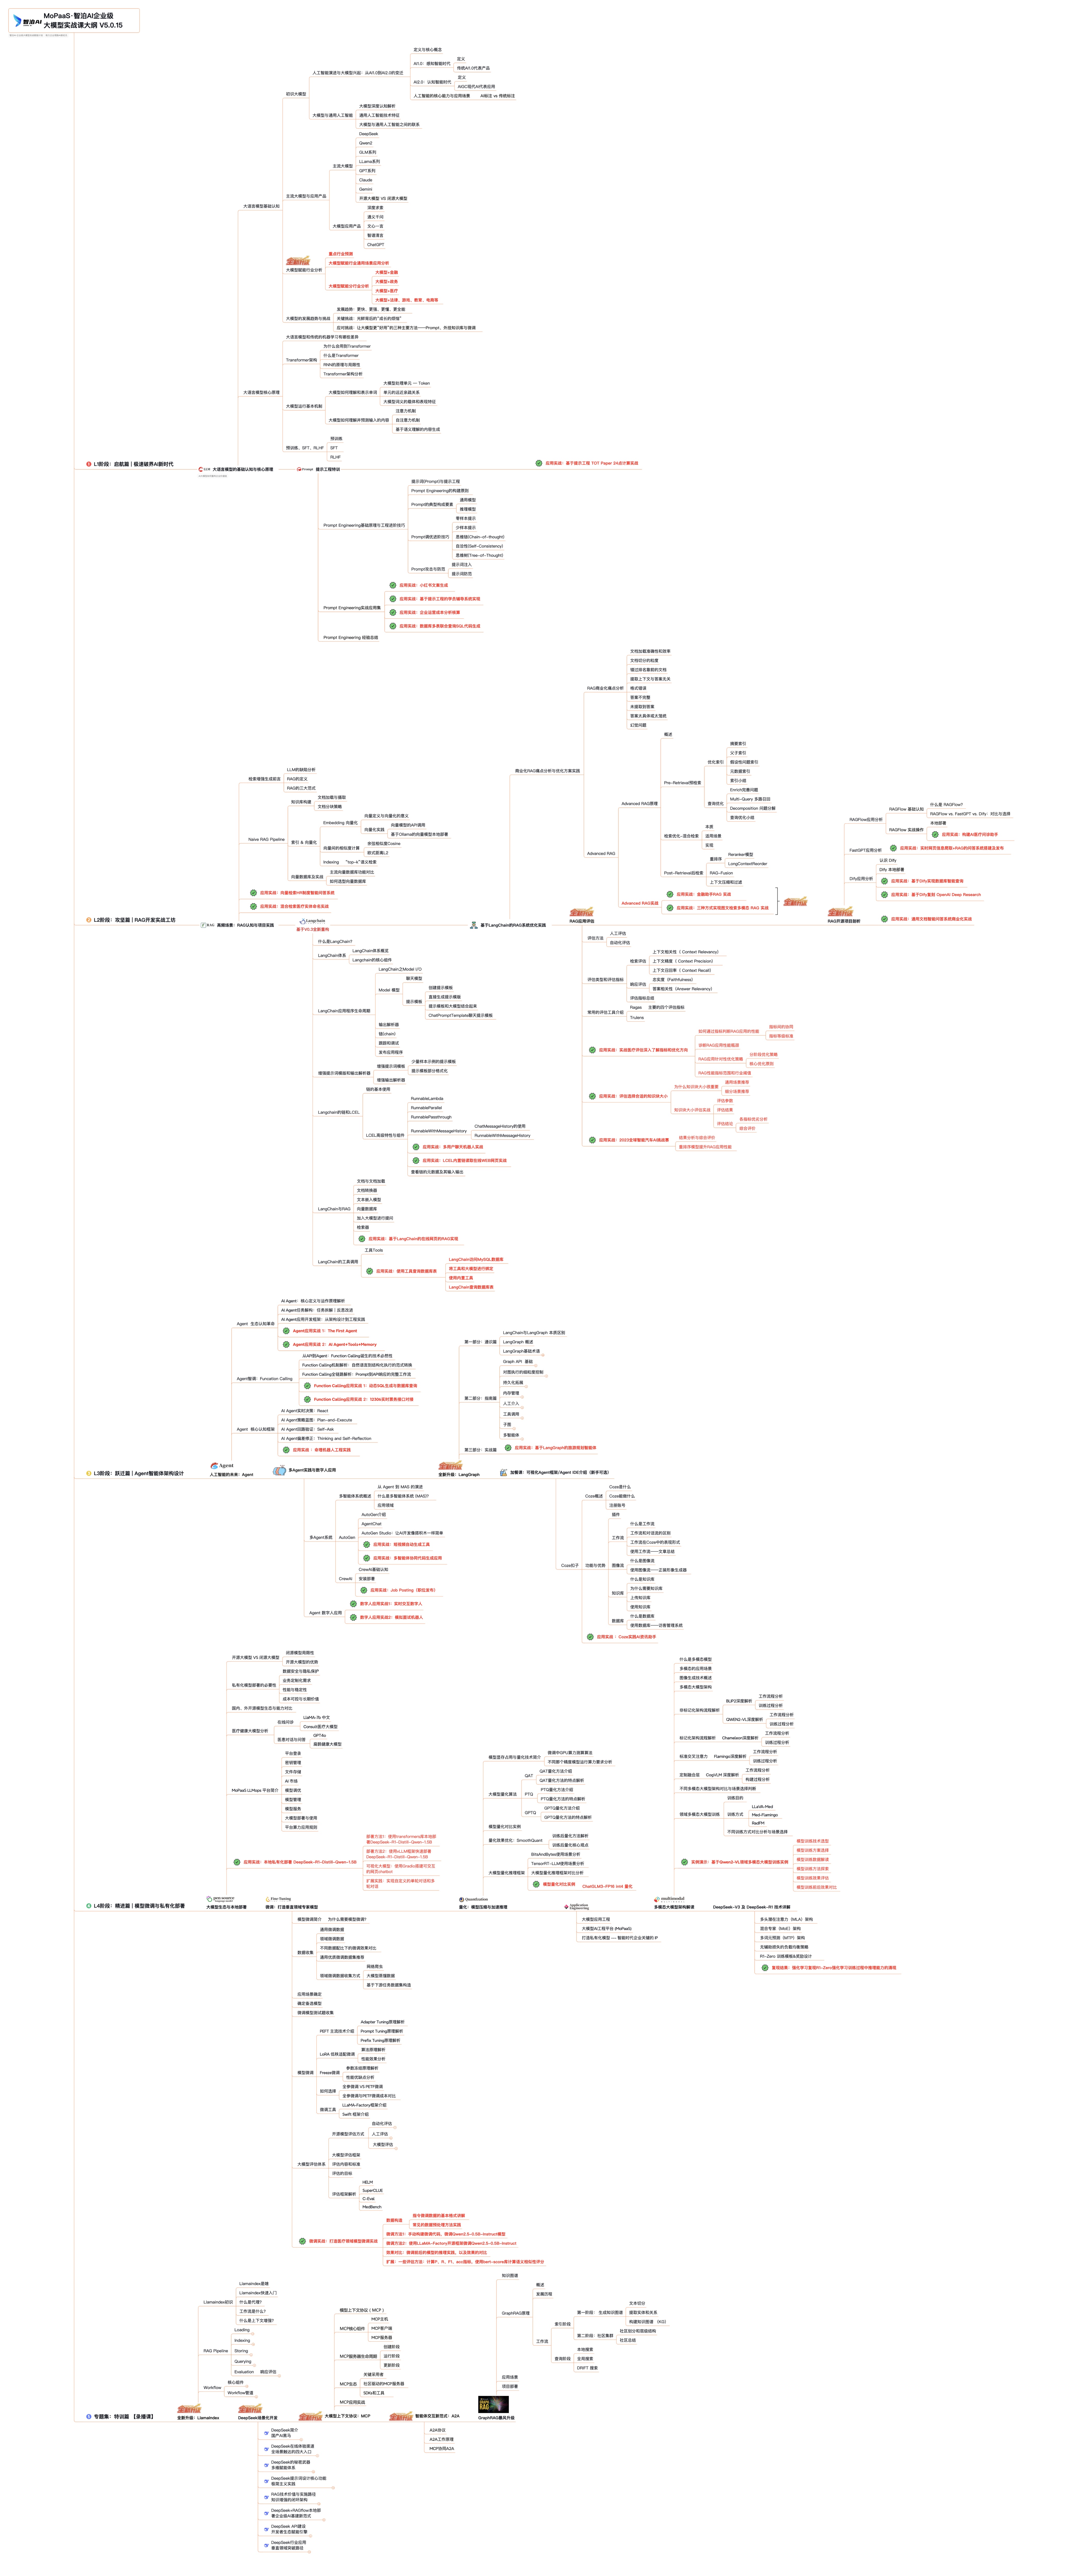
1、 AI大模型学习路线图
2、 全套AI大模型应用开发视频教程
从入门到进阶这里都有,跟着老师学习事半功倍。
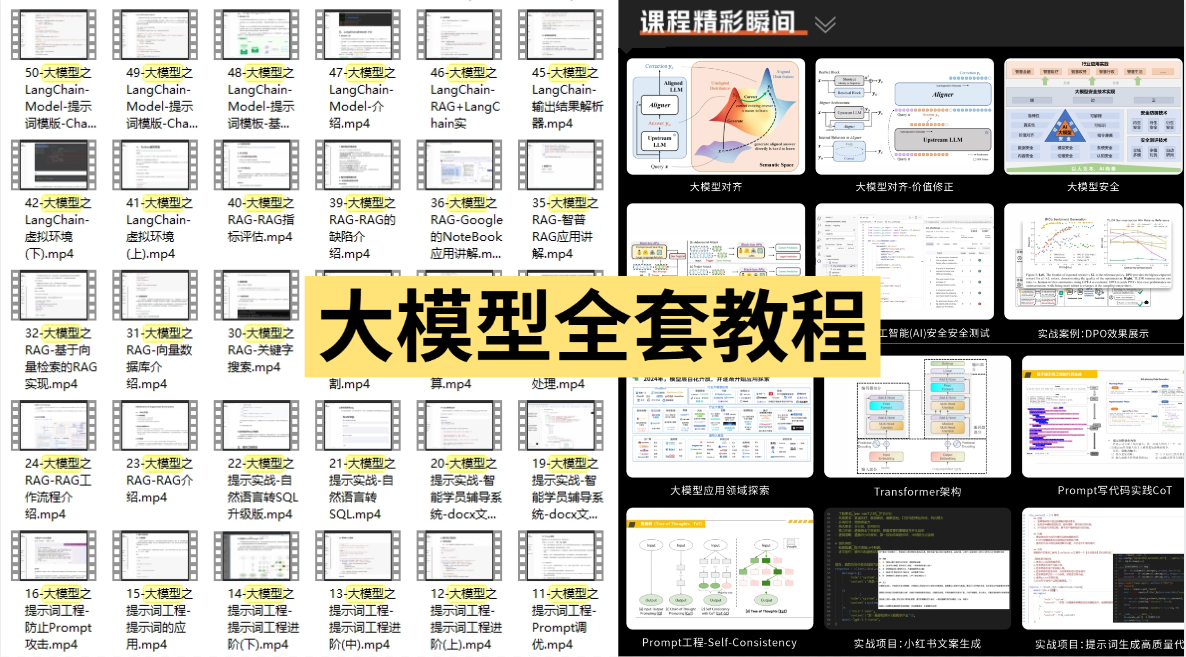
3、 大模型学习书籍&文档
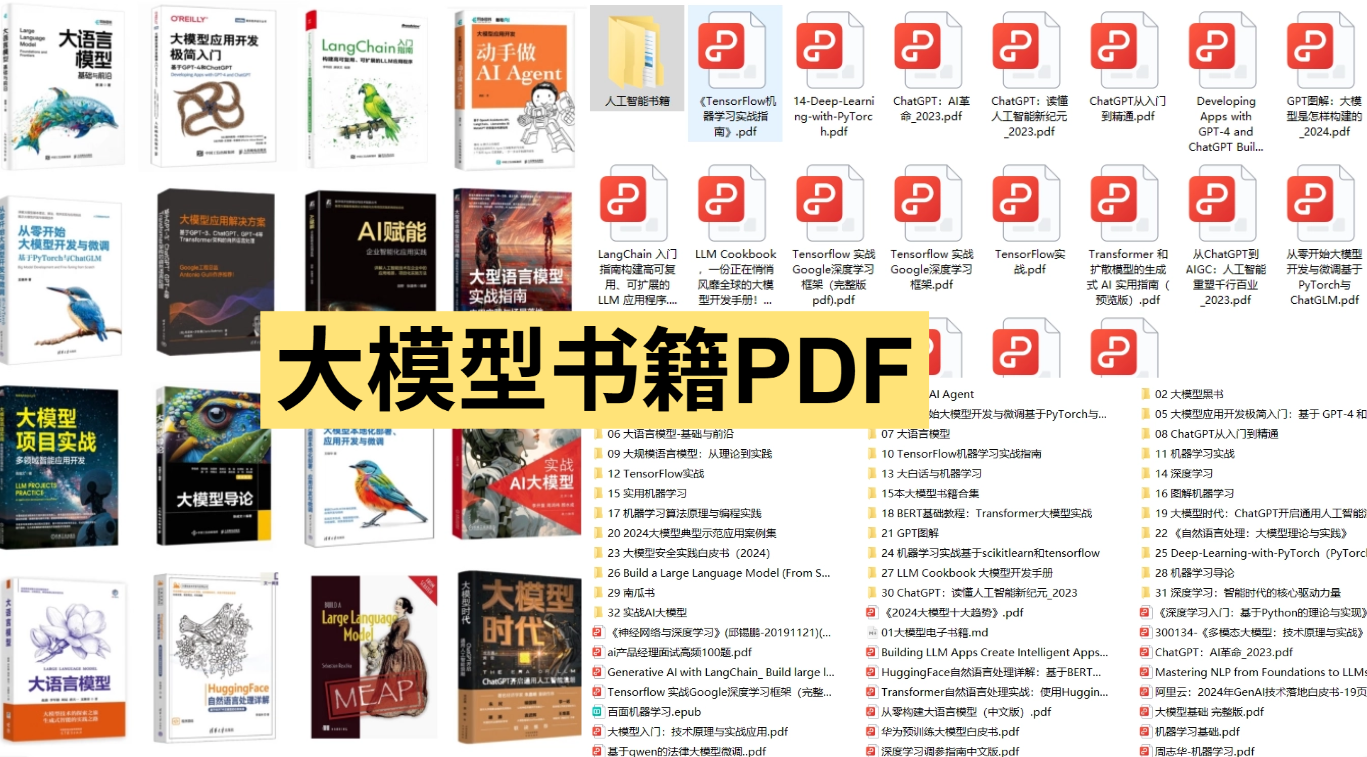
4、 AI大模型最新行业报告
2025最新行业报告,针对不同行业的现状、趋势、问题、机会等进行系统地调研和评估,以了解哪些行业更适合引入大模型的技术和应用,以及在哪些方面可以发挥大模型的优势。
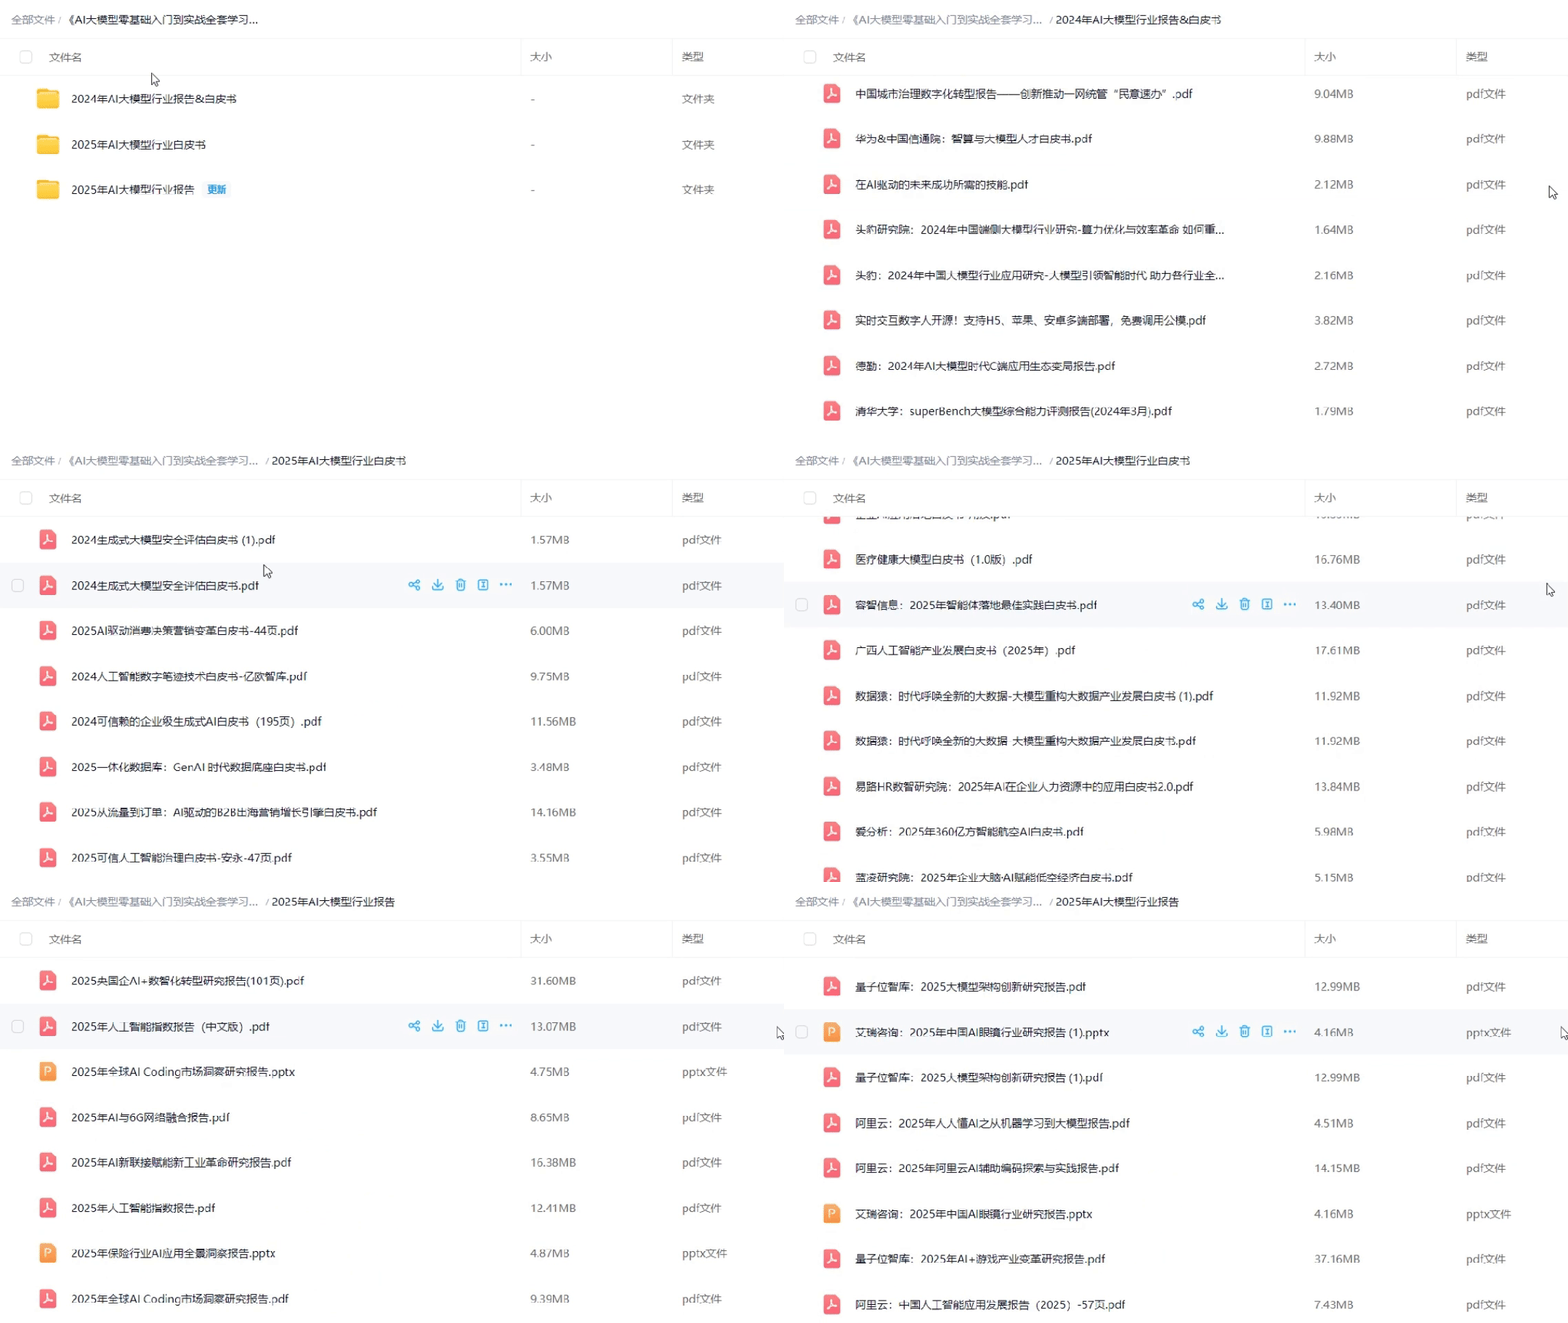
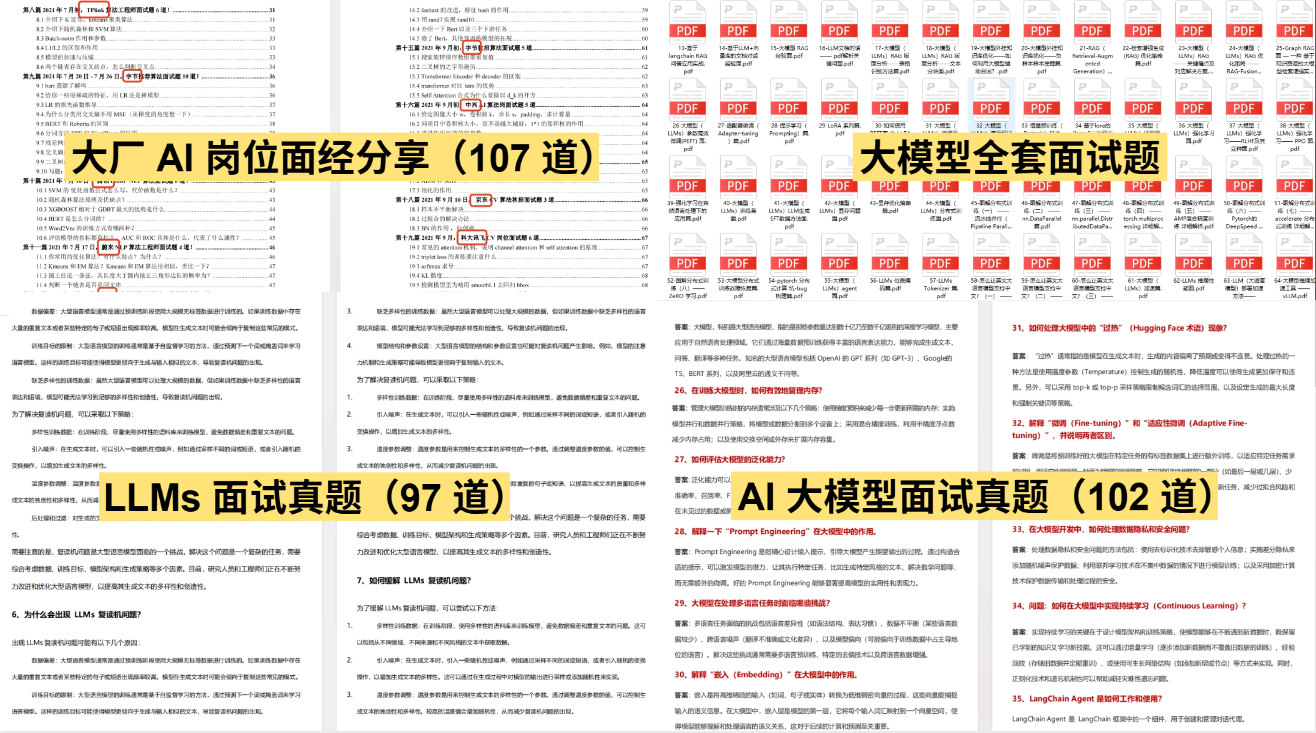
5、大模型大厂面试真题
整理了百度、阿里、字节等企业近三年的AI大模型岗位面试题,涵盖基础理论、技术实操、项目经验等维度,每道题都配有详细解析和答题思路,帮你针对性提升面试竞争力。
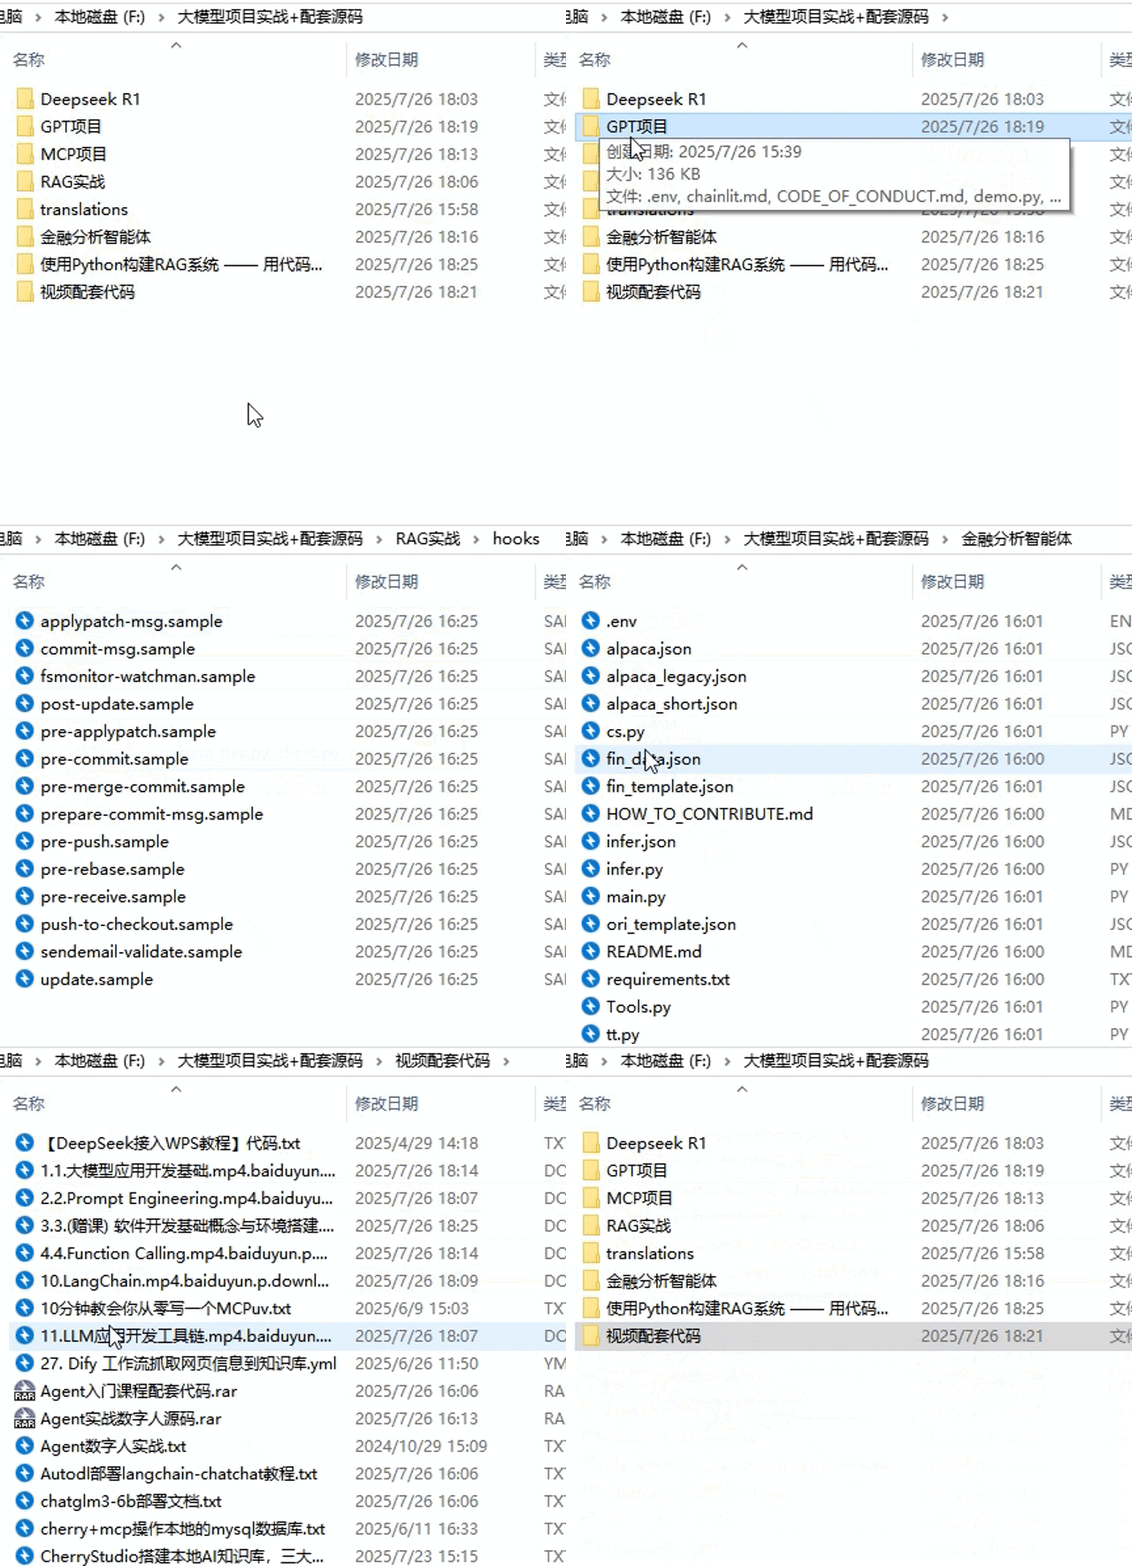
6、大模型项目实战&配套源码
学以致用,在项目实战中检验和巩固你所学到的知识,同时为你找工作就业和职业发展打下坚实的基础。
👉学会后的收获:👈
• 基于大模型全栈工程实现(前端、后端、产品经理、设计、数据分析等),通过这门课可获得不同能力;
• 能够利用大模型解决相关实际项目需求: 大数据时代,越来越多的企业和机构需要处理海量数据,利用大模型技术可以更好地处理这些数据,提高数据分析和决策的准确性。因此,掌握大模型应用开发技能,可以让程序员更好地应对实际项目需求;
• 基于大模型和企业数据AI应用开发,实现大模型理论、掌握GPU算力、硬件、LangChain开发框架和项目实战技能, 学会Fine-tuning垂直训练大模型(数据准备、数据蒸馏、大模型部署)一站式掌握;
• 能够完成时下热门大模型垂直领域模型训练能力,提高程序员的编码能力: 大模型应用开发需要掌握机器学习算法、深度学习框架等技术,这些技术的掌握可以提高程序员的编码能力和分析能力,让程序员更加熟练地编写高质量的代码。
- 👇👇扫码免费领取全部内容👇👇
这些资料真的有用吗?
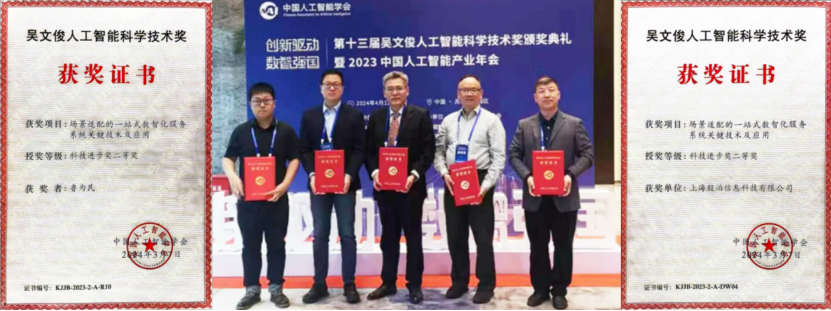
这份资料由我和鲁为民博士(北京清华大学学士和美国加州理工学院博士)共同整理,现任上海殷泊信息科技CEO,其创立的MoPaaS云平台获Forrester全球’强劲表现者’认证,服务航天科工、国家电网等1000+企业,以第一作者在IEEE Transactions发表论文50+篇,获NASA JPL火星探测系统强化学习专利等35项中美专利。本套AI大模型课程由清华大学-加州理工双料博士、吴文俊人工智能奖得主鲁为民教授领衔研发。
资料内容涵盖了从入门到进阶的各类视频教程和实战项目,无论你是小白还是有些技术基础的技术人员,这份资料都绝对能帮助你提升薪资待遇,转行大模型岗位。
这份完整版的大模型 AI 学习资料已经上传CSDN,朋友们如果需要可以微信扫描下方CSDN官方认证二维码免费领取【保证100%免费】
更多推荐
 6
6 0
0- 0


 已为社区贡献15条内容

所有评论(0)